
Login Form with Floating Label using HTML & CSS
In this article, you will learn how to create a Login Form with Floating Label using HTML and CSS. Earlier I shared with you the design of different types of…
In this article, you will learn how to create a Login Form with Floating Label using HTML and CSS. Earlier I shared with you the design of different types of…
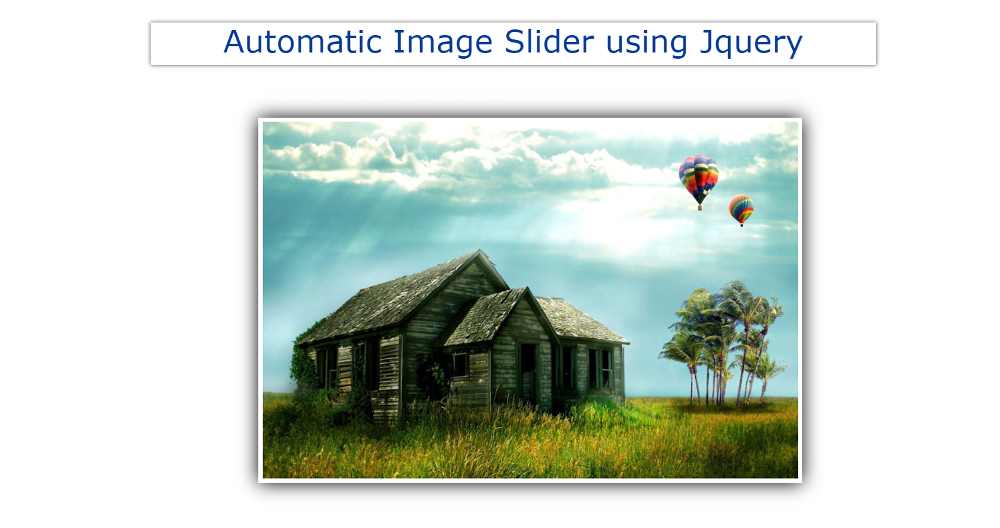

If you want to create an automatic image slider using JQuery then this tutorial will help you a lot. I have shared many types of automatic image slider tutorials before. Most of these designs are made by HTML CSS only. Here I have shared the tutorial on making JQuery Automatic Image Slider.
First I added the images by HTML and designed them by CSS. It was then executed by JQuery. In the meantime, I have shown the design of many more Automatic Image Sliders where I have used JavaScript.
If you want to use JavaScript instead of JQuery then you can follow another tutorial made by me. This Jquery automatic image slider is very simple where I have used five images. A border and shadow have been used around the images to enhance the beauty. There is no way to change the image manually.
We all know that JQuery is a kind of external JavaScript library. So to make the jQuery effective, add the jQuery CDN link to your file. In the case of the jquery automatic moving image slider that I shared earlier, there was a system to change the image manually.
Below is a preview that will help you learn how it works. Below I have given the link to a codepen.
See the Pen
Automatic Image Slider using Jquery by Foolish Developer (@foolishdevweb)
on CodePen.
Hope you like this design. While not a groundbreaking contribution to the genre, Beginner is important to many. You can use this auto slider jquery directly in your work. The images will change automatically every 2 seconds. Although you can use another time instead of these 2 seconds.
As you can see above, I first created a box on the webpage. A border and shadow have been used around it. I have used five images in this jquery Automatic Image Slider.
You can increase the size of the image to your liking. If you want to create an automatic image slider then you must have a basic idea about HTML CSS and JavaScript.
The basic structure has been created to create this JQuery automatic image slider using the following HTML and CSS codes.
Here width: 600px and height: 400px are used. In addition, box-shadow has been used to enhance beauty.


In this article, you will learn how to create Pulsing Heart Animation using HTML and CSS. Earlier I shared with you different types of Pulsing Animation Effects. However, in this…
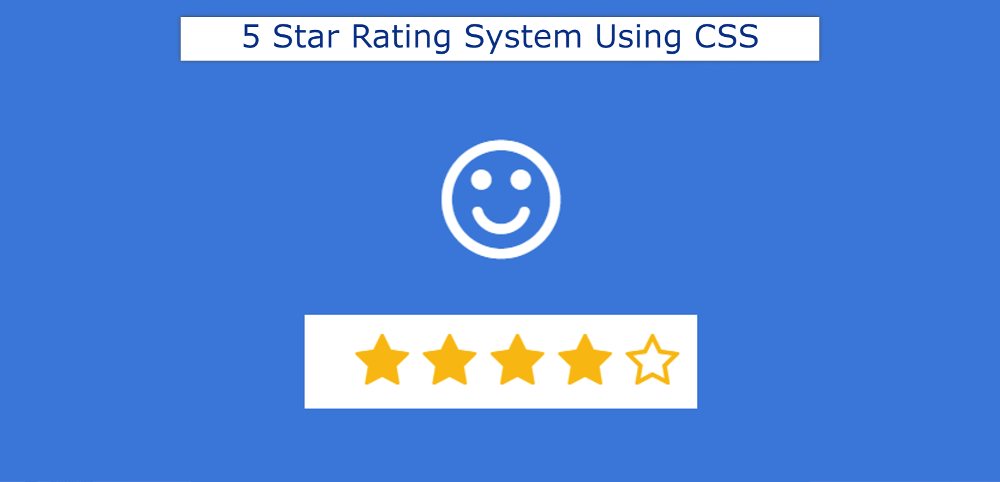

If you want to create a five-star rating system using HTML and CSS then this tutorial will help you completely. Here I have shared with you the design of a star rating system using HTML and CSS. 5 Star Rating System You will see in different places.
This type of system is widely used in the case of product or service websites. Where the user can give the rating of his choice about the quality of the product and service. This 5 Star Rating System will help other users to understand the quality of the product.
The design of the 5-star rating that I have shared with you here is absolutely simple. Only HTML and CSS are used for this. I added an emoji with the star rating. Emoji will vary according to the quality of your rating when you input the value of the rating.
Below is a demo that will help you know how this five-star rating works. Below you will find the complete source code related to this design.
See the Pen
Untitled by Foolish Developer (@foolishdevweb)
on CodePen.
As you can see, first a small area was created on the webpage. There are five stars here. The stars are created by the input function of HTML.
Under normal circumstances, the stars have a white background, and a border is used around them. When you mouse over or click on those stars, the background of the stars will turn yellow.
Here is an emoji that will change the shape of your face depending on the number of stars you input. You can use any other emoji in this place if you want. I’ve shared step-by-step how to use another emoji.
If you only want the source code, you can use the download button below the article. However, I have shared the complete tutorial of this 5 Star Rating System for beginners.
To build this five-star rating system you need to have a basic idea about HTML and CSS.
Below I have given all the HTML codes that are required for this star rating. The first five radio buttons were created. These radio buttons are created using the input function of HTML.
A place to show an emoji at the end of it all. As you can see, the emoji will vary depending on the star you input.
The webpage has been designed using the following CSS codes and more than this CSS 5 Star Rating System. Its width is 256px and the background color is white.

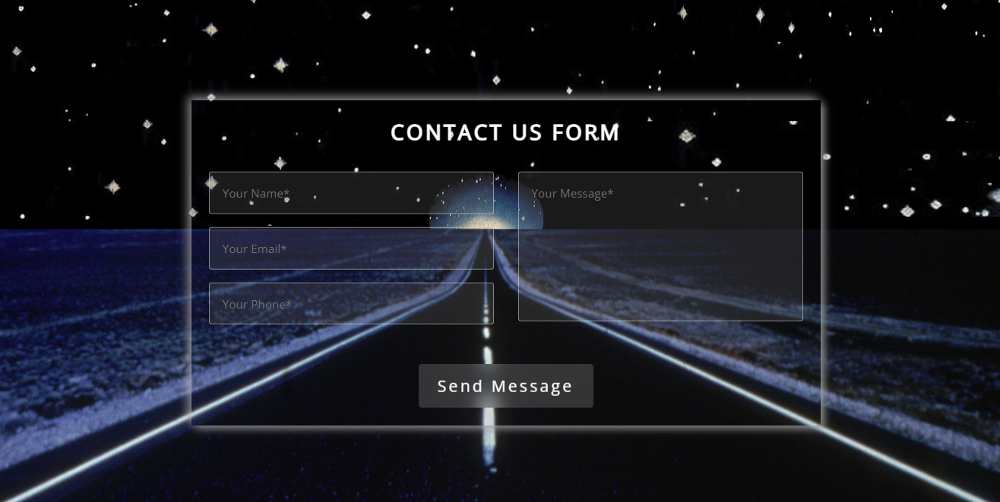

In this article, you will learn how to create Responsive Contact us Form using HTML and CSS. Contact form we use in different places. This type of Responsive Contact us Form is used to contact the website owner on different websites. Where the user can send his necessary information or message to the author or web owner. Here I have used only HTML and CSS.
This contact form is fully responsive. This will allow you to use this contact page directly within your website or projector. This contact form is very simple. This is what I have made transparent so that the background can be seen clearly. This type of transparent design enhances the beauty of the website.
Below I have given a preview that will help you to know how this Responsive Contact us Formworks.
See the Pen
Untitled by Foolish Developer (@foolishdevweb)
on CodePen.
As you can see above I first added a background image to the webpage. Then I created an area of contact form here. The background of that area is completely transparent.
First of all, I used a heading then 3 input boxes were used. The input boxes are for inputting name, email, and phone numbers respectively. Then a box is created using textarea to input the message.
The most important point is that it is Responsive. Some CSS has been used to make this contact us form responsive. This allows you to use this design directly in your project. To create this Responsive Contact us Form you need to have a basic idea about HTML CSS.
Below I have shared step-by-step tutorials. If you only want the source code, you can use the download button at the bottom of the article. You will also find all source codes in the demo section above.
Here I have shared step-by-step tutorials and shown the possible results after each step. Which will help you to know what kind of results can be seen after using that code.
Using the HTML and CSS codes below, I created the basic structure of the contact form and designed the webpage.
First I designed the web page using some amount of CSS code and used a background image here. Here you can change the background image to your liking.

The basics of this contact form have been designed using the following codes. The maximum width of this form is 500px and box-shadow has been used to enhance the beauty.


If you want to create a Responsive Login Page using HTML and CSS then this tutorial will help you. Here I will show you in a few steps how to create a Responsive Login Form.
The login form we have designed here is like a complete GitHub website. You must have heard the name GitHub if you have just started your journey in the world of programming. I have created this Responsive Login Page like the login form of the GitHub website.
Earlier I designed many more types of HTML login pages but it is completely different. You can create this Responsive Login Page using Simple HTML and CSS.
Below I have given a demo that will help you to know how this HTML login page works. If you only want to download the source code, you can use the download button at the bottom of the article. You will also find the source code in the demo section below.
See the Pen
Untitled by Foolish Developer (@foolishdevweb)
on CodePen.
As you can see above, this design is made entirely like the GitHub login form. First an icon, then a heading, then a box containing the space to input the user name and password. At the end of it all, there is a small box to create a new account.
This login page is fully responsive. This will allow you to use it directly on your website.
Now I have shown step by step how I have created Responsive Login Page using HTML and CSS. For this, you must have a basic idea about HTML CSS.
If you just want the source code, you can use the download button below. However, if you are a beginner, please follow the tutorial below.
We have created the basic structure of this login form using the following HTML and CSS codes.
The webpage was originally designed using the following codes and added a background color.
An area of this login form has been created using the following CSS. Area max-width 310px has been used here. Margins are used to place the form along the middle of the webpage.


If you want to create an Animated Search Bar using HTML and CSS then this tutorial will help you. Here I have shared a tutorial on creating a simple animated search icon.
Search Bar is an important element for different websites. Currently, the search bar is used on all websites. There are different types of search bars, some search bars are completely fixed, some are animated, some are pop-ups, etc.
The design I have shown in this tutorial is an animated search bar. In this case, only one icon can be found, not the entire search bar. The input box appears when you click on that icon. Most websites use this type of Animated Search Bar. Which enhances the quality of the website and saves space.
Below I have given a demo that will help you to know how this Animated Search Bar works. Below you will find the required source code that you can copy directly and use in your work.
See the Pen
Untitled by Foolish Developer (@foolishdevweb)
on CodePen.
As you can see above, a small area has been created on a web page. He has a search icon. When you click on that icon or button, the icon will move to the right and a space will be created on the left. An input box will be created where you can input the keyword of your choice.
In this case, I have used HTML, CSS, and a small amount of jQuery. All information and search icons have been added by HTML. CSS designed it. Only some jQuery has been used to make it work.
This Animated Search Bar is very easy to create. If you have a basic idea about HTML CSS then you can easily create this Animated Search Bar. Earlier I shared with you many more types of CSS search bar tutorials.
Created an area of this animated search bar using the following HTML and CSS codes. This is basically the basic structure of the search bar.
The webpage has been designed using the following CSS. Here I have used light blue as the background color of the webpage.
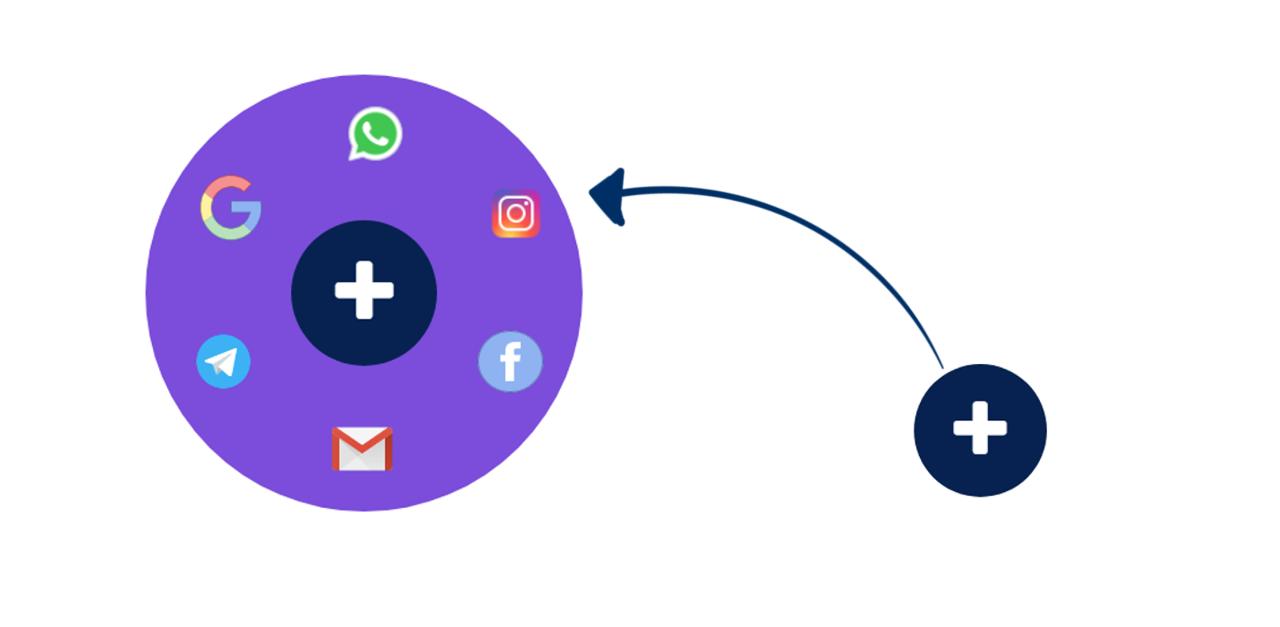
In this article, you will learn how to create animated social media buttons using HTML and CSS. Earlier I shared with you various social-media-icons tutorials. In this tutorial, you will…
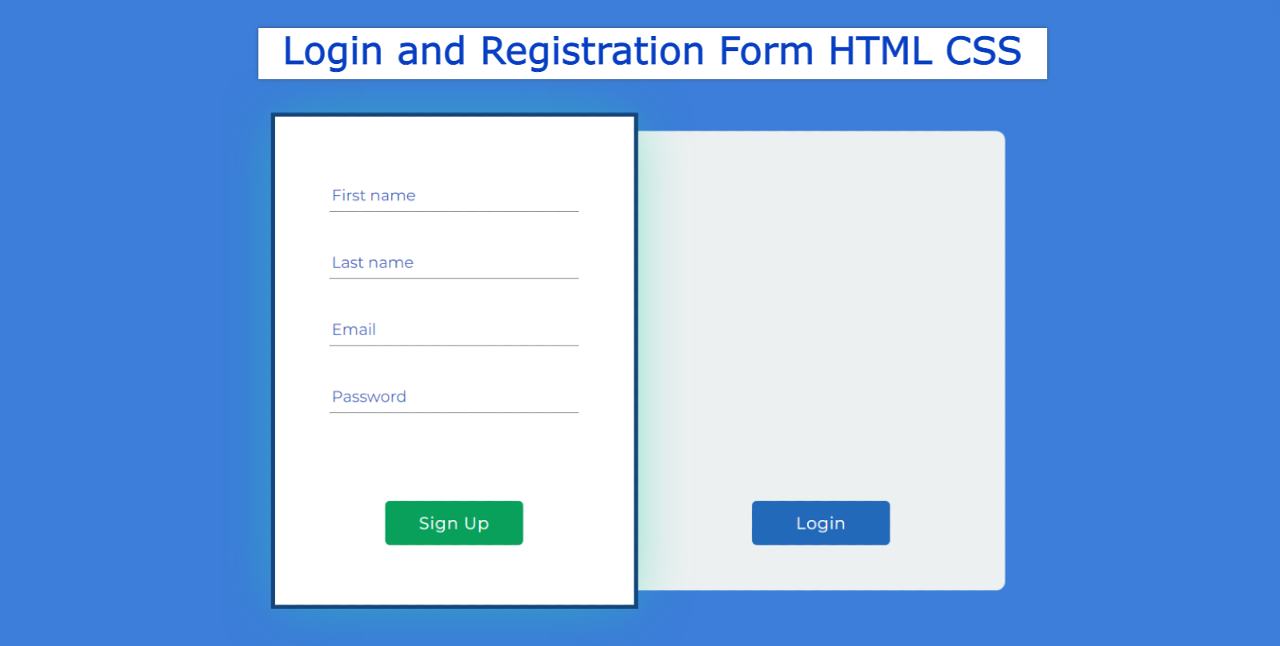
In this article, you will learn how to create a Login and Registration Form using HTML and CSS. I have shared many more tutorials on login and registration forms with…
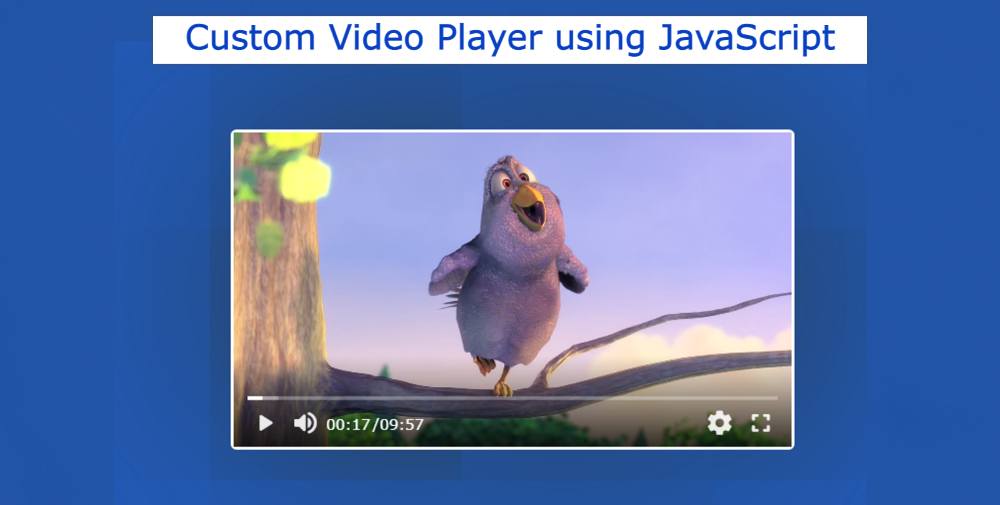
In this article, you will learn how to create a custom video player using HTML CSS, and JavaScript. Many times it is necessary to use a video player on the…