Image Zoom on Hover using Pure JavaScript & CSS
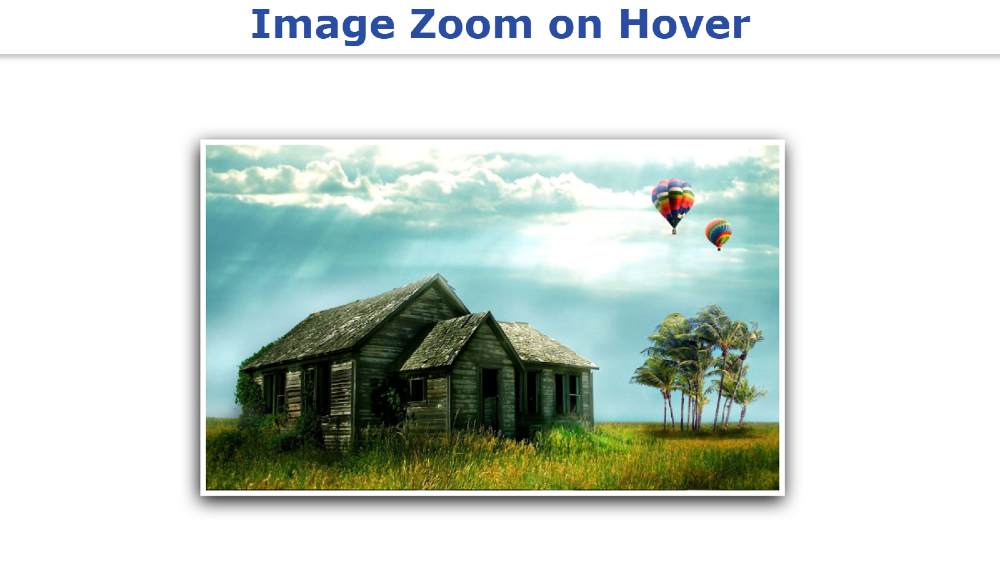
Image Zoom on Hover makes the image slider or gallery much more interesting and suitable. You can easily create an image zoom using only HTML and CSS. However, some amount…
Image Zoom on Hover makes the image slider or gallery much more interesting and suitable. You can easily create an image zoom using only HTML and CSS. However, some amount…

Here you will learn how to create Lightbox Image Gallery using HTML and CSS. Earlier I shared with you the design of many more types of image lightbox galleries. But…

In this article you will know how to create Responsive Testimonial Slider using html css. Earlier I have shared many more Testimonial Slider tutorials with you.Hope you will like this…

Image sliders in React are a common feature in many websites, and they can help showcase different images or products in a visually appealing way. In this tutorial, we'll show you…

If you want to create a Vertical Image slider using html css then you have come to right place. In this article, you will learn how to create Double Vertical…

Do you want to create Automatic Image Slider using React JS?In this article you will know how to Auto-Playing Slideshow with React. Earlier I have shared with you many types…

An automatic image slider with text in HTML and CSS can be created by adding HTML elements to display the text, and then using CSS and JavaScript/jQuery to control the…

In this article, you will learn how to create a Responsive Automatic Image Slider using HTML and CSS. In the image slider, you can arrange a large number of images…


If you want to create a Responsive Image Slider then this tutorial will help you completely. Here I have shared a tutorial on creating a Simple Responsive Image Slider HTML CSS and provided the necessary source code.
Earlier I created different types of image sliders. However, this slider has been made fully responsive. This allows you to use it directly for any purpose.
Image slider is used to organize a large number of images on different websites. There are different types of image sliders. In some sliders, the image is changed automatically, in some cases the image has to be changed manually.
There are two buttons for manually changing the image. Although I have previously shared various types of automatic and 3D image sliders in this tutorial.
Below I have given a preview that will help you to know how it works. Here you will find the complete source code. Although I have been given many more options to get the source code.
Below the article, you will find a box to copy the source code. There is also a button to download the code.
See the Pen
Untitled by Foolish Developer (@foolishdevweb)
on CodePen.
As you can see above, a box has been created on a web page. In it, I have added all the necessary images. Here I have added 4 images. If you want you can increase the number of images of your choice.
There are two buttons for manually changing the image. Here a border is used around the image and shadows are used to enhance the beauty. Importantly, highlights or indicators have been used here. That is, there are a few small points that will indicate how many numbered images have been opened.
This design is made with HTML CSS and JavaScript. First added various information and images using HTML. Then I designed it using CSS and made it Responsive. Finally, it is implemented using JavaScript.
I have used four images here so I have used four indicators. The first indicator will be highlighted when the first image is open. And when the second image opens, the second point will be highlighted.
If you want to create this Responsive Image Slider, you need to have a basic idea about HTML CSS, and JavaScript.
The basic structure of Responsive Image Slider has been created first using the following HTML and CSS codes. All images in this area can be seen.
Slider width: 80% and max-width: 600px used. It also has a 10-pixel white border and box-shadow to enhance its beauty.

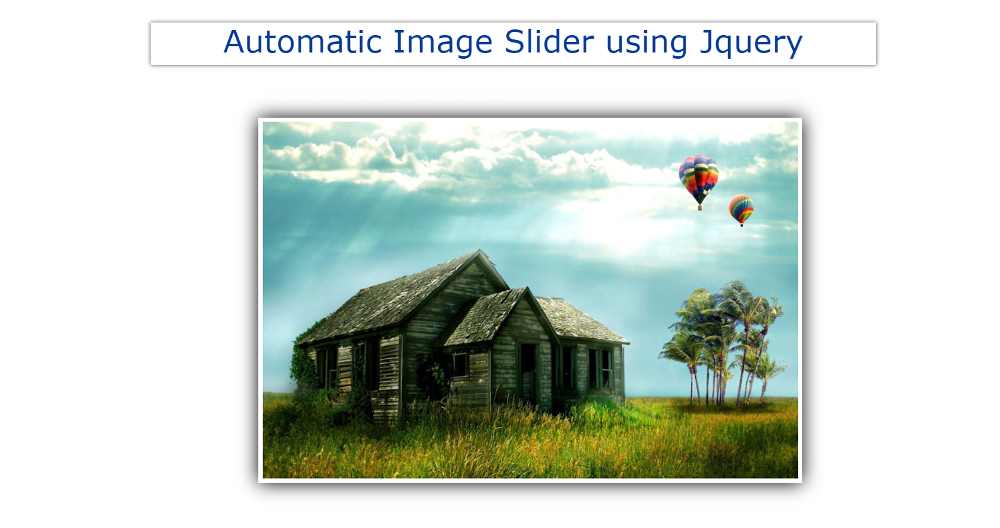

If you want to create an automatic image slider using JQuery then this tutorial will help you a lot. I have shared many types of automatic image slider tutorials before. Most of these designs are made by HTML CSS only. Here I have shared the tutorial on making JQuery Automatic Image Slider.
First I added the images by HTML and designed them by CSS. It was then executed by JQuery. In the meantime, I have shown the design of many more Automatic Image Sliders where I have used JavaScript.
If you want to use JavaScript instead of JQuery then you can follow another tutorial made by me. This Jquery automatic image slider is very simple where I have used five images. A border and shadow have been used around the images to enhance the beauty. There is no way to change the image manually.
We all know that JQuery is a kind of external JavaScript library. So to make the jQuery effective, add the jQuery CDN link to your file. In the case of the jquery automatic moving image slider that I shared earlier, there was a system to change the image manually.
Below is a preview that will help you learn how it works. Below I have given the link to a codepen.
See the Pen
Automatic Image Slider using Jquery by Foolish Developer (@foolishdevweb)
on CodePen.
Hope you like this design. While not a groundbreaking contribution to the genre, Beginner is important to many. You can use this auto slider jquery directly in your work. The images will change automatically every 2 seconds. Although you can use another time instead of these 2 seconds.
As you can see above, I first created a box on the webpage. A border and shadow have been used around it. I have used five images in this jquery Automatic Image Slider.
You can increase the size of the image to your liking. If you want to create an automatic image slider then you must have a basic idea about HTML CSS and JavaScript.
The basic structure has been created to create this JQuery automatic image slider using the following HTML and CSS codes.
Here width: 600px and height: 400px are used. In addition, box-shadow has been used to enhance beauty.
