How to Create Responsive Image Gallery using HTML and CSS
In this article, I am going to show you how to create a Responsive Image Gallery using HTML and CSS code. Earlier I showed you how to create a filterable image…
In this article, I am going to show you how to create a Responsive Image Gallery using HTML and CSS code. Earlier I showed you how to create a filterable image…

I am going to show you how to make a Responsive Image Slider with manual and autoplay. Earlier I shared with you many more types of image sliders using HTML,…


Responsive Filterable Image Gallery is used on various websites to sort images by category. In this article, I am going to show you how to create a Responsive Filterable Image Gallery with the help of HTML CSS, and javascript.
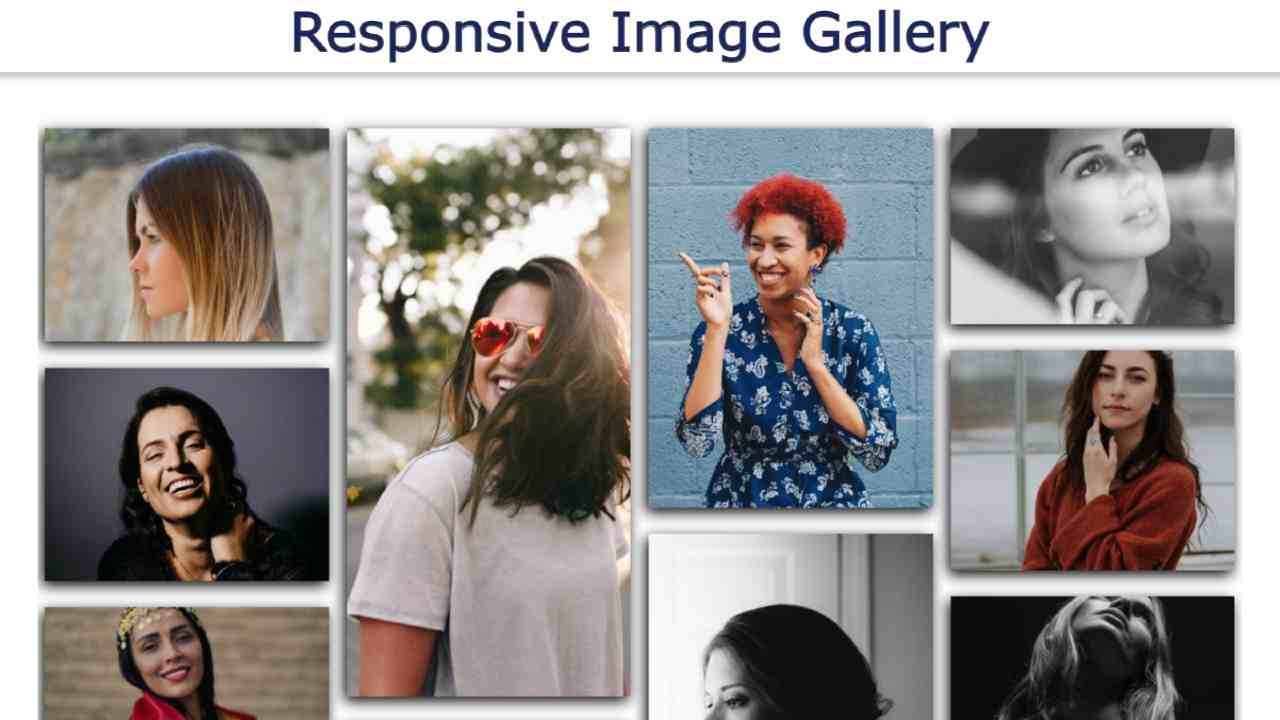
Filterable Image Gallery is a popular web element that is used around various websites. It is a kind of image gallery where a large number of images are neatly arranged together. The notable point is that all the images can be sorted by category here. There is a navigation bar where all the categories are sorted. When clicking on any one of those categories. Then all the images in that category are seen and the rest of the images are hidden. As a result, the user can easily find the images of his choice.
This type of design is mainly used in many websites where a lot of images are put together. However, in this case, I have created this Filterable Image Gallery using Pure JavaScript.
If you do not understand what I am saying then you can watch the video tutorial below. This video will help you to know better how I made this design.
Hopefully, you have learned how to make it from the video tutorial above. As you can see above, I first created a navigation bar on a web page. Where I created five-category buttons. Here I have used a total of 9 images. I have used different categories of images here.
You can add many more images with these 9 images if you want. In the category in the navigation bar, you can see the image related to the category you click on. In the same way, when you click on another category, the images of that category will be seen and the rest will be hidden. I made it fully responsive so that it can be used on all devices.
I hope you understand how this Responsive Filterable Image Gallery works. But for better understanding, I have given the live demo below. This live demo will help you get a live experience of this design.
See the Pen
by Foolish Developer (@fghty)
on CodePen.


In this article, I will show you how to create an automatic image slider using HTML and CSS code. Earlier I designed many more types of image sliders and 3D image slideshows. I did not use any javascript code in this design. In this case, this automatic image slider has been created using only pure HTML and CSS code.
the image gallery is used in many places on the website. The slider is mainly used on the homepage of the website. The normal image slider has a rectangular box and the images can be changed automatically or manually.
But in the case of this design, all the images here are kept in a circular shape. Here I have used 9 images and created a circle of 360 by adding each image to one another. This slider rotates at certain intervals.
In this case, there is no place to change the image manually. It tends to change the image automatically. I have already created one more such image gallery. In that case, I made two buttons to change the image manually. You can see the design if you want to change the images manually.
If you do not understand what I am saying then you can use the demo below to get a live experience of how it works.
See the Pen
3d automatic image slider by Foolish Developer (@fghty)
on CodePen.
If you want the required source code, you can download the required source code using the download button at the bottom of the article.
As you can see in the video above, here are 9 pictures arranged neatly on a home page. Each image is arranged at a 40-degree angle with the other. As a result, 9 images are joined together to form a 360 circle.

Here you will learn how to create a 3D Image Slider using Html CSS and javascript. 3d Image slideshow is a simple web element that can make the image look…

In this article, you will learn how to create an automatic image slider using HTML CSS, and JavaScript code. Earlier I shared with you many more types of manual and…
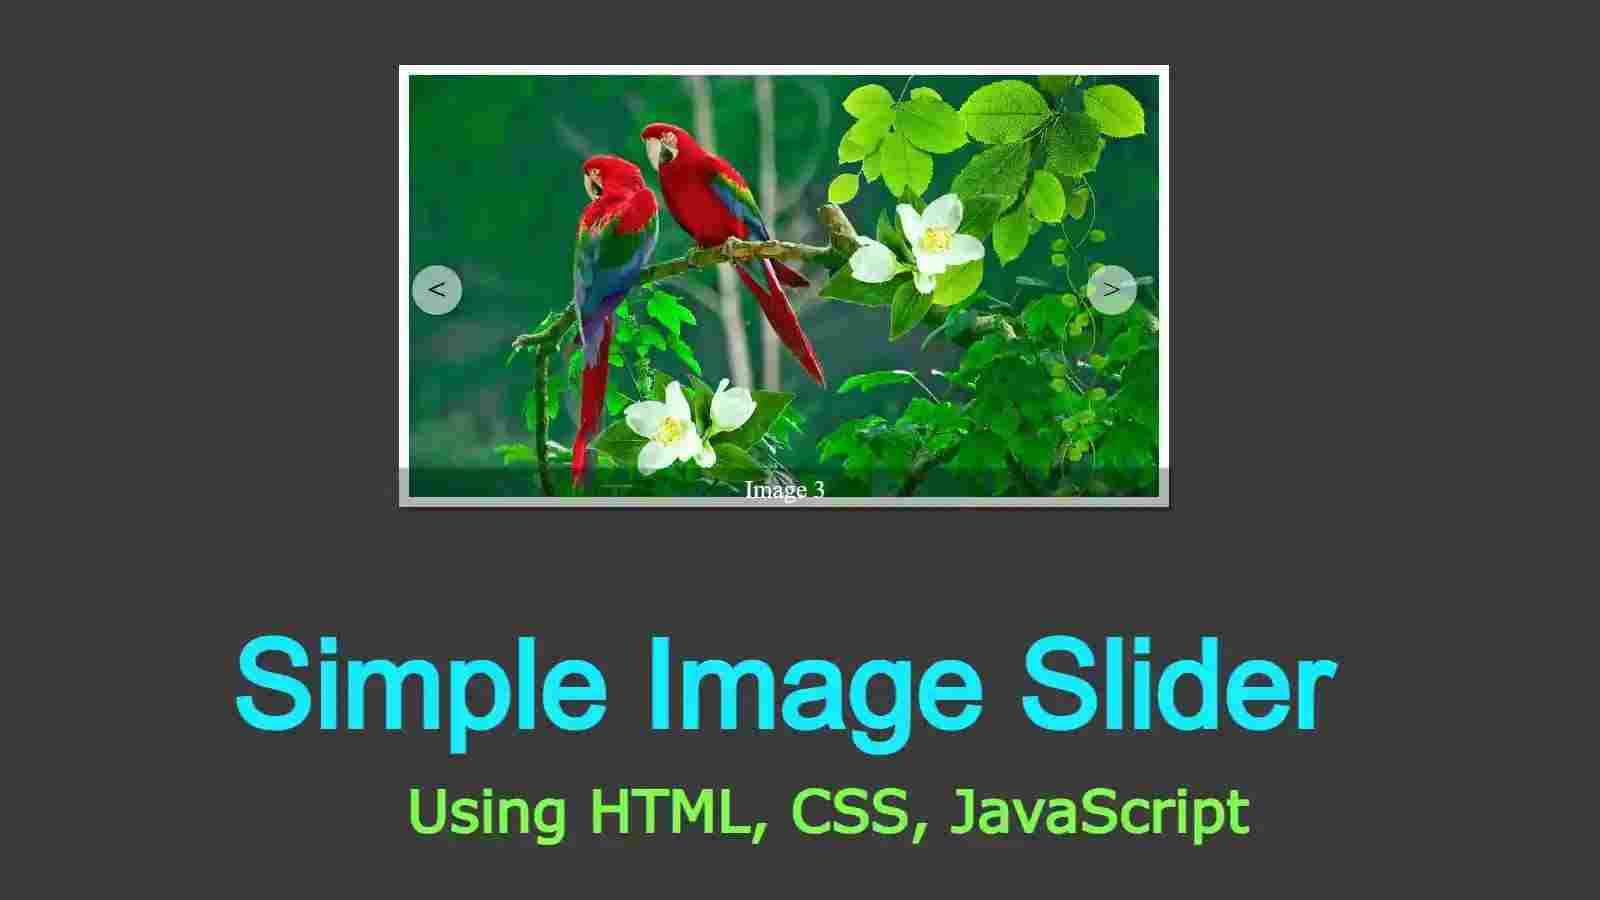
In this article, we are going to learn how to create a simple image slider using HTML, CSS, and JavaScript programming code.
Image sliders are now used for different tasks on different websites. This type of slider is mainly used on the homepage of the website or in the gallery within the website.

Using this type of CSS image slider you can arrange a large number of pictures neatly together. In any case, developers usually think of using different plugins or jQuery to create sliders.
If you want to create an image slider with simple JavaScript without using plugins or jQuery then this article will definitely help you.
This is a very simple and beautiful image slider. In this case, I have used three images and used the left and right buttons to change them. I have used a border around the simple image slider which indicates the size of this slide well.
In this case, there is a place to give specific text for each image, which means you can add some information about that image.
If you want to see its live demo, you can see the demo below. From there you can copy the required source code and use it in your own project.
See the Pen
image slider 3 by shantanu jana (@fghty)
on CodePen.
If you want to get the required source code, you can download the required source code using the download button below the article.
If you are a beginner and want to know how I made this design then you should definitely follow the tutorial below.
Below I have shown which programming code I have used to create any element of this design. This requires you to have knowledge of basic HTML CSS and JavaScript.
First of all, you have to create an HTML and CSS file. Then attach that CSS file to the HTML file.
Copy the HTML programming code below and paste it into the body section of your HTML file.
<div class=”carousel-container”>
<!–Nav Button(prev, next)–>
<div class=”carousel”>
<1–Image item–>
</div>
</div>
The code below is the basic design of the image slider. The following CSS codes have been used to design the background of this slider.
body{
background-color: rgb(58, 58, 58);
margin-top: 100px;
}
.carousel-container {
width: 600px;
height: 400px;
position: relative;
margin: 0 auto;
}

If you have seen the demo above, you will understand that I have used two buttons to change the images in this slider. The HTML and CSS code below helped to create and design that button.
<div class=”navigation”>
<div class=”prev nav-btn”><</div>
<div class=”next nav-btn”>></div>
</div>
.navigation .prev { position: absolute; z-index: 10; font-size: 25px;
top: 40%;
left: 10px;
font-weight: 700;
}
.navigation .next {
right: 10px;
position: absolute;
font-size: 25px;
z-index: 10;
top: 40%;
}
.navigation .nav-btn {
background: rgba(255, 255, 255, 0.55);
cursor: pointer;
border-radius: 50%;
width: 30px;
height: 30px;
display: flex;
justify-content: center;
align-items: center;
padding: 5px;
box-shadow: 2px 2px 10px rgba(0, 0, 0, 0.4);
}
.navigation .nav-btn:hover {
background: white;
}


In this article, I will show you how to create an image slider using HTML, CSS, and JavaScript programming code. Image slider is a popular design that is used in…