If you want to create a Responsive Login Page using HTML and CSS then this tutorial will help you. Here I will show you in a few steps how to create a Responsive Login Form.
The login form we have designed here is like a complete GitHub website. You must have heard the name GitHub if you have just started your journey in the world of programming. I have created this Responsive Login Page like the login form of the GitHub website.
Earlier I designed many more types of HTML login pages but it is completely different. You can create this Responsive Login Page using Simple HTML and CSS.
Responsive Login Page
Below I have given a demo that will help you to know how this HTML login page works. If you only want to download the source code, you can use the download button at the bottom of the article. You will also find the source code in the demo section below.
See the Pen
Untitled by Foolish Developer (@foolishdevweb)
on CodePen.
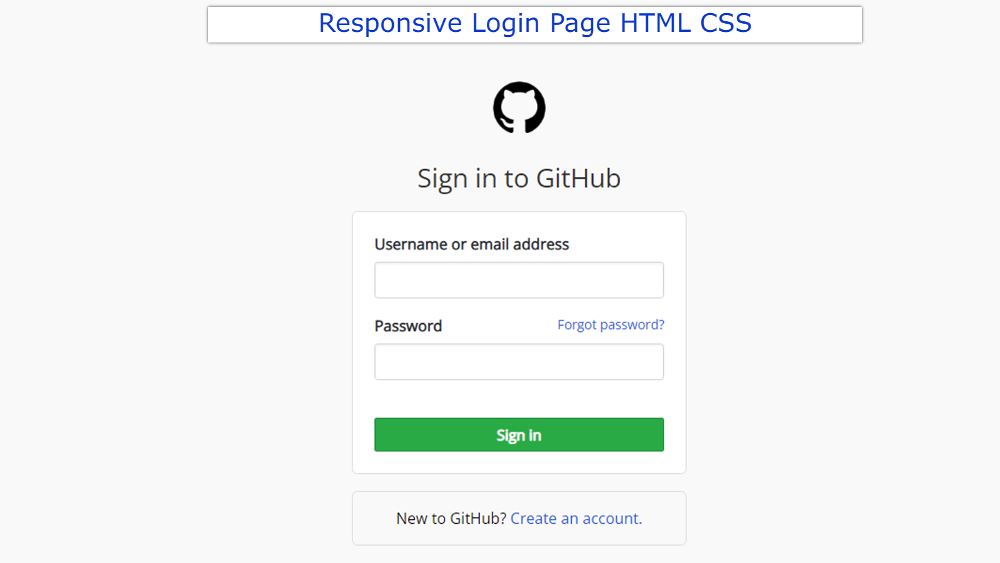
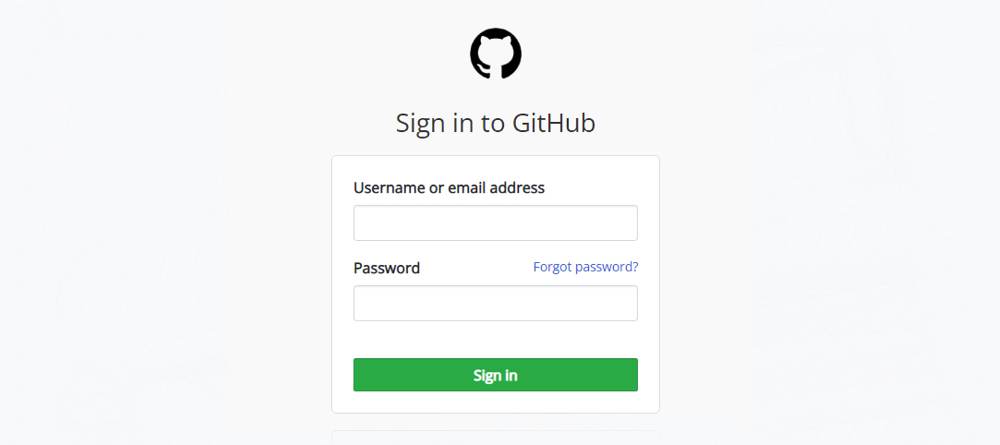
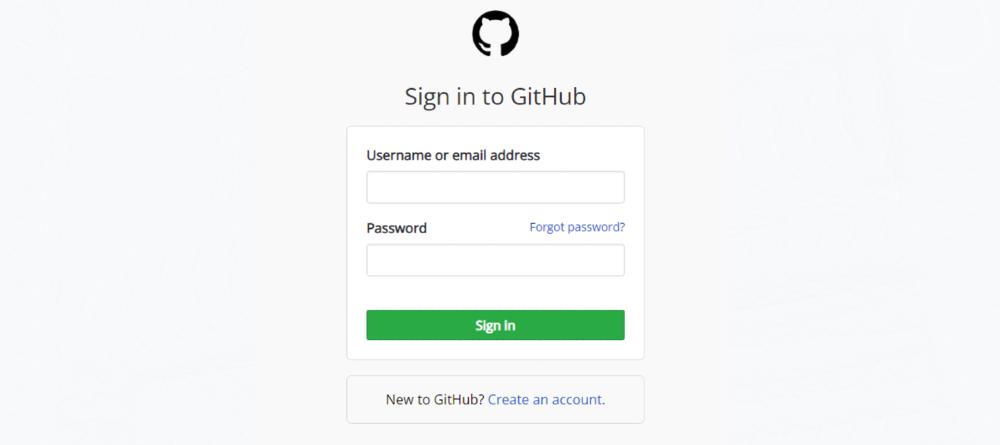
As you can see above, this design is made entirely like the GitHub login form. First an icon, then a heading, then a box containing the space to input the user name and password. At the end of it all, there is a small box to create a new account.
This login page is fully responsive. This will allow you to use it directly on your website.
How to create a responsive Login Form
Now I have shown step by step how I have created Responsive Login Page using HTML and CSS. For this, you must have a basic idea about HTML CSS.
If you just want the source code, you can use the download button below. However, if you are a beginner, please follow the tutorial below.
Step 1: Basic structure of login form
We have created the basic structure of this login form using the following HTML and CSS codes.
The webpage was originally designed using the following codes and added a background color.
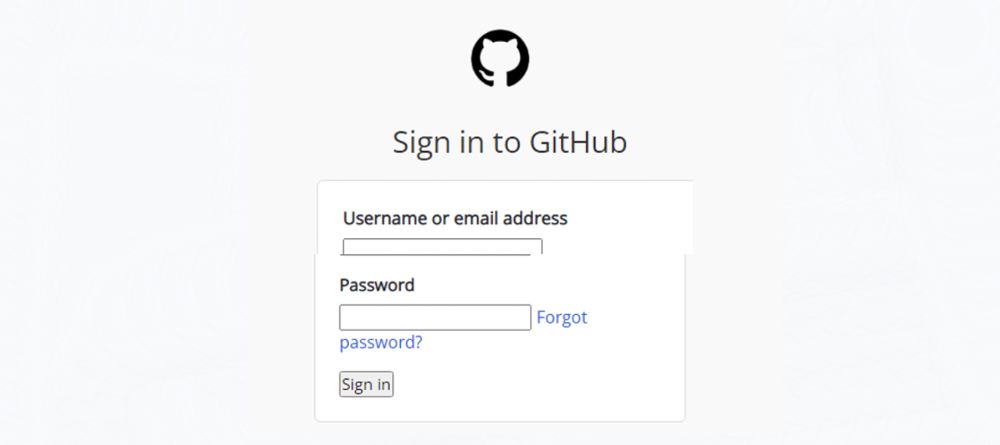
An area of this login form has been created using the following CSS. Area max-width 310px has been used here. Margins are used to place the form along the middle of the webpage.
Step 2: Add logo to login page
Now I have added an icon at the very top of the login page. I have used the icon of the GitHub website here.
Step 3: Add a heading
Now I have used a title which can be seen below this image. The color of the heading is black and I have used font-size: 24px to increase the size.
Step 4: Login page information( Input place and button )
I created the login space using the following HTML and CSS codes. First created two input boxes and a login button. The first input box is to input the email ID and the second input box is to input the password.
The background and input box’s label are designed using the following CSS codes.
The input spaces are designed using the tips below. I have used a border around the input spaces here.
The following CSS has been used to design the text of the Forgot Password here. Added here what kind of change will happen if you click on that input box.
The box-shadow and border color will change when you click on the input box.
Step 5: Design the login button
The login button has been designed using the following codes. This button has no specific size. It will depend on the amount of content.
However, padding has been used to increase the size a bit. I have also used blue as the background color here.
Step 6: Option to create a new account
I have created a small box to create a new account using the following HTML and CSS codes. If you look at the login form of the GitHub website then you will see this kind of option.
We hope you find out from this tutorial how I created this Responsive Login Page using HTML and CSS.
If you can’t attach the above codes, you can take help from the download button below. Be sure to comment on how you like this Responsive HTML Login Form.

