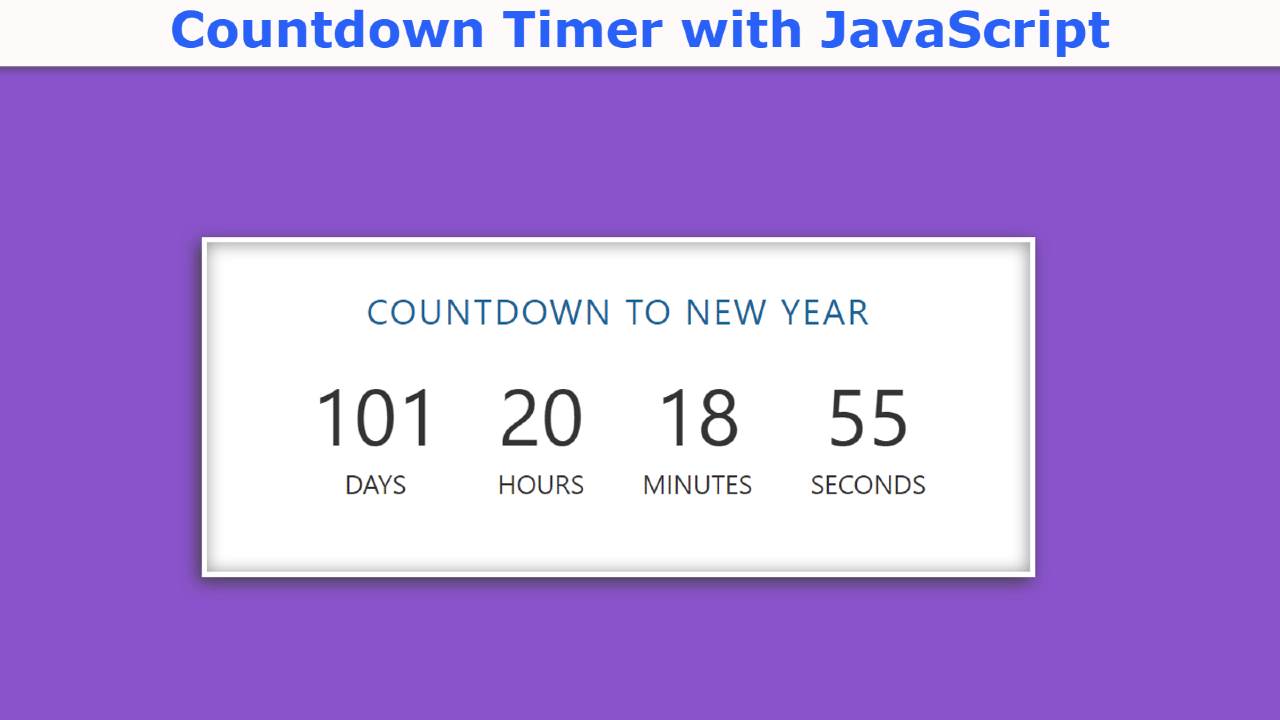
How to Create a Countdown Timer with JavaScript & CSS
In this article, you will learn how to build Countdown Timer with the help of JavaScript and CSS. Earlier I shared with you the design of many more types of…
In this article, you will learn how to build Countdown Timer with the help of JavaScript and CSS. Earlier I shared with you the design of many more types of…
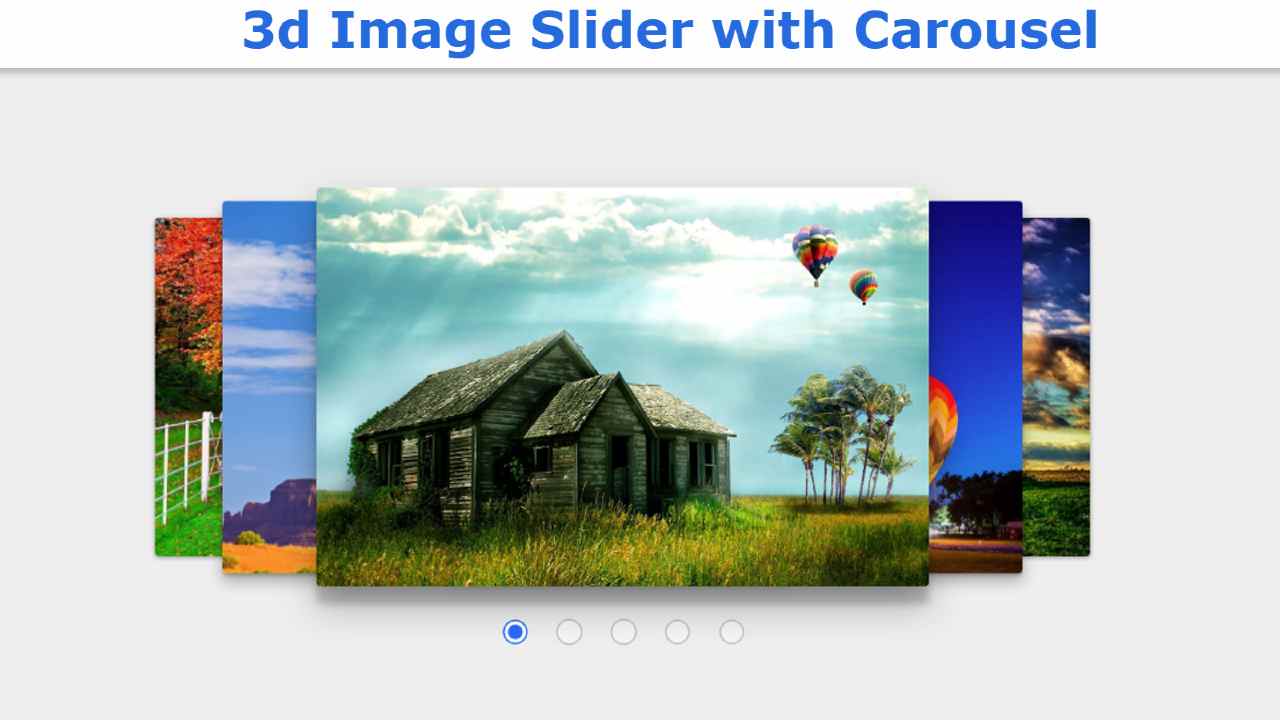
In this article, you will learn how to create 3d Image Slider using only HTML and CSS. In the case of ordinary image sliders, we use JavaScript or JQuery to…
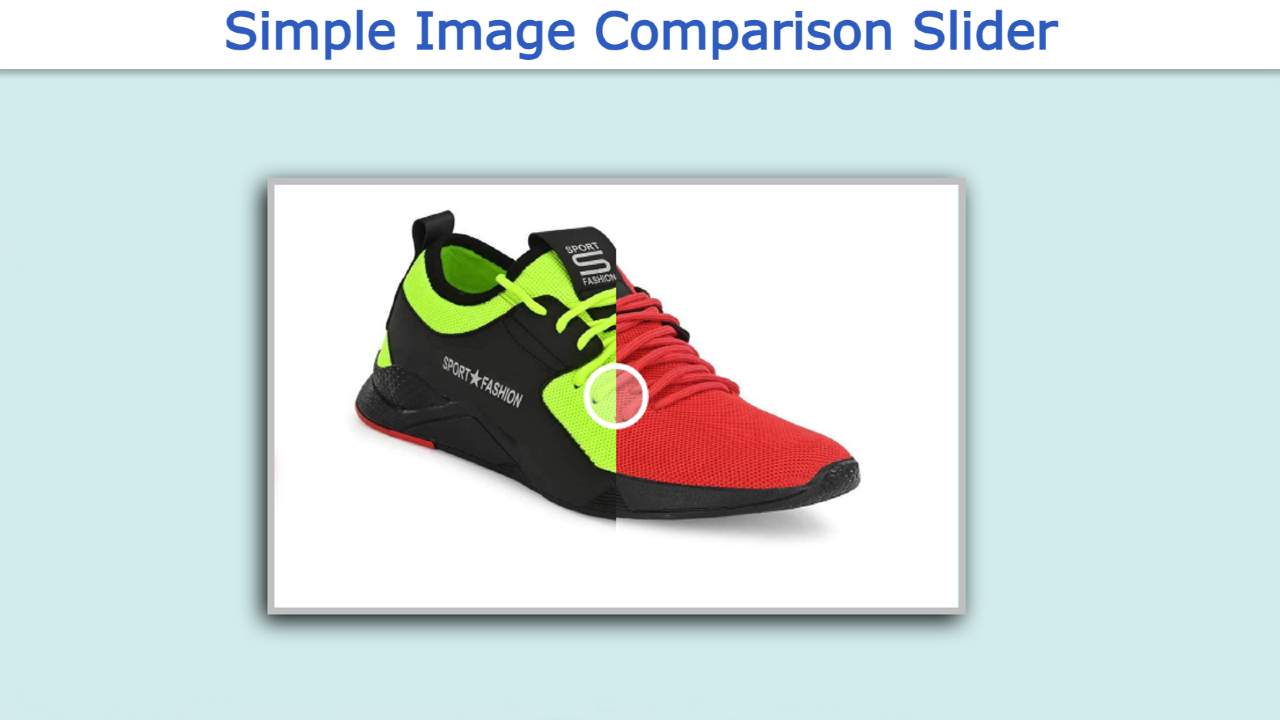
In this article, I have shown how Image Comparison Slider is created using HTML, CSS, and JavaScript. Earlier I shared with you how to create different types of image galleries…

In this article, I am going to show you how to create a pop-up login form using HTML and CSS. You must have seen different types of websites or applications…

Text Typing Animation or typewriter makes the homepage of any website much more beautiful and attractive. There are many ways to make the homepage interesting, among them CSS text typing…
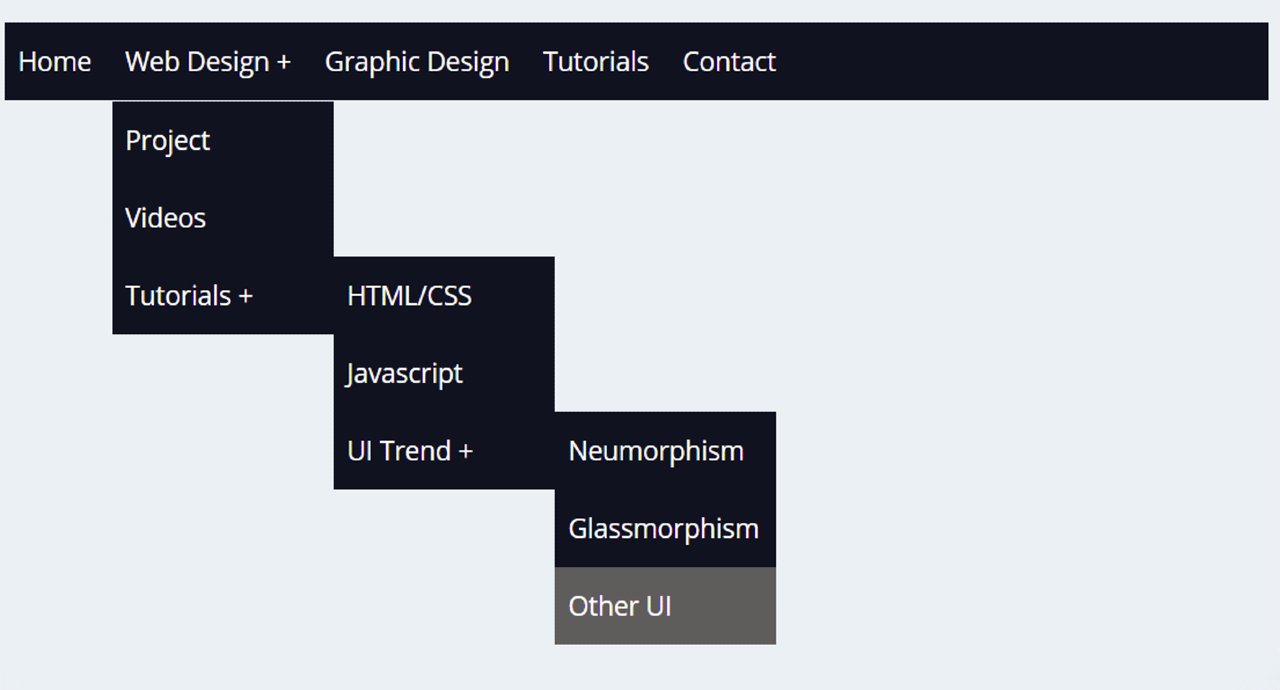
In today's article, you are going to learn how to create a simple dropdown menu bar using HTML and CSS code. If you are looking for good Websites & SEO Company…
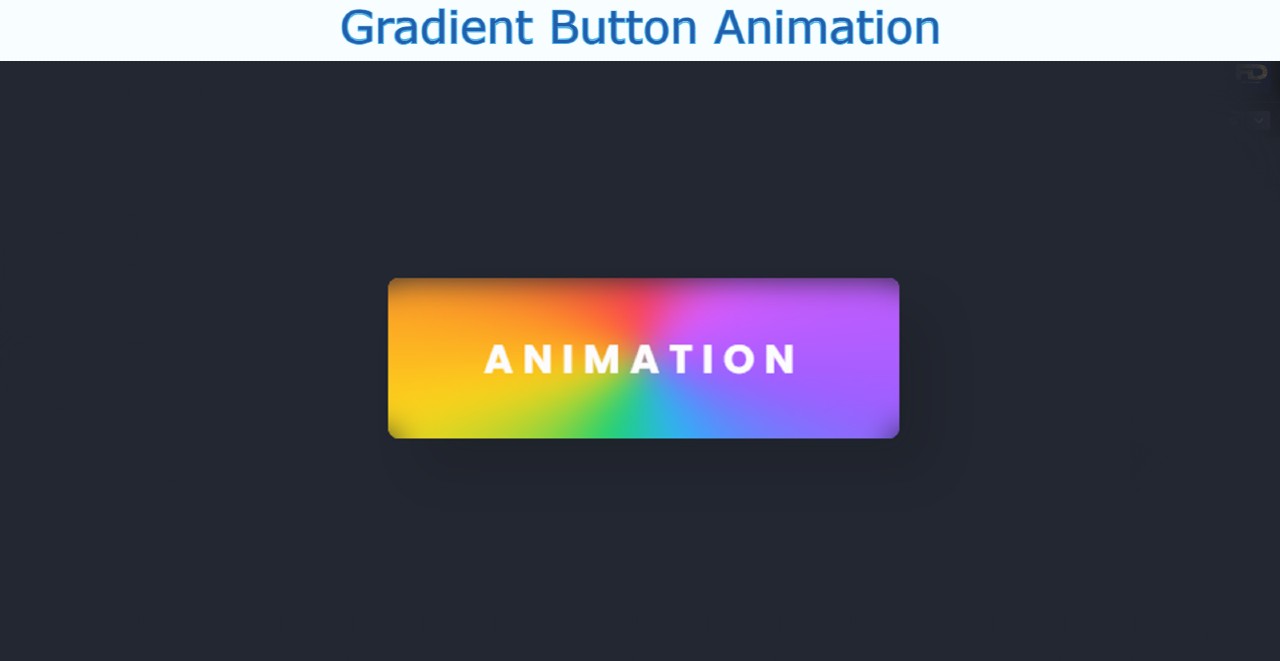
This is an easy tutorial where you will learn how to create a Gradient Button using CSS. You will see this type of Gradient Button or Gradient text on different…
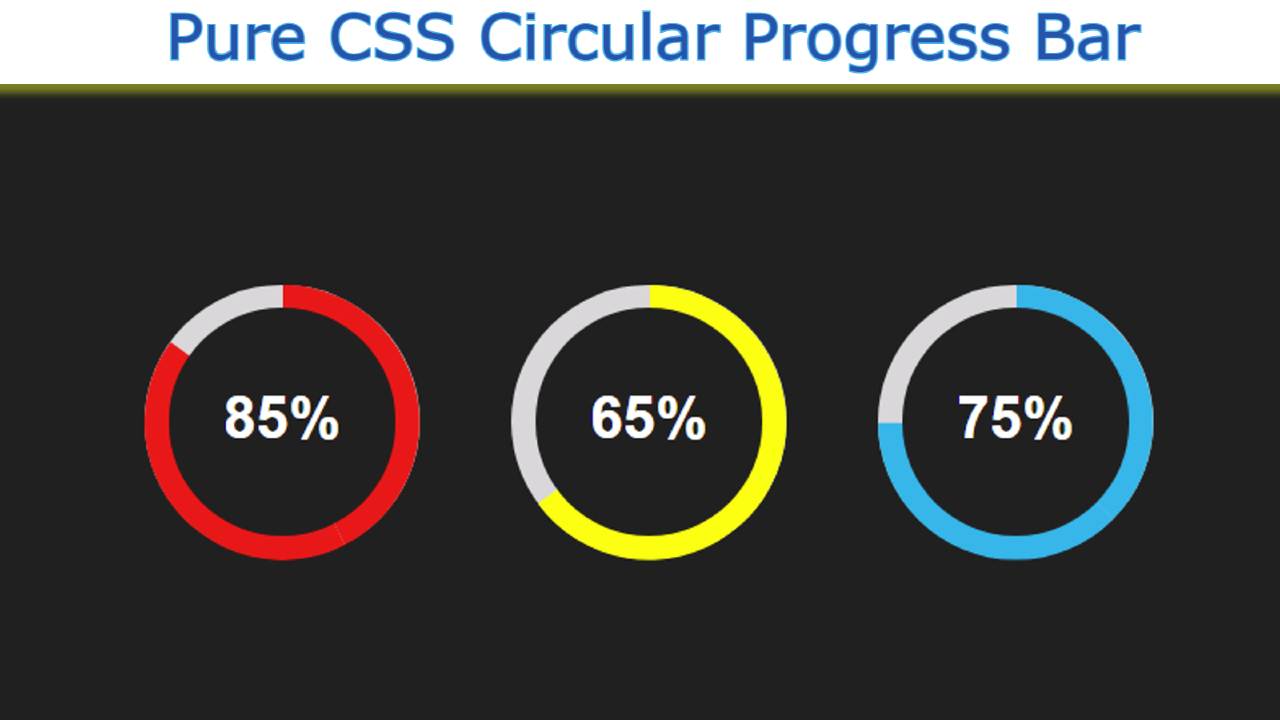
A circular Progress Bar is an interesting web element that is used to show the progress of something. This type of Progress Bar is used in different types of websites…

Glassmorphism Login Form is currently gaining much popularity for this beauty. CSS Glassmorphism is a UI design that is basically like a transparent design. However, in this case, the background…
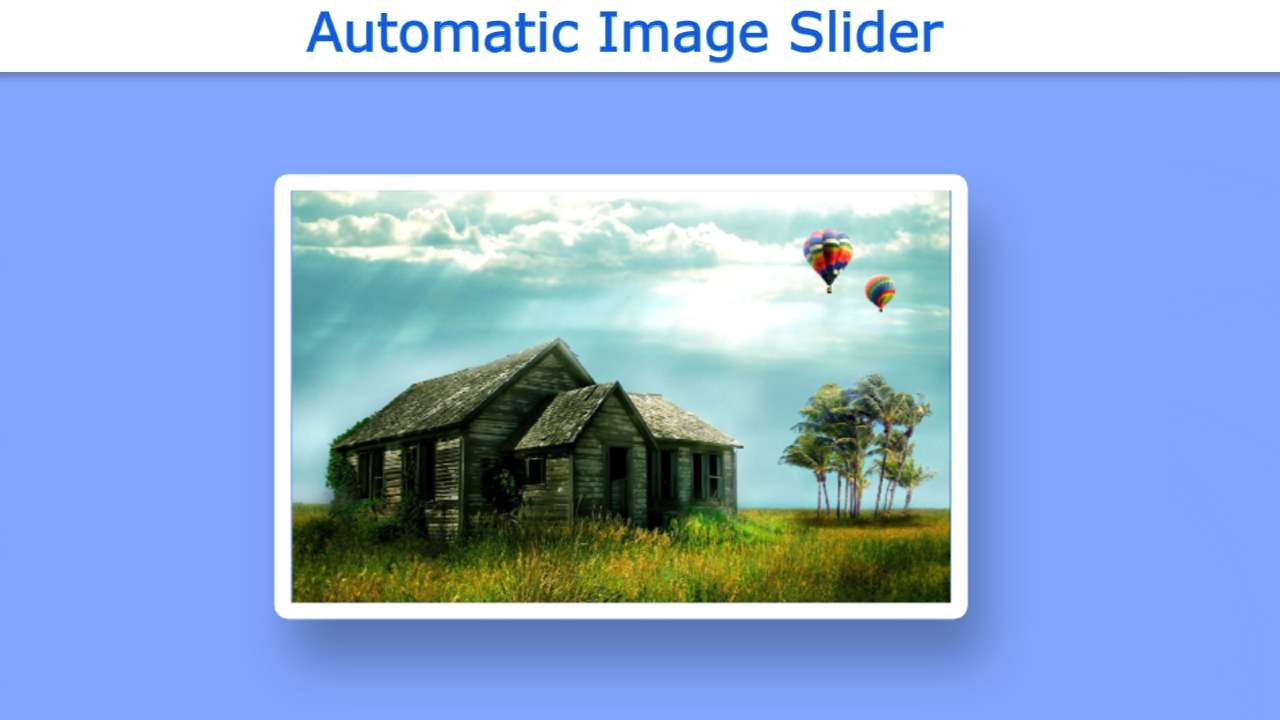
Automatic Image Slider You must have seen it on many websites. This type of automatic slider is used on the homepage or gallery of various websites. In this tutorial, I…