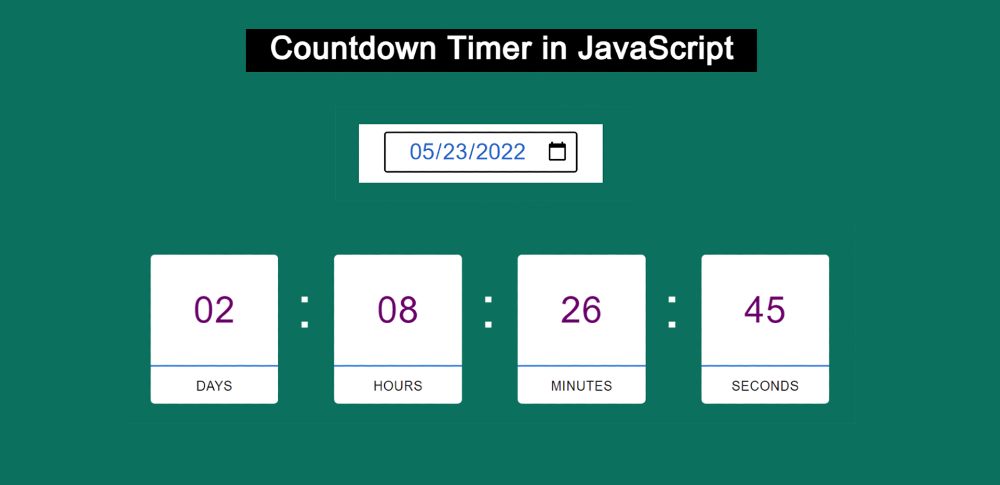
How to Create a Countdown Timer with JavaScript
JavaScript countdown timers can be built in a variety of ways. However, the design that I have shown in this tutorial is very advanced. This countdown timer is created by HTML…
JavaScript countdown timers can be built in a variety of ways. However, the design that I have shown in this tutorial is very advanced. This countdown timer is created by HTML…

If you want to create a Simple Digital Clock using JavaScript then this tutorial is for you. There are many types of digital clock tutorials available on the Internet. However, this design is made in the easiest way.
I used only three lines of JavaScript to create this simple digital clock. I have already created many types of JavaScript clocks. If you want to create an advanced and stylish digital clock then you can search this blog.
However, there are many beginners who want a very simple design. This simple JavaScript digital clock tutorial would be perfect for them. Here I have given step by step tutorial and required source code.
If you want to know how Working Digital Clockworks then be sure to follow the demo section below. Here you will find the required preview and source code.
See the Pen
Untitled by Shantanu Jana (@shantanu-jana)
on CodePen.
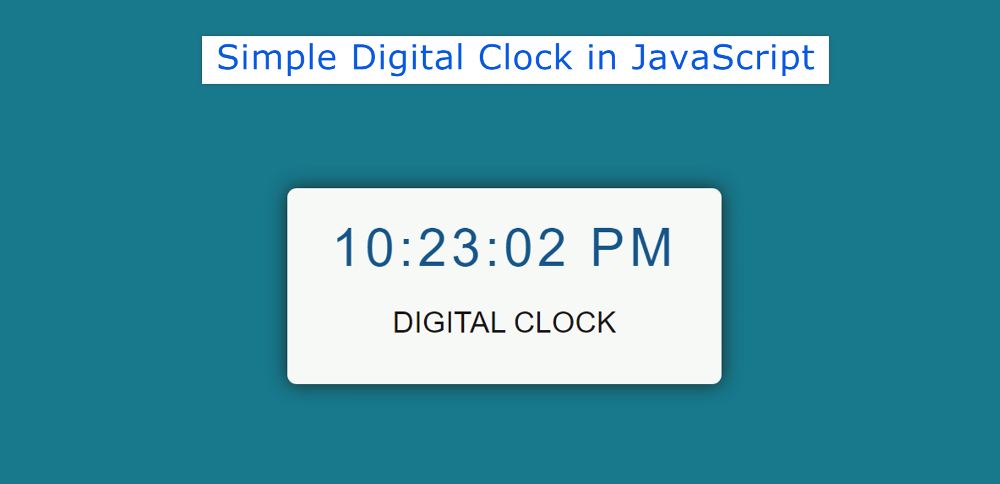
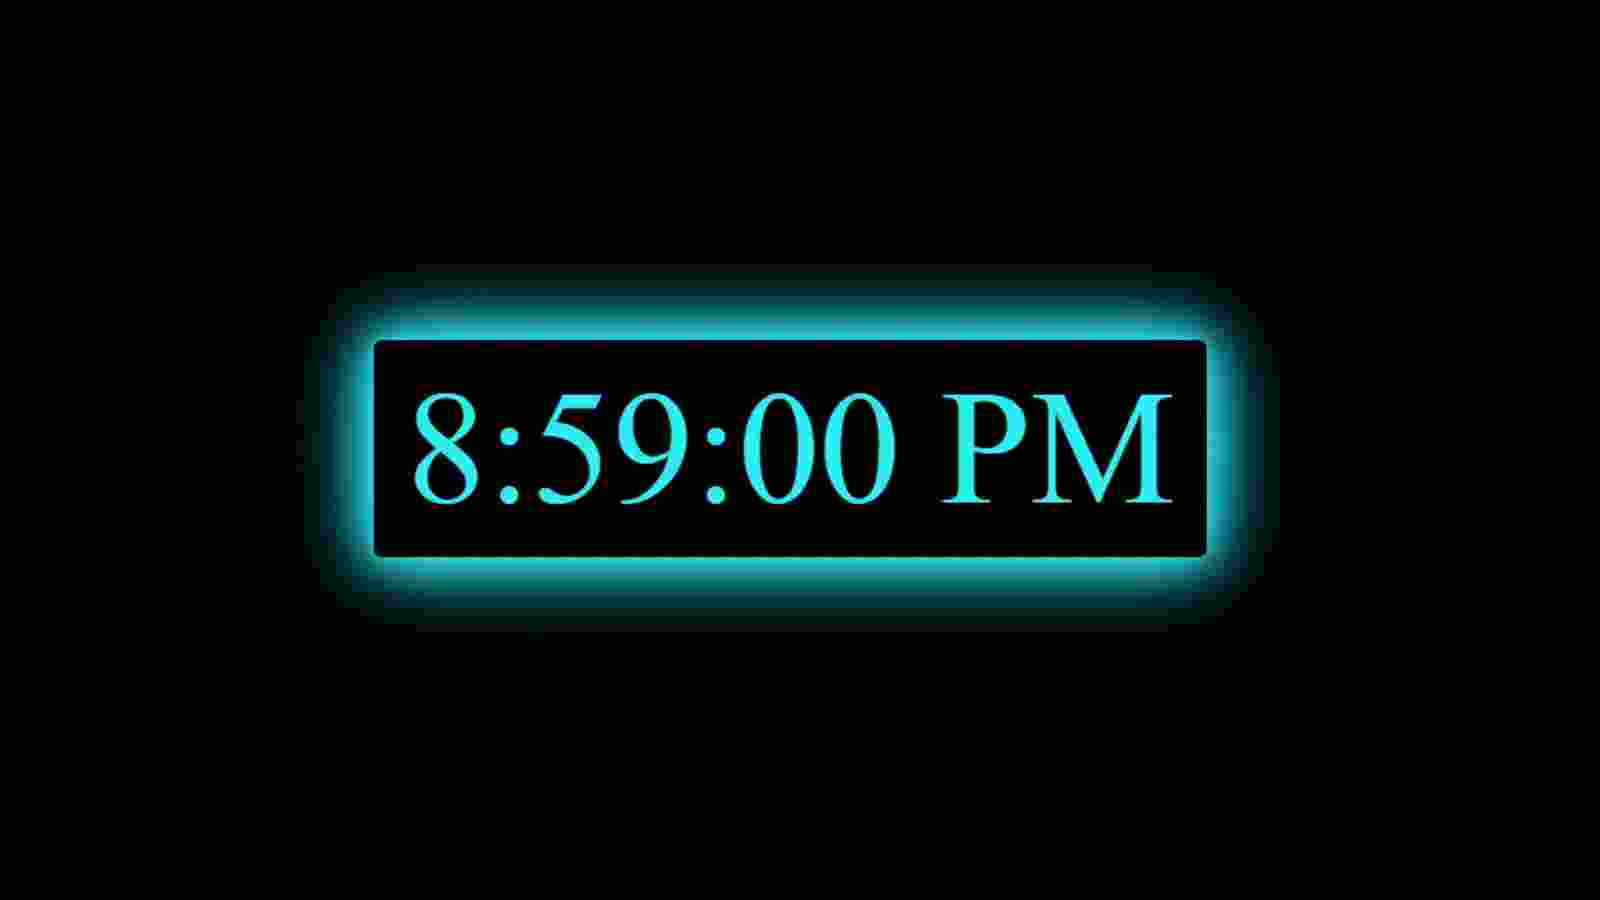
As you can see, I have created a box on top of a web page. In this box, first, you can see the time, then you can see a text. During this time you will see the time in hours, minutes, and seconds.
It has AM and PM options. I have already created a digital clock with the date. If you need to show the date with your time, you can see that design.
Some HTML, some CSS, and 3-line JavaScript have been used for designing. The current time has been taken from your device using the newDate () method. newDate () is a JavaScript method that will take the current time from your device.
First, a box is created using the following HTML CSS. In this box, you can see all the information related to time.
I designed the webpage with the code below and then designed the box. This box has no specific width height. This will determine the amount of content and the size of the padding.


I created a Get Day Name of the Week project using the getDay () method. getDay () is a JavaScript method that allows you to collect Day's information from your…


In this article, you will learn how to create Digital Clock with Date using JavaScript. Earlier I shared with you many more types of digital and analog clocks designs. This digital watch is made with a Glassmorphism design.
Glassmorphism design is a very popular CSS effect that adds extraordinary beauty to any project. We all use digital watches. Making digital clocks from analog clocks is much easier. The time shown here will be taken from the device i.e. the time that will be on your device will be shown here. This time JavaScript’s newDate method is used to receive.
I fully explained how I took the time from the device to show in this project. There is no reason to worry if you are a beginner. Here I have shared step-by-step tutorials and given possible explanations of each line. As I said before you will see the date with this JavaScript digital clock. That means both time and date can be seen.
If you want to make this digital clock, you must have a basic idea about JavaScript HTML, and CSS. Below I have given a complete step-by-step tutorial on how I created this JavaScript Digital Clock with Date. As I said before it is made with the help of Glassmorphism design. In the case of Glassmorphism design, the background is somewhat transparent, meaning that the content in the background can be seen.
First, we created two colorful circles on the webpage. Here the background of the project(Digital Clock with Date using JavaScript) is almost transparent so the two colorful circles behind it can be seen somewhat clearly. First, a box was created to show the time here.
Then I made another small box where the date will be shown. Arrangements have been made here to show the month, day, and year between the dates.
See the Pen
Untitled by Raj Template (@RajTemplate)
on CodePen.
Hopefully, the demo above has helped you to know how it works. Above you will find the required source code. However, you can download the source code with the help of the button below the article.
First, we created two colorful circles using HTML and CSS. Then I made the basic design. After all, using JavaScript takes time from the device to make it work.
We have created two colorful circles on the webpage using the following HTML and CSS codes. I have created an area to see these. Those two circles can be seen in that area.

The width of that area: 430px and height: 520px. Here the height of the circles, the width 140px, and the border-radius helped to convert it into a circle.
The following codes have been used to locate that circle. Different positions and background colors have been added for the two circles.


JavaScript Digital Clock is a beautiful project that helps to increase knowledge about JavaScript. If you are a beginner then of course JavaScript digital clock will be an important project…
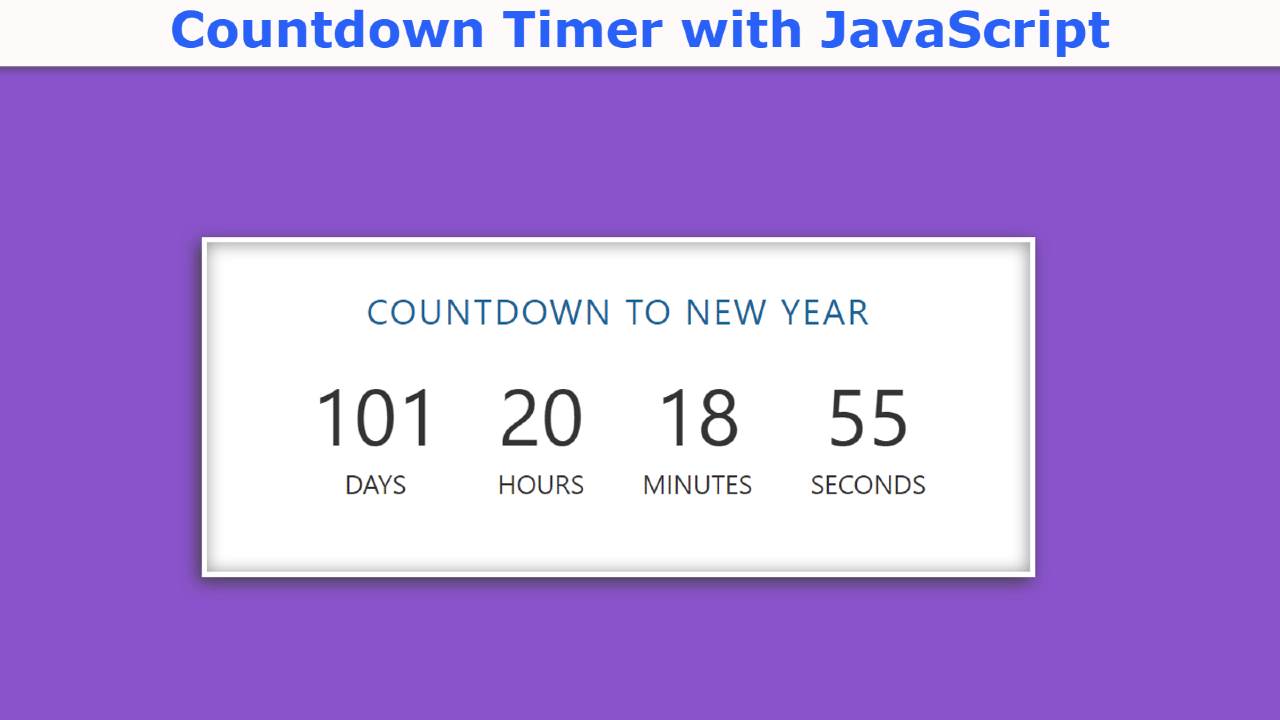
In this article, you will learn how to build Countdown Timer with the help of JavaScript and CSS. Earlier I shared with you the design of many more types of…


Simple Digital Clock Javascript is a great UI design. You can create this kind of digital clock with the help of basic HTML, CSS, and javascript.
In this article, I am going to show you how to create a simple digital clock using HTML, CSS, and JavaScript code. I have shown many more types of analog and digital clocks before. In the meantime, I have made more such clocks where I have added dates and months along with time.
We know that clocks are both analog and digital. Digital watches are much easier to make than analog watches. If you know basic HTML and CSS JavaScript you can easily create such a design. This is basically the role of JavaScript code. HTML and CSS have also been used to design and structure.
This clock has the opportunity to view hours, minutes, and seconds. There are also AM and PM options.
If you want to know how it is made, you can watch the video tutorial below. In this video, I have shown step by step how I made this Simple Digital Clock using HTML, CSS, and javascript code.
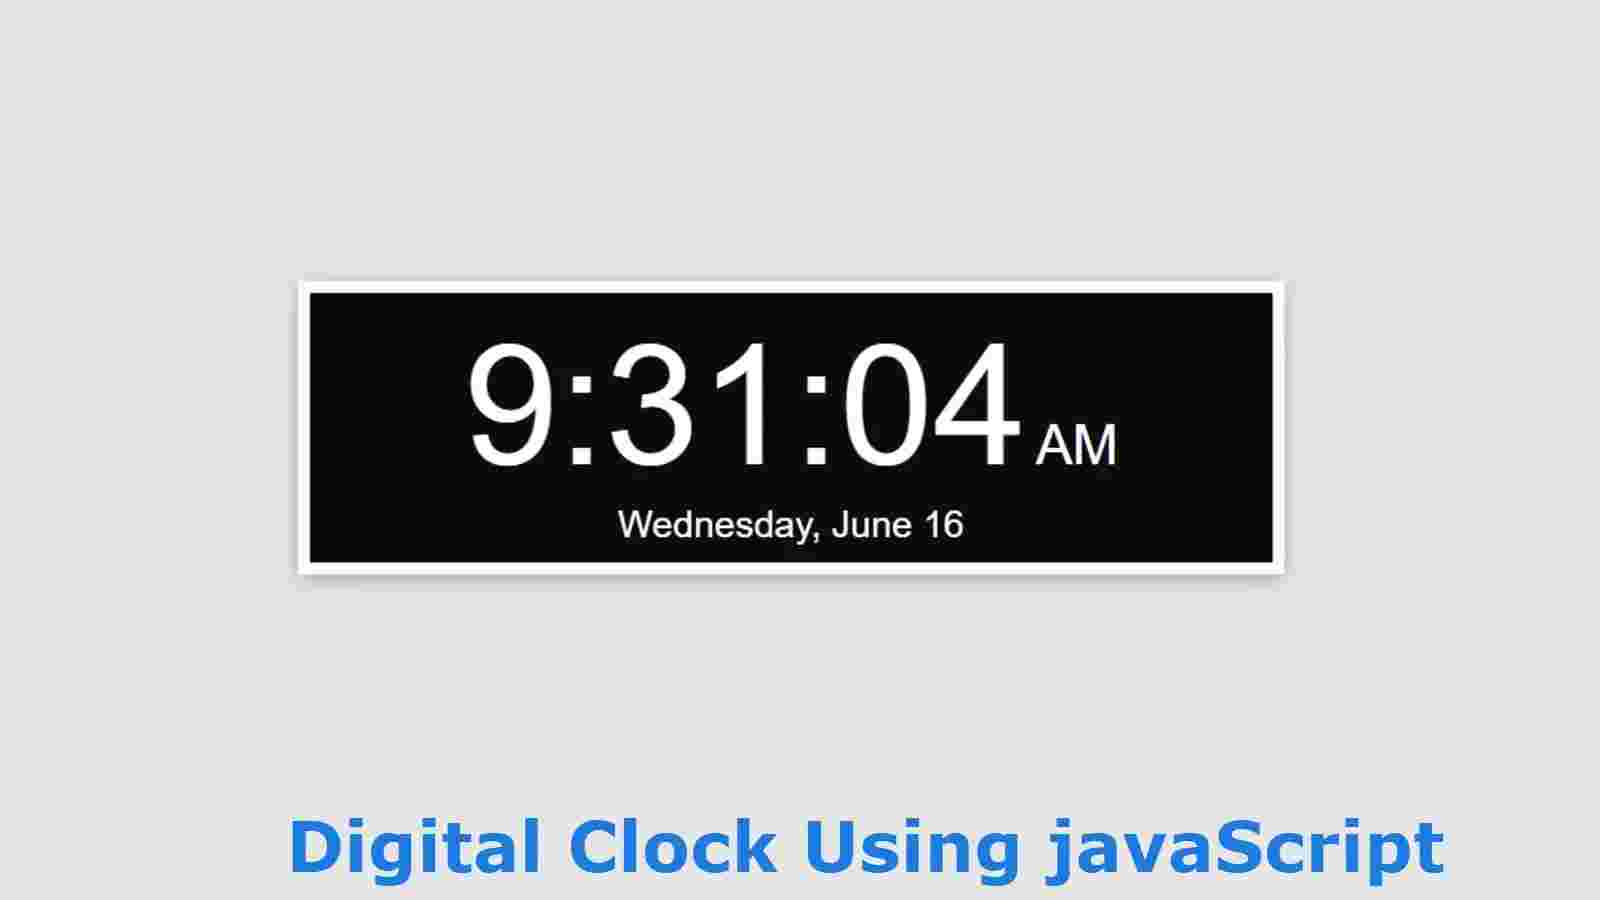
Hopefully, you have learned from the above video tutorial how I made this digital clock. I made a small box on a web page as you saw in the video above.
I used black as the background color of the box and used a border all around to make it brighter. Then I made this clock work using JavaScript code.
First I took the current time from the device using JavaScript’s new Date () method. Then I updated it every one second or 1000 milliseconds using setTimeout. Use the demo section below to see a live experience of how this works.
See the Pen
digital clock 3 by Foolish Developer (@fghty)
on CodePen.
Hopefully, you have learned how to make this javascript digital clock from the video and demo section above.
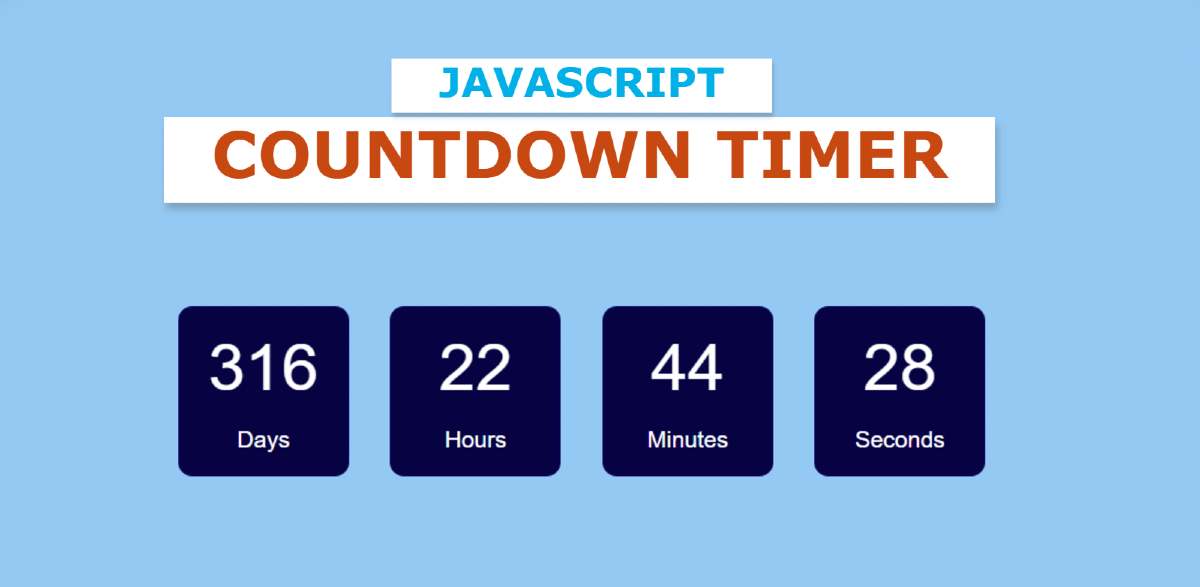
A countdown timer is a simple JavaScript project that waits for a certain amount of time. I have shown how to make different types of digital clocks and analog clocks…
In this article, you will learn how to make a digital clock with the help of HTML CSS, and JavaScript programming code. In a previous article, I showed you how…

In this article, you are going to learn how to make a digital clock using HTML, CSS, and JavaScript programming code. Earlier I shared with you many more types of analog and digital clock-making methods. In this article, I have shown you how to make a completely simple digital watch design.
There are basically two types of clock, an analog and a digital. Digital clocks are much easier to make than analog clocks. In this watch, I have added a date with time, not just time. That means together you will see time, date, month, date everything.
This design is based on JavaScript programming code. If you know the basic JavaScript programming code then you will definitely know how to make this design.
If you want to know how it works then you can watch the live demo below. From below you can copy the required source code i.e. HTML, CSS, and JavaScript, and use it in your own work.
See the Pen
digital clock 2 by shantanu jana (@fghty)
on CodePen.
If you want to know how to make this digital with the help of video then you can follow the video tutorial below. This is a youtube video where I showed you step by step how I made this digital watch. We hope this tutorial helps you.
First of all, you create an HTML and CSS file. You can add CSS code to the Html file using style tags. In this case, I have used a very small amount of HTML and CSS code, so even if you do not create a separate file for the CSS code.
The HTML programming code below is basically the basic HTML structure. You copy the following structure and paste it into your HTML file. The CSS codes below are mainly used to design the background of this digital watch. The CSS code below has helped to create and design the box you saw in the demo.
<div class=”time”>
</div>
body {
font-family: “Work Sans”, sans-serif;
margin-left: 50px;
margin-top: 150px;
background: rgb(230, 230, 230);
}
.time {
background: rgb(12, 12, 12);
color: #fff;
border: 7px solid rgb(255, 252, 252);
box-shadow: 0 2px 10px 0 rgba(0,0,0,0.16), 0 2px 10px 0 rgba(0,0,0,0.12);
padding: 8px;
text-align: center;
width: 500px;
}
