Javascript Confirm Password validation with HTML & CSS

Javascript Confirm Password validation with HTML & CSS

In this article, you are going to learn how to create a password validation using JavaScript, HTML, and CSS. Earlier I showed how to create an email validation design.

Javascript password validation is a very important design for web designers. This type of password validation is used when registering on different types of websites. This allows the user to input his password correctly. Many times the user types the password incorrectly so the user cannot log in to his account later.

Javascript Confirm Password validation

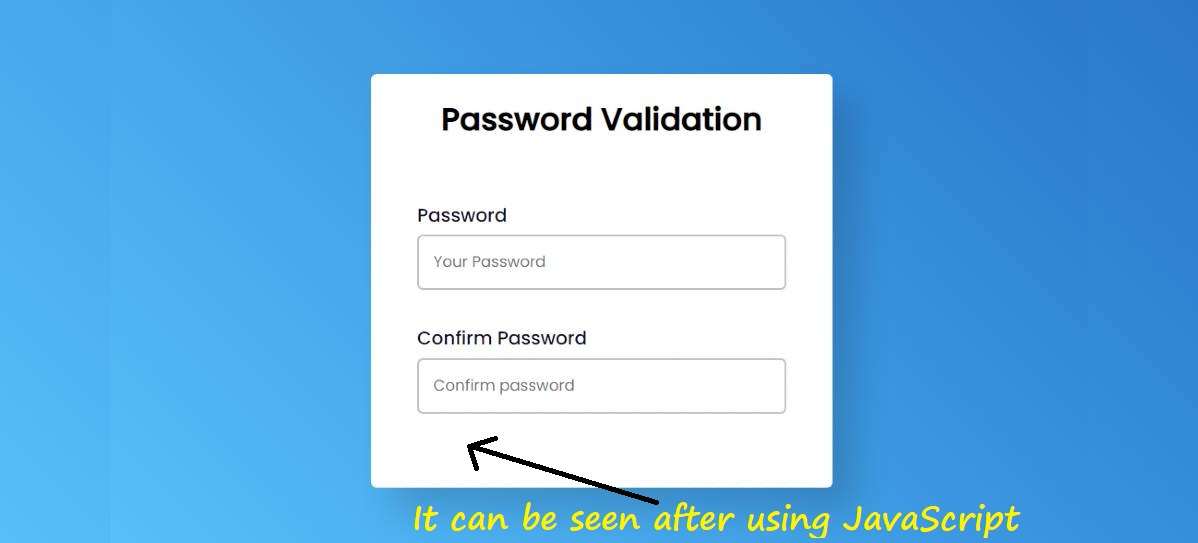
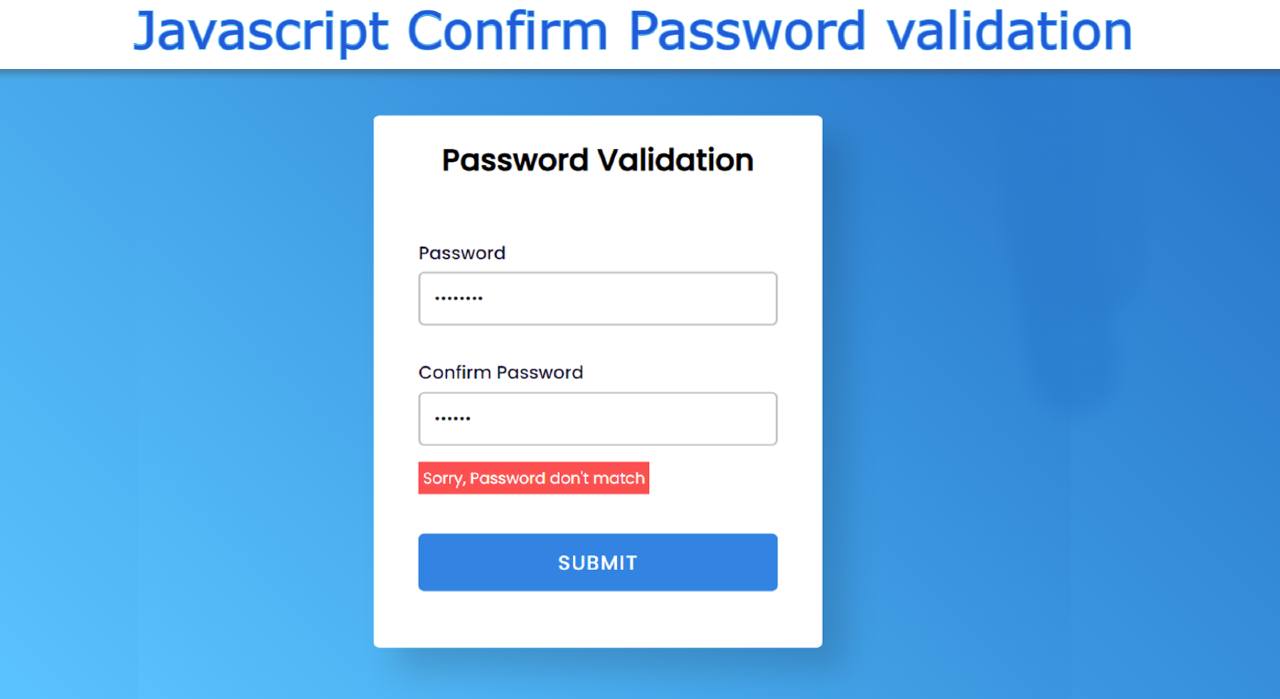
Here the user will retype his character. If the two passwords are confirmed, that is, the same, then the user can create an account. The same way I made this design. There are two input boxes here.

If the two passwords entered by the user are the same then a message will appear here. With the help of that message, the user will understand that his two passwords have been confirmed. 

If the two passwords are not the same then an error message will appear here. Below is a live demo that will help you learn how this JavaScript password validation system works.

See the Pen
Password Validation
by Foolish Developer (@fghty)
on CodePen.

Now is the time to learn something about this design. First I created a box on the webpage where everyone has a title and two inputs. The first place to input the password, the second place to input the password. There is a submit button at the end of all.

How to Validate confirm password using JavaScript

Below I have shared the complete tutorial on how I created this JavaScript password validation system. Before sharing the tutorial, I would like to tell you some points about the codes. This form has been created with the help of HTML and CSS

However, some amount of JavaScript has been used to show different types of error messages. As I said before if the password matches, a green signal will be given and a message will be shown. 

If the password is incorrect, an error message will appear and the user will be warned that the password is incorrect. I used the input function of HTML to create two input spaces.

Step 1: Design the webpage with CSS

 I designed the webpage using the CSS below. Here linear-gradient has been used for the background color of the webpage I have made the gradient.

*,
*:before,
*:after{
    padding: 0;
    margin: 0;
    box-sizing: border-box;
    font-family: “Poppins”,sans-serif;
}
body{
    height: 100vh;
    background: linear-gradient(
        45deg, #51c8ff, #137bca
    );
}
Design the webpage with CSS

Step 2: Basic structure of the Password validation

I used the following HTML and CSS code to create the background. I have basically created a box on the web page using the following codes. I have used the width of this box 400 px and the background color is white. I used box-shadow to create a shadow around it.

 <form>
 
 </form>
form{
    background-color: #ffffff;
    width: 400px;
    padding: 20px 40px;
    position: absolute;
    transform: translate(-50%,-50%);
    top: 50%;
    left: 50%;
    border-radius: 5px;
    box-shadow: 20px 20px 30px rgba(0,0,0,0.15);
}
Create the basic structure of the form

Step 3: Add the title to the validation form

I have created a title using the following codes. As you can see, the first title is used here. I used font-size: 27px to determine the size of this title. Text-align: center is used to center text.

 <h1>Password Validation</h1>
h1{
  font-size: 27px;
  text-align: center;
  margin-bottom: 50px;
}
Add the title to the validation form

Step 4: Create two places to input the password

Now we have created the space to input using the following HTML and CSS code. I have used the input function of HTML to replace the input.

 <label for=”password”>Password</label>
   <input type=”password” id=”password” placeholder=”Your Password”>
 <label for=”cnfrm-password”>Confirm Password</label>
  <input type=”password” id=”cnfrm-password” placeholder=”Confirm password”>
label{
    font-weight: 500;
    color: #101030;
}
input{
    display: block;
    width: 100%;
    margin-top: 5px;
    padding: 12px;
    border-radius: 5px;
    outline: none;
    color: #101010;
}
#password{
    margin-bottom: 30px;
}
Create two places to input the password

Step 5: Create a place to view the error message

Now I have created a place to view the error message. When you click on the submit button after entering the password, an error message will appear. I used these codes to make it. However, the message will not be seen in normal conditions.

 This will be seen when we implement it with the help of JavaScript.  font-size: 14px and color black used. No specific background color is used here. This background color will determine whether your message has been corrected or not.

<p id=”message”></p>
p{
    font-size: 14px;
    margin: 15px 0;
    display: inline-block;
    color: #ffffff;
    padding: 4px;
    text-align: center;
}
Create a place to view the error message

Step 6: Submit button to check for password validation

Now I have created a submit button using the following codes. The background color of the button is blue and the font size is 18 px.

 <input type=”button” onclick=”checkPassword()” value=”SUBMIT”/>
input[type=”password”]{
    border: 2px solid #c2c2c2;
}
input[type=”button”]{
    background-color: #208be3;
    border: none;
    color: #ffffff;
    font-weight: 500;
    font-size: 18px;
    letter-spacing: 1px;
    cursor: pointer;
    margin-bottom: 30px;
    margin-top: 20px;
}
Create a submit button to check for password validation

Step 7: Activate the Confirm Password validation system with JavaScript (more…)

Continue ReadingJavascript Confirm Password validation with HTML & CSS

Javascript Analog Clock Tutorial For Beginners

Javascript Analog Clock Tutorial For Beginners

In this article, I am going to show you how to create an analog clock using HTML CSS, and JavaScript code. In the meantime, I have designed many more types of analog and digital clocks. Here I have explained in full detail how I made it. So if you are a beginner then this tutorial will help you completely.

 At different times we see JavaScript clocks on websites or applications. This is an important JavaScript project. Which you can easily build if you have an idea about basic HTML, CSS, and JavaScript. In the case of digital clocks, we see time digitally. 

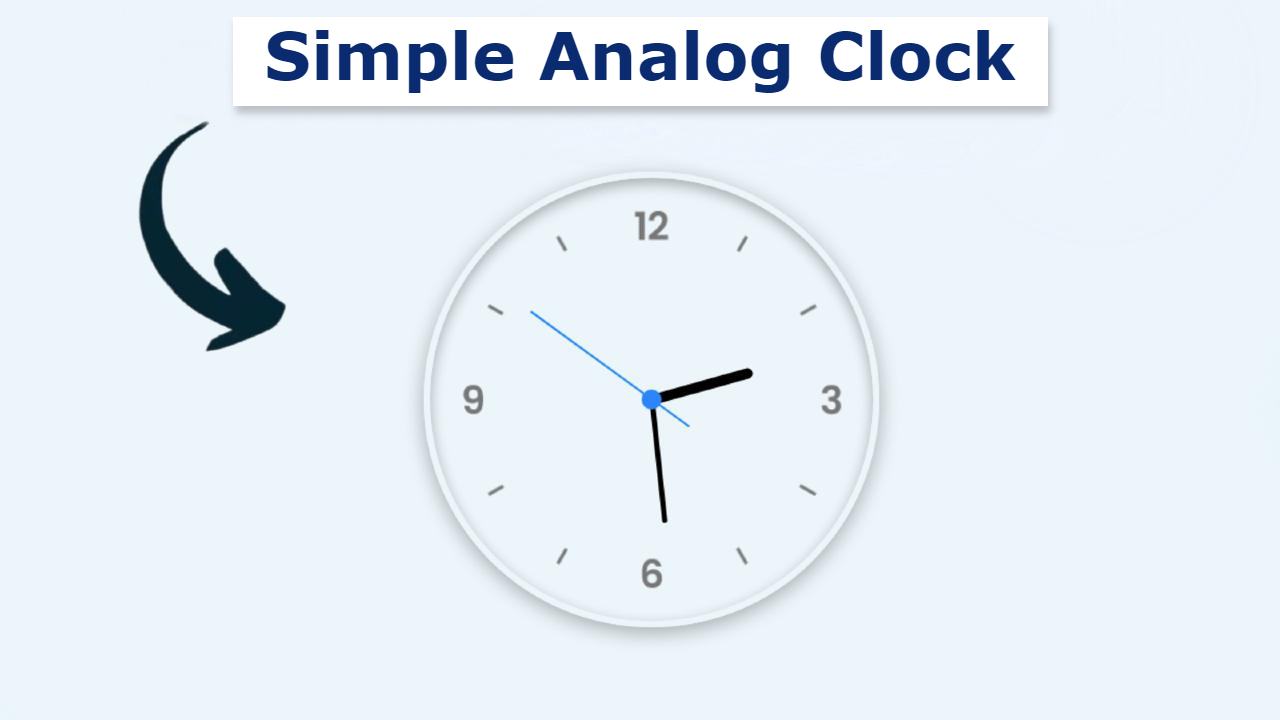
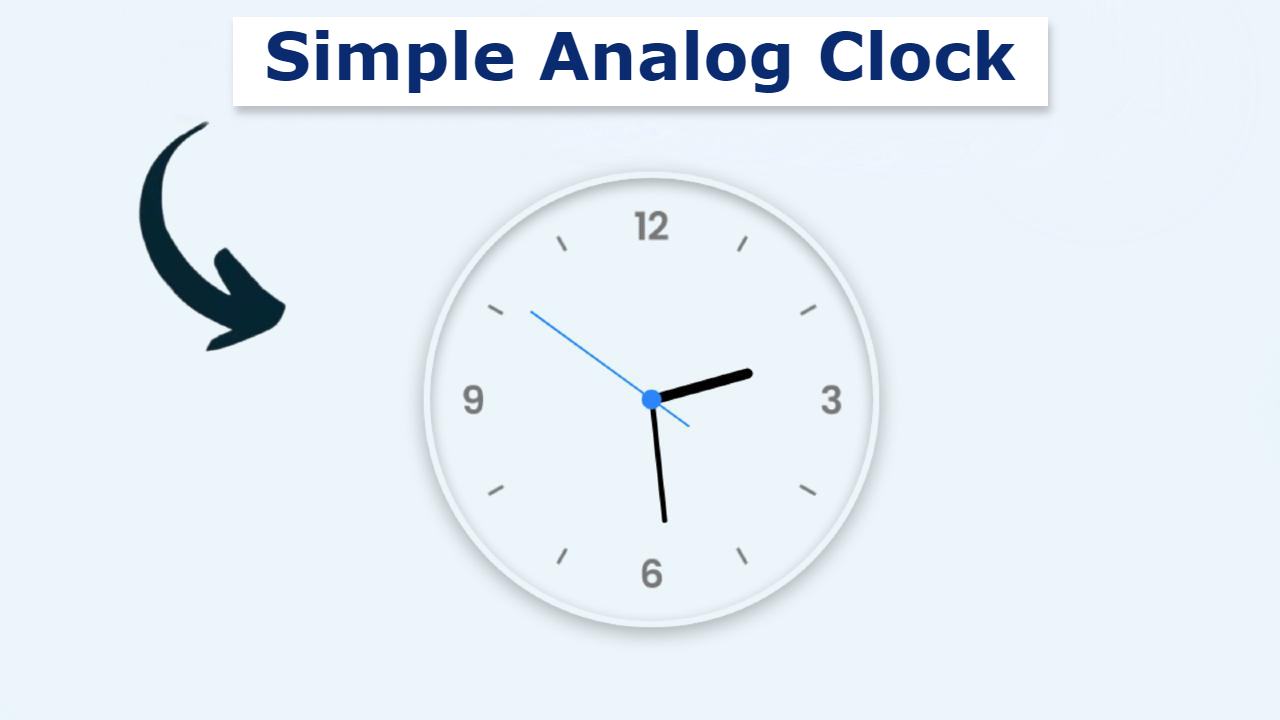
However, in the case of analog clocks, there are three hands that indicate the time in hours, minutes, and seconds. Below I have given a live demo of it which will help you to know how it works. Here you will find the required source code which you can copy and use in your own work.

See the Pen
neumorphism analog clock
by Raj Template (@RajTemplate)
on CodePen.

Hopefully, the demo above has satisfied you a lot. The time used for this watch is taken from your device. First, it will receive the current time from your device. Then the time will be converted to degrees and the hands will continue to rotate. It will take time from your device once and then update that time every second.

As you can see above I have taken the help of Neumorphism design to make this analog watch here. You can also use this design if you want to make an analog watch of Neumorphism design. Here we have created a circle on everyone’s first web page. Then I made a mark from 1 to 12 using a transparent image here. 

Basically, this 1 to 12 sign is very important to indicate time. Here I have used images to make these symbols. But you can make it manually if you want. In the other designs I have already made, I have manually created these symbols or numbers with the help of HTML and CSS code. Since I am making Javascript Analog Clock Tutorial for beginners, I have designed it easily using an image here.

 Then I made three hands using HTML and CSS code. Later I implemented these hands with the help of JavaScript. As I said above it does not show the time of any server. It basically takes time for the device to update it.

Javascript Analog Clock Tutorial For Beginners

 Below I have shown you in full step by step how you can make this design using HTML CSS and JavaScript. HTML and CSS code was used to design this analog clock, and JavaScript enabled it.

Step 1: Basic design of webpage with CSS

Below I have used some amount of CSS code to design the webpage. Here the background color of the web page I have used is white and the mini-height: 100 vh.

*{
    margin: 0;
    padding: 0;
    box-sizing: border-box;
}
body{
    display: flex;
    justify-content: center;
    align-items: center;
    min-height: 100vh;
    background: #ebf5fa;
}
Basic design of webpage with CSS

Step 2: Create the basic structure of the analog clock (more…)

Continue ReadingJavascript Analog Clock Tutorial For Beginners

Responsive Filterable Image Gallery using HTML, CSS & Javascript

Responsive Filterable Image Gallery using HTML, CSS & Javascript

Responsive Filterable Image Gallery is used on various websites to sort images by category. In this article, I am going to show you how to create a Responsive Filterable Image Gallery with the help of HTML CSS, and javascript. 

Filterable Image Gallery is a popular web element that is used around various websites. It is a kind of image gallery where a large number of images are neatly arranged together. The notable point is that all the images can be sorted by category here. There is a navigation bar where all the categories are sorted. When clicking on any one of those categories. Then all the images in that category are seen and the rest of the images are hidden. As a result, the user can easily find the images of his choice. 

This type of design is mainly used in many websites where a lot of images are put together. However, in this case, I have created this Filterable Image Gallery using Pure JavaScript.

Video Tutorial of Responsive Filterable Image Gallery

If you do not understand what I am saying then you can watch the video tutorial below. This video will help you to know better how I made this design.

Hopefully, you have learned how to make it from the video tutorial above. As you can see above, I first created a navigation bar on a web page. Where I created five-category buttons. Here I have used a total of 9 images. I have used different categories of images here. 

You can add many more images with these 9 images if you want. In the category in the navigation bar, you can see the image related to the category you click on. In the same way, when you click on another category, the images of that category will be seen and the rest will be hidden. I made it fully responsive so that it can be used on all devices.

I hope you understand how this Responsive Filterable Image Gallery works. But for better understanding, I have given the live demo below. This live demo will help you get a live experience of this design.

See the Pen
by Foolish Developer (@fghty)
on CodePen.

How to Create Filterable Image Gallery using HTML and CSS (more…)

Continue ReadingResponsive Filterable Image Gallery using HTML, CSS & Javascript

Animated Accordion Menu using HTML, CSS & Javascript

Animated Accordion Menu using HTML, CSS & Javascript

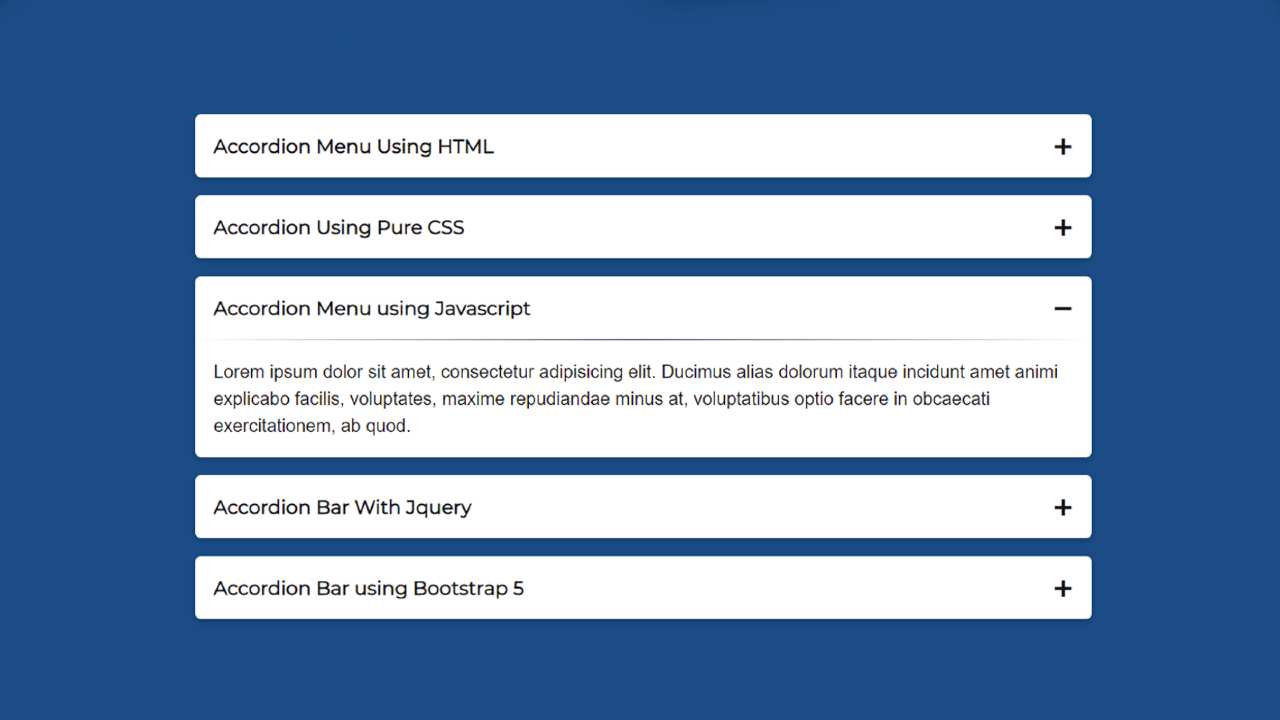
In this article, I am going to show you how to create an Accordion Menu menu using HTML, CSS, and JavaScript code. Earlier I showed the design of many more types of Animated CSS accordion menus. Now it’s time to recreate it with JavaScript.

 The responsive accordion menu has an original heading. When you click on that heading, all the information related to that heading can be seen below.

Accordion Menu is a modern content structure where a large amount of information can be neatly arranged in one place. This type of structure is used on different types of websites. This type of design is mainly used in the FAQ section or question-answer section. 

This type of Accordion Menu is very important for arranging related questions and answers for different types of services. In addition, a large amount of text is arranged on different types of websites depending on the different headings.

Video Tutorial of Animated Accordion Menu

 If you do not understand what I am saying then you can watch the video tutorial below. This video tutorial will help you to know how I made this simple javascript accordion.

We hope you have learned how to make this design from the video tutorial above. 

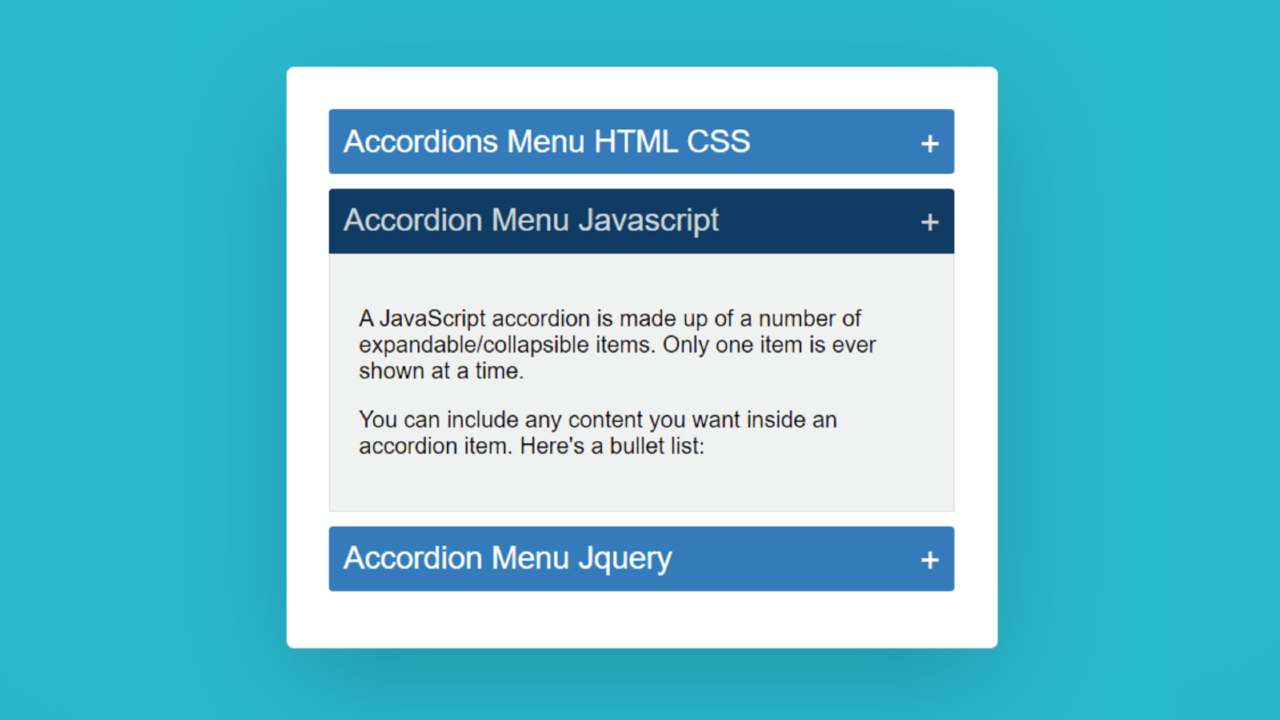
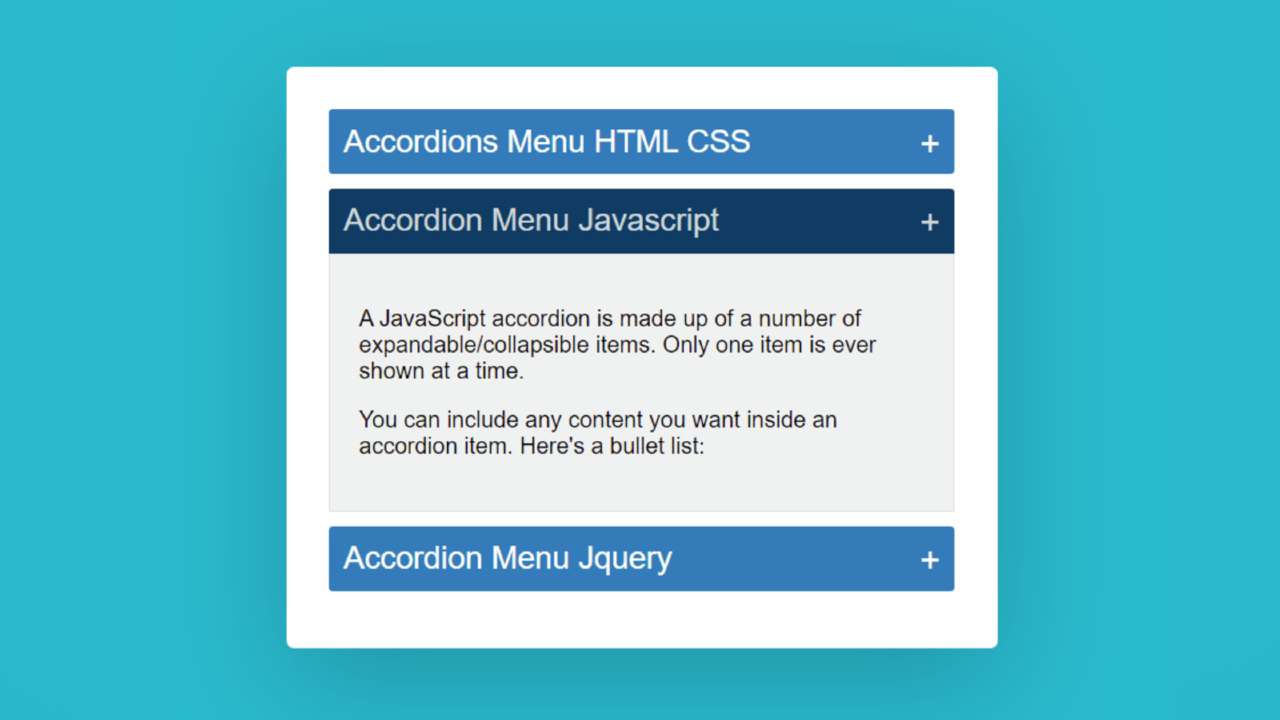
I made a small box on a web page as you can see above. I used three headings in that box. I have given the background color to highlight those headings and made it a bit bigger in size. Then I added some amount of content under that heading. 

Here you can add any type of content. Under normal circumstances, information is hidden. When you click on that heading, the information under that heading can be seen below.

You can use the demo section below to get a live experience of this design. Here you will find the required source code which you can copy and use in your own work.

See the Pen
Accordions Menu HTML CSS
by Foolish Developer (@fghty)
on CodePen.

Hopefully, the demo above has helped you to know how this javascript accordion works. 

How to Create Simple CSS Accordion Menu (more…)

Continue ReadingAnimated Accordion Menu using HTML, CSS & Javascript

Simple Digital Clock using javascript (For Beginners)

Simple Digital Clock using javascript

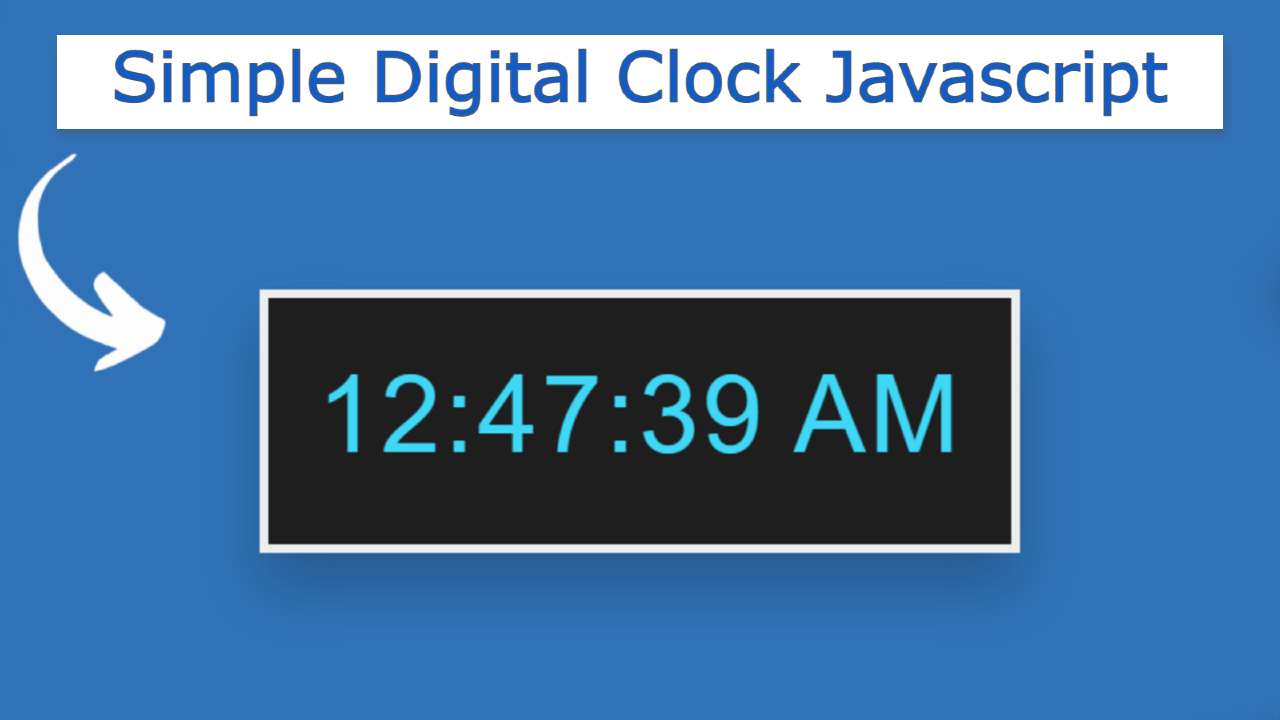
Simple Digital Clock Javascript is a great UI design. You can create this kind of digital clock with the help of basic HTML, CSS, and javascript.

In this article, I am going to show you how to create a simple digital clock using HTML, CSS, and JavaScript code. I have shown many more types of analog and digital clocks before. In the meantime, I have made more such clocks where I have added dates and months along with time.

 We know that clocks are both analog and digital. Digital watches are much easier to make than analog watches. If you know basic HTML and CSS JavaScript you can easily create such a design. This is basically the role of JavaScript code. HTML and CSS have also been used to design and structure.

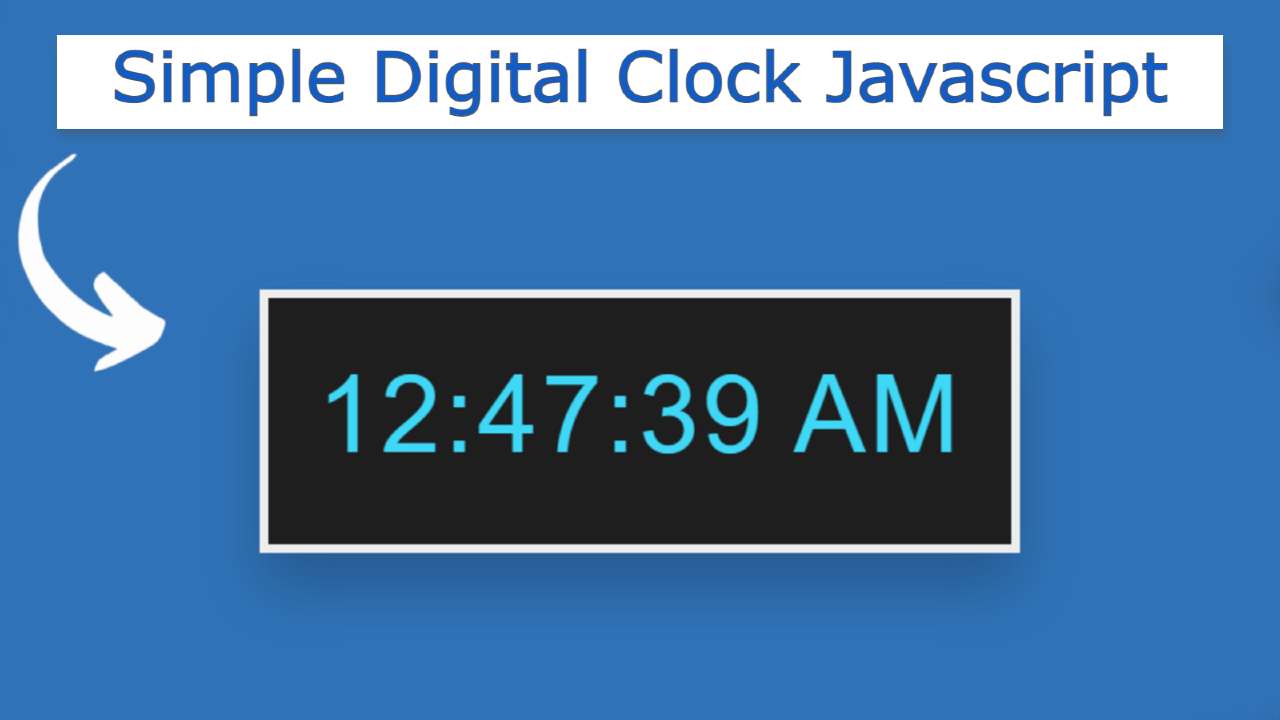
 This clock has the opportunity to view hours, minutes, and seconds. There are also AM and PM options.

Video Tutorial of Simple Digital Clock Javascript

 If you want to know how it is made, you can watch the video tutorial below. In this video, I have shown step by step how I made this Simple Digital Clock using HTML, CSS, and javascript code.

Hopefully, you have learned from the above video tutorial how I made this digital clock. I made a small box on a web page as you saw in the video above. 

I used black as the background color of the box and used a border all around to make it brighter. Then I made this clock work using JavaScript code.

First I took the current time from the device using JavaScript’s new Date () method. Then I updated it every one second or 1000 milliseconds using setTimeout. Use the demo section below to see a live experience of how this works.

See the Pen
digital clock 3
by Foolish Developer (@fghty)
on CodePen.

Hopefully, you have learned how to make this javascript digital clock from the video and demo section above. 

How to Make a Digital Clock using javascript (more…)

Continue ReadingSimple Digital Clock using javascript (For Beginners)