
Make an Analog Clock using HTML, CSS and JavaScript
In this article, you are going to learn how to make an analog clock using HTML, CSS, and JavaScript programming code. Earlier I shared with you the method of making…
In this article, you are going to learn how to make an analog clock using HTML, CSS, and JavaScript programming code. Earlier I shared with you the method of making…


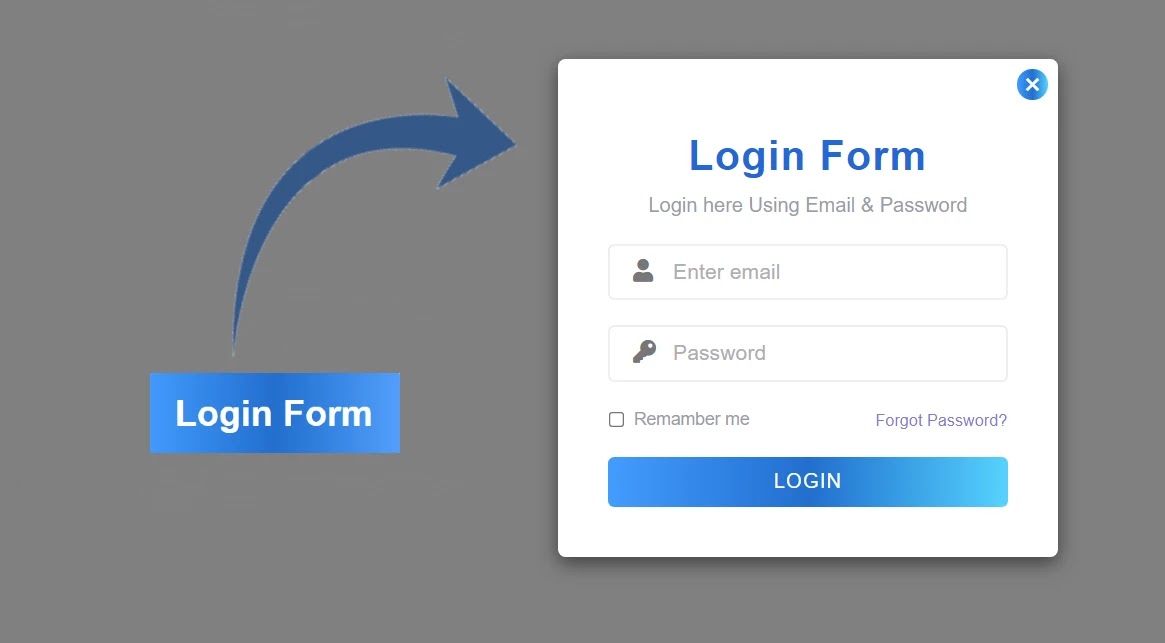
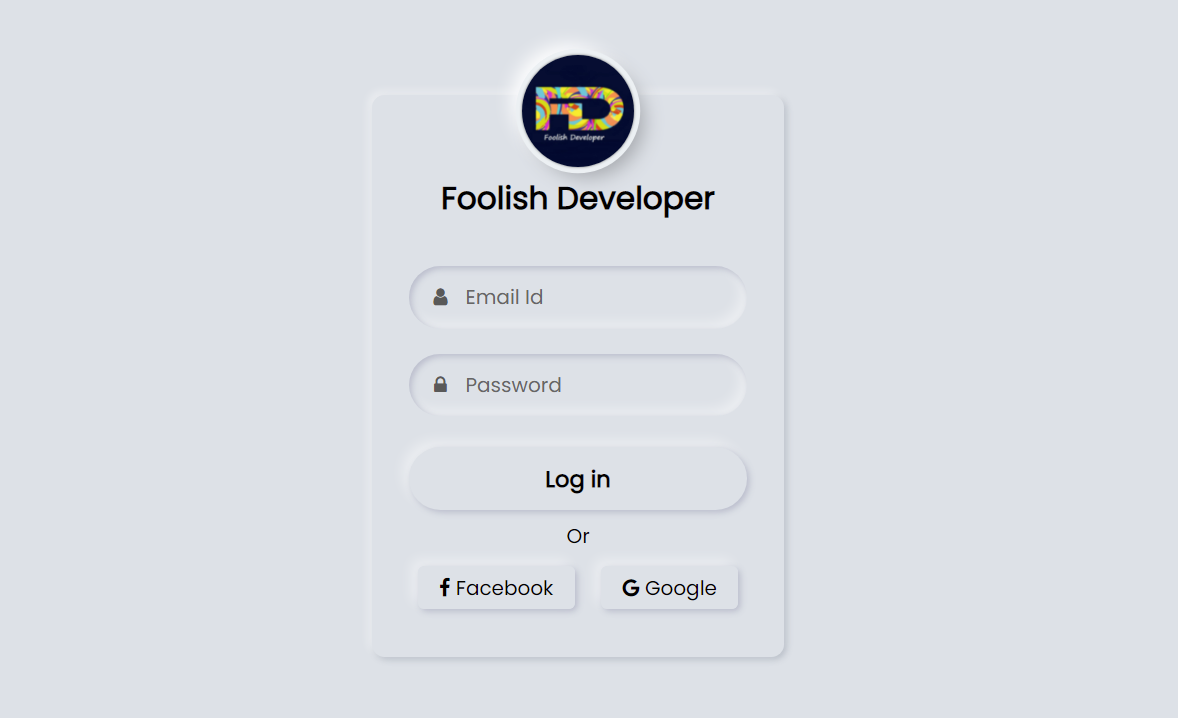
In this article, I am going to show you how to create a simple login form using HTML, CSS, and Bootstrap programming code. Earlier I designed different types of login forms like Neumorphism, Glassmorphism. This login form is very simple and beautifully designed.
Basically in this case I have created this login form using HTML, CSS programming code. I designed it using CSS programming code and made it responsive with bootstrap programming. Everything here is like a normal login form. First of all, there is a place to give a profile image, I have used a title below it. Then there is a place to input the email ID and password to log in. In this case, of course, I used the icon in the email ID and password box. There is a forget password and login button. If you do not have an account, there is an option to create an account. All in all, it is a complete login design that you can easily create with HTML CSS and bootstrap code.
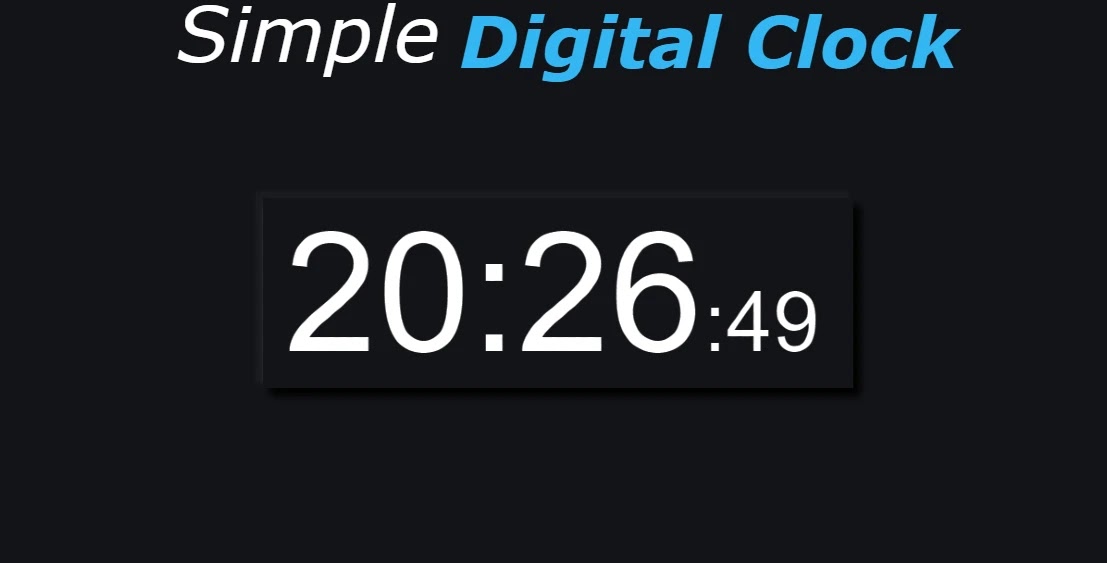

In this article, I have shown you how to create a digital clock using HTML, CSS, and JavaScript programming code. If you are a beginner and want to know how to make a digital clock using JavaScript programming code, you can definitely find out from this article.
Earlier I made many more types of watches like analog, digital, etc. You can see those designs if you want. It is made very commonly. There are three types of time such as hour, minute, and second. Similarly here you can see three types of time.

Hello in this article I have shown you how to create text typing animation effects using HTML, CSS, and JavaScript programming code. I have already made another text typing animation…
Hello in this article you are going to learn about How to create a popup login form using HTML, CSS, and Bootstrap . I have designed another pop-up login form.…
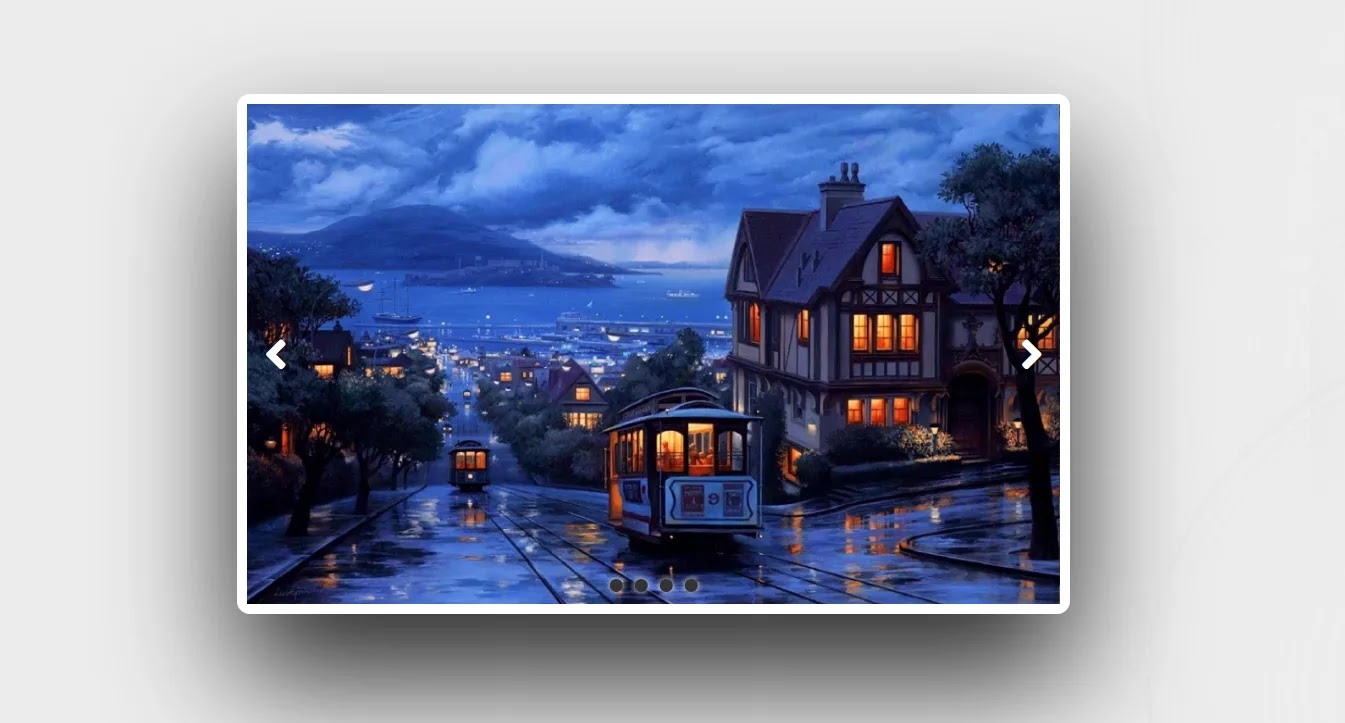
In this article, I will show you how to create an image slider using HTML, CSS, and JavaScript programming code. Image slider is a popular design that is used in…
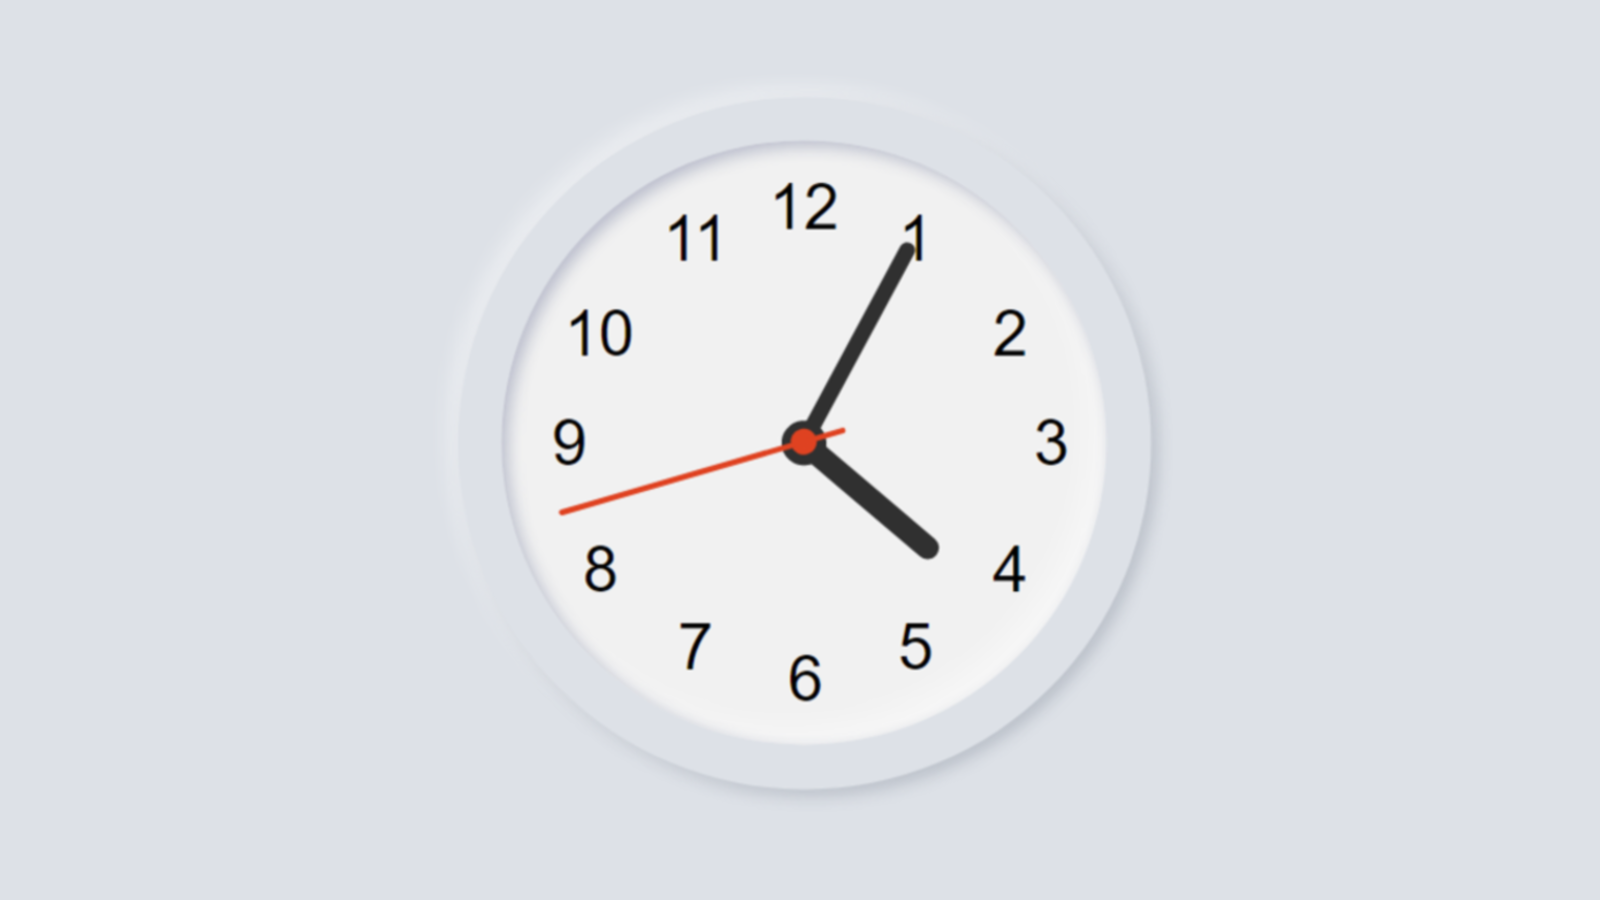

In this article, you are going to learn how to make an analog clock using HTML, CSS, and JavaScript programming code. Earlier I showed how digital clocks are made using JavaScript programming code. You must have knowledge of basic HTML, CSS, and JavaScript.
If you are a beginner then you can understand the design of this watch. Here I have shown step by step how I made this design. It shows the exact time, that is, the clock will show the time according to the time on your device. Like a normal watch, three hands have been used here. To indicate an hour, to indicate a second minute, and a third to indicate a second. The background of this watch is arranged in the form of a Neumorphism design. Many people wonder how the hands work in the case of these digital watches. Let me tell you, JavaScript programming code is used to rotate these thorns. Each cut is rotated 360 degrees using the js code. That is, one end of the hand is fixed and the other end is rotated 360. The second hand rotates 360 degrees once per minute.

Neumorphism login form is a modern design login form created using HTML and CSS code. Hello friends, in this article I will show you how to create a login form of Neumorphism design using only HTML and CSS programming code.
Login designs come in different types like transparent, Neumorphism, Glassmorphism, responsive, animated, etc. Earlier I showed you the design of many more types of login forms and showed you how I created those login forms. The login form of this design is much more beautiful and attractive than the general design. Like the general design, it has everything, i.e. there is a place to input the email ID and password to log in.
Everyone has a place to use their first profile image or website logo. There is a nice login button to login here and below it is the Facebook and Google buttons. In other words, the user will be able to login with the help of an email id or Facebook and Google account.
Hover effects have been added to each. Normally the buttons are slightly upwards but when the mouse is moved or clicked the buttons will move inwards. In the case of this neomorphic design, the background and the color of the background of the login form are completely the same.
However, it has been given the shape of a login form by creating a color effect with the help of CSS code.
See the Pen
Neumorphism login form by shantanu jana (@fghty)
on CodePen.
If you want to see the live demo, you can use the demo button at the bottom of the article. You can also download the required source code. However, if you are a beginner, you can definitely watch the tutorial below.
First of all, you create an HTML file. Then you copy the HTML structure below and paste it into that HTML file.
This structure has been converted to a Neumorphism design using the following programming code and given a size.
Result:

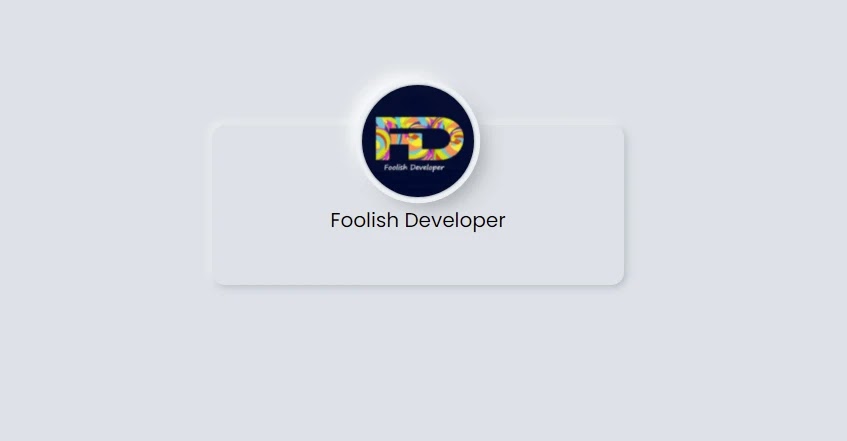
I created this logo or profile image using the following programming codes. I have also added titles here.
Result:
I have used the following codes to create a place to input email ID and password. I used the CSS programming code below to design these and sort them into Neumorphism designs.


In this article, I am going to show you how to create a footer design using HTML and CSS code. In the meantime, I have designed and shown many more types of footer sections. Hope you like this design too.
It is a complete professional footer design with all kinds of information neatly arranged. Footer credits have been added below. First of all, there is the option of About us where you can give some information about your service or yourself. Below that, I have used icons and links from five social media platforms. Next to it, contact information has been added.
Where address, email ID, and mobile number are given. Next to that are some links known as footer menus. There are pictures of some projects next to it. Here I have used six pictures. Below is a subscribe form to subscribe to. Where you can subscribe by adding a user name and email id.
I have used footer credits below all. Where you can use your own copyright. Next to it, I have used important links such as About Us, Contact Us, Privacy Policy, etc. It is a fully responsive design that can be used on any website. I used HTML and CSS code to design this footer design. I used bootstrap programming code to make it responsive.
Below I show you the complete step-by-step how I made the design of this footer section. You can use the demo button below the article to watch the live demo. You can also download the source code using the download button.
If you want to see the complete process of making it step by step, follow the tutorial below. In this tutorial, I have described step by step the programming code that I used to create an element. This tutorial will show you exactly how to design a footer section.
Result:


Result:


Today I am going to show you how to create a Responsive Team section using only simple HTML and CSS programming code. Earlier I designed many more types of team sections. Hope you like this design.
The team section is a type of web element that you can use to introduce your team members to different types of service websites and portfolio websites. You can easily arrange all the identities of the significant people in your team or your company. I used HTML, CSS programming code to create this team section. I designed it using HTML code, I designed it using CSS code. I also made it responsive using bootstrap code. It is fully responsive which means you can use it for any type of device. So of course you can add it to your website. In this team section, I have used different hover color effects.
In this section, I have divided it into four columns. You can add more team member information here if you want. The hover effect has been used here, meaning that the color change can be seen by moving the mouse over the image of each team member.
In this article, I will try to show you in full step by step and with all the information how I made it. Here I have shown step by step which programming code is used to create an element. You can use the download button at the bottom of the article to download the source codes. Here is the bootstrap CDN link used which I have given below.
Add this link to the head section which will help you to make this team section responsive. Also here I have used font awesome’s icon CDN link. Icons have been created with it.