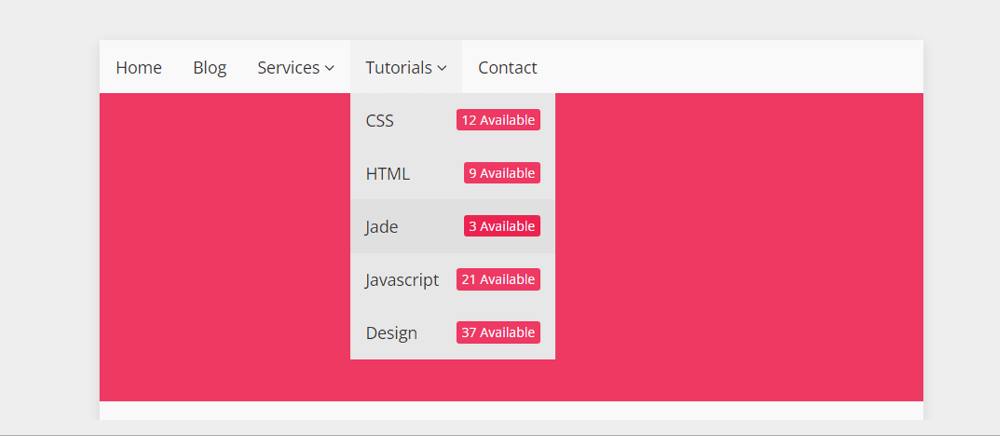
15+ Drop Down Navigation Menu HTML (Code + Demo)
Drop Down Navigation Menu is a common web element. If you are looking for the best CSS DropDown Menu then you have come to the right place. Here I have…
Drop Down Navigation Menu is a common web element. If you are looking for the best CSS DropDown Menu then you have come to the right place. Here I have…
In this tutorial, you will learn how to create a CSS Gradient Border using HTML and CSS. We use different types of borders in different places. However, if different types…


If you want to make a javascript palindrome checker tool then this article will help you. This type of palindrome checker is very easy to make. If you know basic JavaScript you can easily create it.
You may be wondering what a palindrome is?
A palindrome is a number, phrase, or word that reads the same backward as forward. That is, if a word or number is read from the front, it will look as if it is read from the back. Such as Madam, Racecar, Level, 12321, etc.
The project that has been created here can easily identify this palindrome. This is a javascript palindrome checker that will help you understand whether any word or number is a palindrome.
See the Pen
Untitled by Foolish Developer (@foolishdevweb)
on CodePen.
If you do not understand what I am saying then watch the demo below. This demo will help you to know how this palindrome checker javascript works.
Related Post:
1. Check Password Strength in JavaScript
4. Character Counter using JavaScript
5. Loan Calculator using JavaScript
6. Weather App using JavaScript
Hopefully, you have learned how this palindrome program works from the preview above. This project has been created in a very simple way.
There is an input box here. You can input a word or number in that box. Then there is a button. When you click on the button you can see if it is a palindrome. There is a display in which information can be seen.
If you want to create this Palindrome Checker then you need to know HTML, CSS, and javascript. Its elements are created by HTML and designed by CSS. Then, this Palindrome Checker is activated by JavaScript.
A box has been created on the webpage using the following code. Here the box’s min-width is 450px and the background color is white.

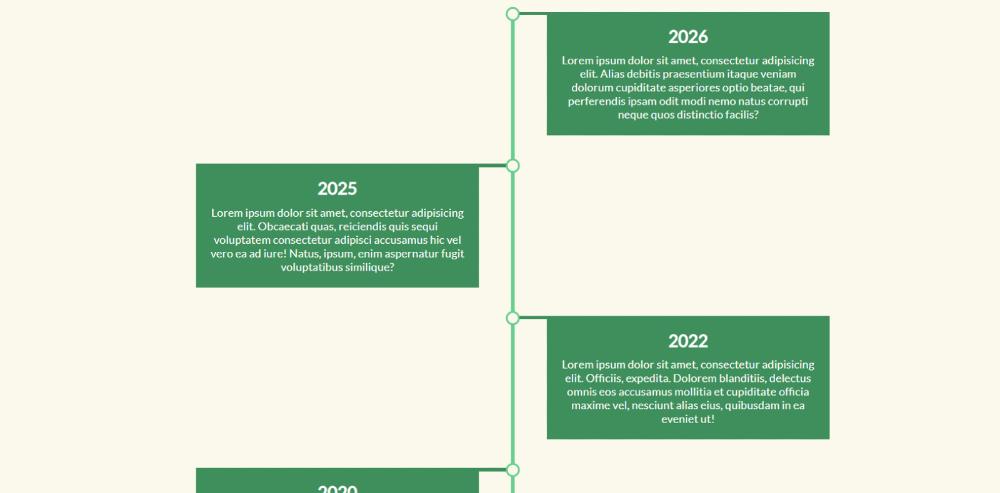
A responsive Vertical Timeline is often used on websites to sort any information in terms of time. In this article, you will learn how to create a Responsive Vertical Timeline…


In this article, you will learn how to create a password strength checker using JavaScript. Earlier I shared many more projects like Random Password Generator, Password Show Hide, etc. In this tutorial, you will learn how to create a javascript password strength checker.
This type of design will make your login and registration form more attractive and perfect. This type of password strength checker allows the user to input a strong and unique password.
This type of project is perfect for you if you want to add some conditions for inputting passwords in your login form.
In this case, the user will be able to input different types of characters to make his password even stronger. There is a progress bar to understand how strong this password is. Different colors have been added to this progress bar. These colors will indicate the quality of the password.
There are four types of steps in the bar. When you input general characters, red background color appears in 25% of the progress bar. When you input a variety of special characters into the password, the bar’s background color will increase by another 25%.
When different types of special characters, numbers, and capital letters are input into the password, then the progress bar will be hundred percent and its color will be green.
See the Pen
Untitled by Foolish Developer (@foolishdevweb)
on CodePen.
There is an icon that allows the user to see and hide the password. Hopefully, you understand this kind of strength of password check will make your login form more attractive. It was created using only HTML CSS and JavaScript.
If you know basic HTML CSS JavaScript you can easily create a javascript password strength checker. Here I have shared a step-by-step tutorial.
First I created a box at the top of the web page. That box contains the first input box. Then I provided an icon. That icon will help you see and hide your password. If you are a beginner then follow the step-by-step tutorial below.
I have created a box on the web page using the following code. Then I designed the webpage a bit using CSS and used the blue color of the background of the webpage.
I designed this box using the following codes. Box width: 400px, height will depend on the amount of content. I have also used white color in the background and used a shadow all around to enhance the beauty.


In this tutorial, you will learn how to create Mouse Cursor Effects using JavaScript. Earlier I showed you how to create a custom mouse follow. A type of JavaScript Mouse…


In this tutorial, you will learn how to create detect pressed key javascript. This type of project will basically help you to know which key has been pressed on the keyboard.
detect enter key design can be seen in many large applications. If you want to create a project where the user needs to show the key entered. Then you can use this kind of design.
When you click a button on the keyboard, that key, key code can be seen here. If you do not understand what I am saying then you can see the preview below.
From here you will get a live preview and source code of this project (Detect Enter Key Press in JavaScript).
See the Pen
Untitled by Foolish Developer (@foolishdevweb)
on CodePen.
As you can see we have created a box at the top of a web page. When you press a key on your keyboard. Then all the information in the box can be seen.
Here you will find complete information and step-by-step tutorials. But to make this detect enter key project you need to have an idea about HTML, CSS, and javascript.
Below the article is a section on copying code. There is also a button to download the source code.
First I created a box at the top of the web page in which all the information can be found. I have used blue color in the background of the web page and light white color has been used in the background of the box.

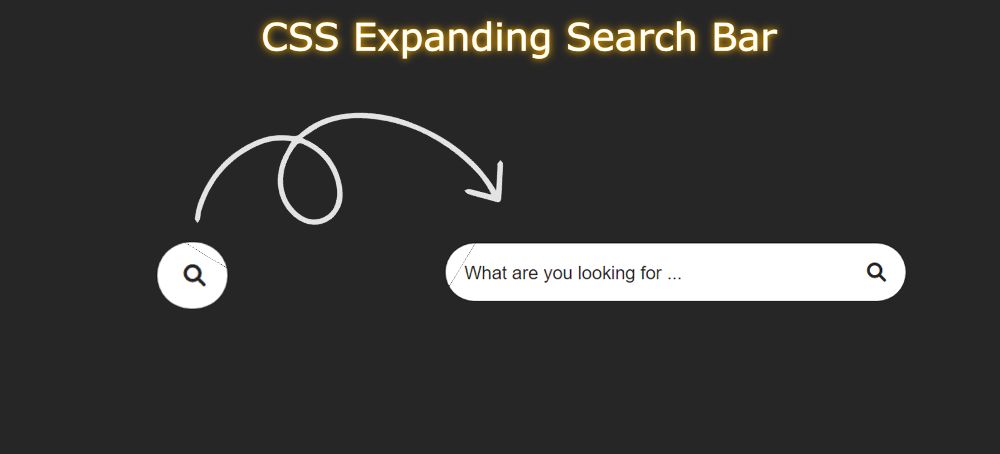
In this tutorial, you will learn how to make Expanding Search Bar. Earlier I discussed many types of search bars. This search box is simple but smart. Only HTML and…
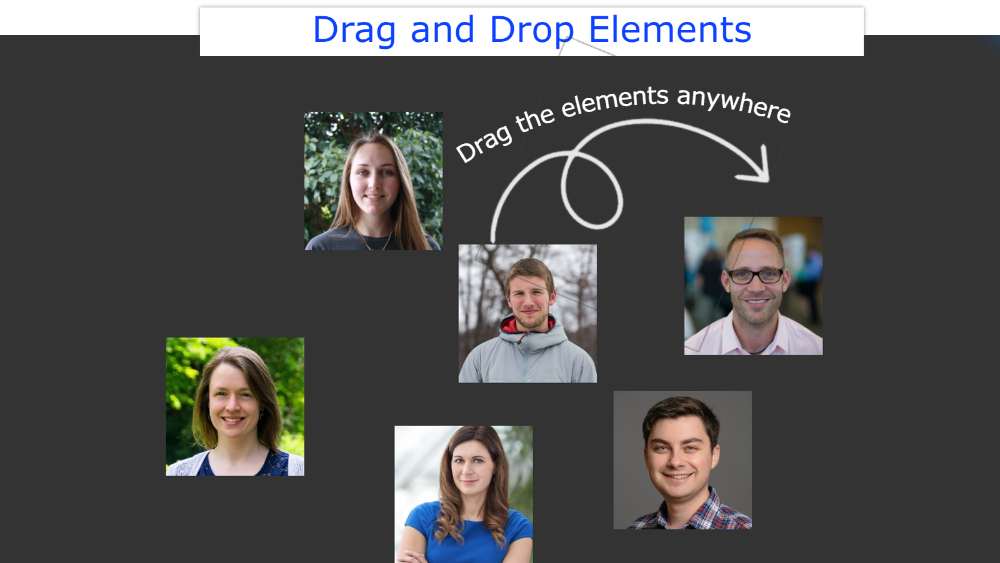

In this tutorial, you will learn how to create javascript drag and drop elements. We see drag and drop JavaScript elements in different web pages or applications. That means we can drag those elements as we wish and keep them wherever we wish.
This type of JavaScript Drag and Drop Sortable is very easy to make. This tutorial will help you if you know basic JavaScript.
The design I have shown here is relatively advanced. Many drag elements have been used here. Earlier I shared a tutorial where I created this project by an element.
I have created an image gallery with many images here. You can drag each of those images to the place of your choice.
If you do not understand what I am saying then watch the demo below. This preview will help you understand how it works.
See the Pen
Untitled by Foolish Developer (@foolishdevweb)
on CodePen.
As you can see I have created a small gallery of some images. Here are 6 images. Under normal circumstances, these images will stand side by side. Then you can drag and drop those images.
Clicking on any image and dragging it will follow your mouse cursor. This type of design you can use in any of your applications or web pages.
It will definitely give your user a new kind of experience. This javascript drag and drop is relatively easy to make.
I have given step by step tutorial below. If you only want the source code then you can see the following sections of the article. Here you will find live previews, step-by-step tutorials, and source code.
First created an area in which all the images can be seen in normal conditions.
I designed the web page using the following codes. Here we have designed a background color and more on the web page.
Now I will design the box in which all the images can be seen. The width of that area: 45vw, height: 40vh.

Create a Read More Read Less Button We see on almost all websites. This type of button is usually found on the homepage of the website. In this article, you will…