Simple Snowfall Animation using HTML CSS (Free Code)
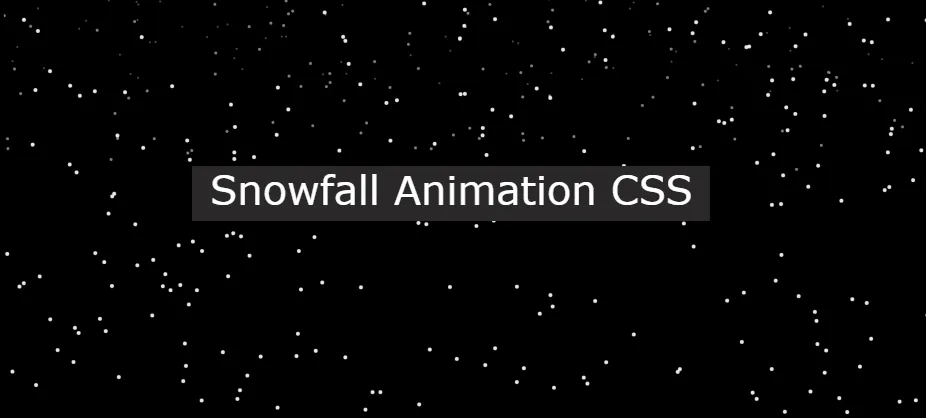
In this article you will learn how to create Snowfall Animation using HTML CSS and JavaScript. We see CSS Snow Animation Effect in many places which helps to enhance the…
In this article you will learn how to create Snowfall Animation using HTML CSS and JavaScript. We see CSS Snow Animation Effect in many places which helps to enhance the…

Do you want to create Image Color Picker using JavaScript? If yes then this article will help you completely to create Color Picker using HTML CSS and JavaScript. I used…

In this article, we suggest you to get acquainted with the free editor of web languages - CodeLobster IDE. It is presented on the software market for a long time…

The Internet can be dangerous to browse if you do not have security measures. Especially malicious websites and man-in-the-middle attacks are causing massive security issues for users. You can follow our…
Search engine optimization is a huge part of how a website fares, and it is important to keep up with the current search engine algorithms in order to properly rank.…

Web development is the digital process of designing, developing, and maintaining websites. SEO, Search Engine Optimization, is the practice of optimizing a website’s content and metadata so as to…

If you are looking for the best site for technology write for us then you have come to the right place. write for us + technology is a common keyword…
Basic, indicate Bet Per Twist, the Play Pace, Come back to User percent, and you can Volatility height. Then click the Assess button and discover results in the new dining table. (more…)

In today's business landscape, one key to success is proper data management. Achieving this comes down to how a data platform is built, along with its performance. Many people ask…
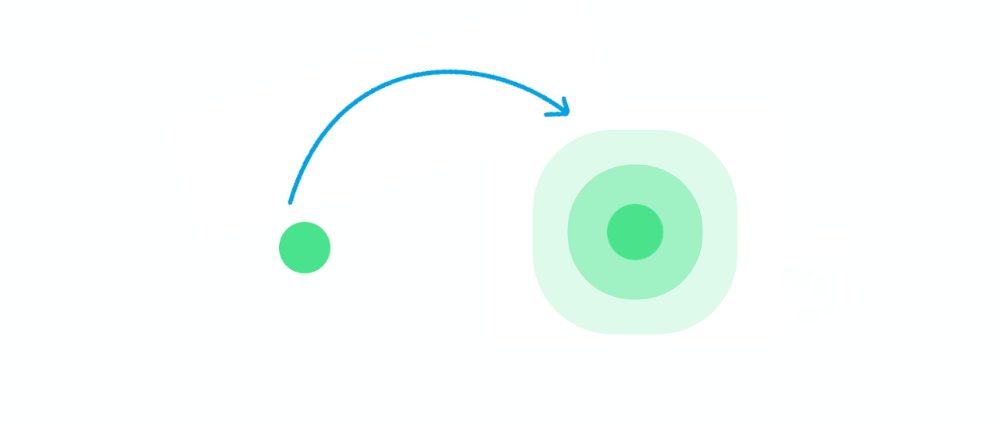
CSS Pulse Animation We see it in different places on web pages. Pulse Animation is used to make different UI elements interesting.
Here we will discuss how a Pulse Animation can be created using CSS. Here I have shared different types of designs such as Simple Pulse Animation CSS, button pulse animation, text pulse animation, image pulse animation, pulse animation on hover, etc.
Here I will use only CSS and HTML. I have shared here the complete information of each design, source code, and live demo of everything.
Examples – 1
This is a simple Pulse Animation design created by HTML and CSS only. This design is basically a basic example of Pulse Animation.
There is a small round point here that will continue to be the center of animation.

Hopefully, with the help of the demo button above, you know how it works. If you want you can download all the code using the button below.
But below I have given all the HTML CSS code. The code used for this CSS Pulse Animation effect is very simple so you will not have any difficulty understanding it.
The following code is the HTML code that helps to add the basic information of this pulsing animation. Here I have put together all the HTML codes that you can copy and paste into your HTML file.
The following code is the CSS code that activates this pulsing animation. Copy these and paste them into your CSS file. Remember to rename your CSS file to ‘style.css’.
Hopefully, you have been able to create a simple pulse animation design using the above code.
Examples – 2