Simple Analog Clock javascript is a web element that helps show the exact time. You can easily create an analog clock with the help of JavaScript.
In this article, I am going to show you how to create a simple analog clock using JavaScript code. I have designed many more types of JavaScript analog and digital clocks before. This design will be of great help to those who want to learn how to design an analog clock for the first time.
I made this design using simple HTML, CSS, and JavaScript code. Since I made it for Beginners, here I have tried to use the simplest code. Here is a complete explanation of what each code is used for. This will allow you to learn how to make it very easily.
First I set the background color of the web page. Here I have used images to make numbers and symbols from 1 to 12. But you can make these numbers manually if you want. I have already made many more designs where I have shown you how to make these numbers manually. Then I made three hands in this watch using HTML and CSS code. I used JavaScript to make those hands work.
Simple Analog Clock Javascript [Live Demo]
Below is a live demo so you can better understand how it works. Here you will find the necessary source code which you can copy and use in your own work.
See the Pen
simple analog clock 1 by Foolish Developer (@fghty)
on CodePen.
The time used here is not the time on any server. It basically uses time from your device using JavaScript’s new Date function.
Below the article, there is a download button with the help of which you can download the source code if needed. Hopefully, the live demo above has helped you fully understand how this analog clock works.
How to make a simple analog clock using JavaScript
Now is the time to learn how to make this JavaScript analog clock step by step. Since it is made for Begins, after using each code I have shown the possible result with pictures.
Step 1: Design the background of the web page
First I designed the background of this webpage using some amount of CSS code. I have used background-color: # 055d86 here. You can use any other color if you want.
Step 2: Create the basic structure
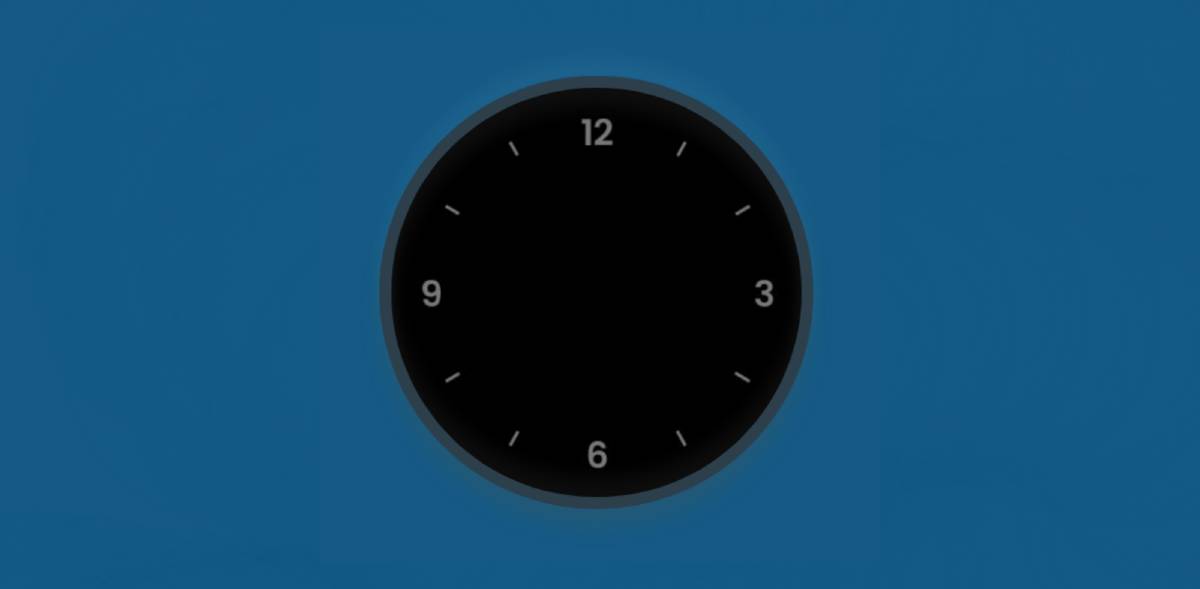
Now I have created the basic structure of this watch. Basically here is a very small amount of HTML and CSS code to create the basic structure of this watch. I have used the height and width of this watch 350 px. I have used an image in the background here. As I said before I used an image to use numbers from 1 to 12 here.
I used box-shadow which helped to understand the clock in a slightly different way from the webpage.
Step 3: Make a mark at the center of the clock
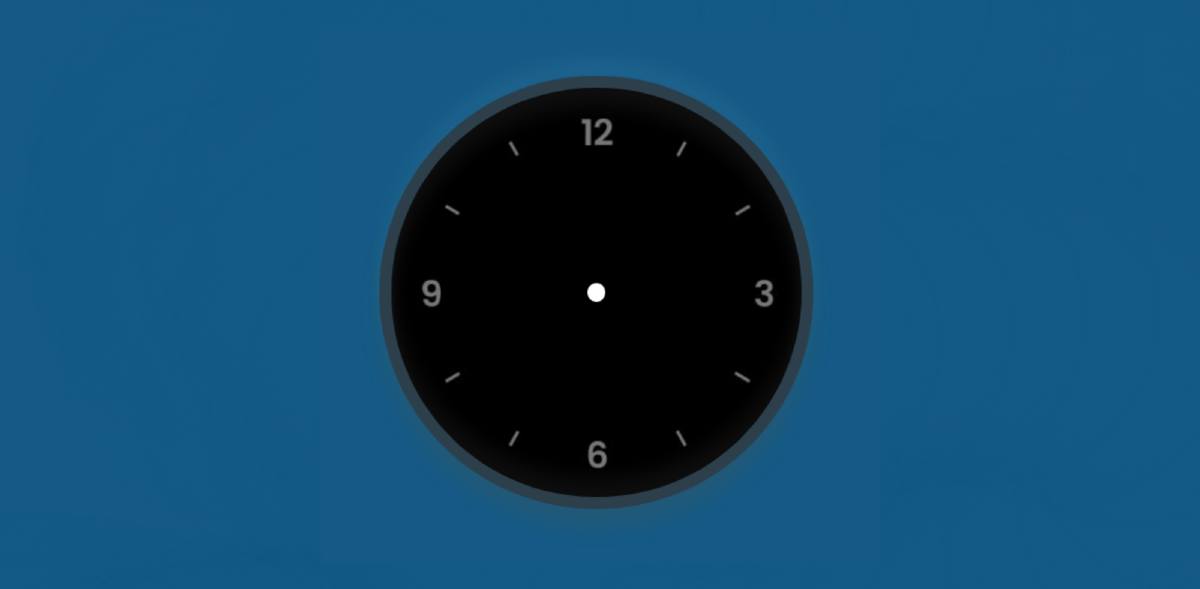
Now I have made a small mark in the middle of that analog clock using : before. This symbol is made in the very center of this analog clock around which all the hands will rotate.
The height and width of this symbol is 15 px and border-radius: 50% has been used to increase its roundness. Used position: absolute to place this symbol in a specific place in the absolute analog clock.
Step 4: Make three hands to indicate time
I have added all the hands using the HTML and CSS code below. Here we have basically used three hands which indicate the time of hours, minutes, and seconds respectively. First I added those hands using HTML code. Then I created the basic structure using CSS code.
Step 5: Design the hands with the help of CSS code
Above we have designed and designed the basics of these hands using HTML and CSS code. Now we will place it in the right place and change the color.
I have used the length of the hour hand 60 px and the width: 8px. I used white color in the background to make it look brighter on a black background. In this case, you can use any other color if you want to change the color of this hour cut. Here we have used a border-radius so that the end of the hand is round.
In the same way, I designed the hands in minutes and seconds and gave them specific sizes.
Step 6: Activate analog clock with JavaScript code
As you can see in the picture above, we have designed this watch completely. Now we will activate this analog clock by adding JavaScript to it. If you know basic JavaScript, you can easily understand this JavaScript structure.
First I have determined the constants of the hands used here one by one. Because we know we can’t use any class or ID function in JavaScript. For this, we first need to determine a constant. Here we have set hr, min, and sec constants for hours, minutes, and seconds respectively.
Now I have taken real-time from the device using the new Date () function. Here I have taken hours, minutes, and seconds, respectively, from the device, using getHours (), getMinutes (), and getSeconds (). Then I have stored those times in hh, mm, ss.
Now we have a perfect time. This time we will rotate the hands of these hours, minutes, and seconds in terms of time stored above. The hands used in the case of any analog watch tend to rotate along the z-axis. So now I have been instructed to rotate each hand along the z-axis using transform = `rotateZ.
As I said before, I saved the second time in ss. This time we have instructed to rotate the second hand using transform = `rotateZ (ss} deg).
I divided the time of the minute hand by 12 and added that time to the hour hand. Let me tell you an example if you look at your clock at 04:30. Then you will see that the hour hand is between 4 and 5. That is, minutes play a role in determining the position of the hour hand.
Hopefully from the tutorial above you have learned how I made this simple analog clock using JavaScript, HTML, and CSS code. In the meantime, I have shown you many more types of analog and digital clock methods. You can see those designs if you like this design.
Below I have given the download button where you can download the required code by clicking. If there is any problem or difficulty in understanding, you can definitely let me know by commenting.


