Technologies have reached a level where what a human being assumes can be turned into reality using advanced tools and technologies. Web design and development have improved so much over the past 30 years. Webpages nowadays are so interactive with the users, providing great user experiences. This technology helps make the best product out of the available resources, which works for human benefit.

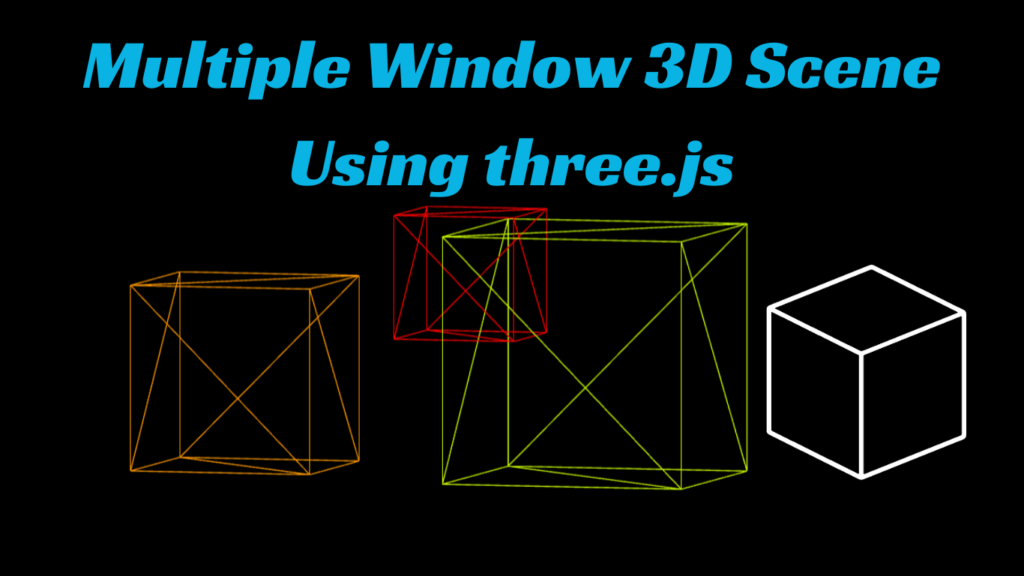
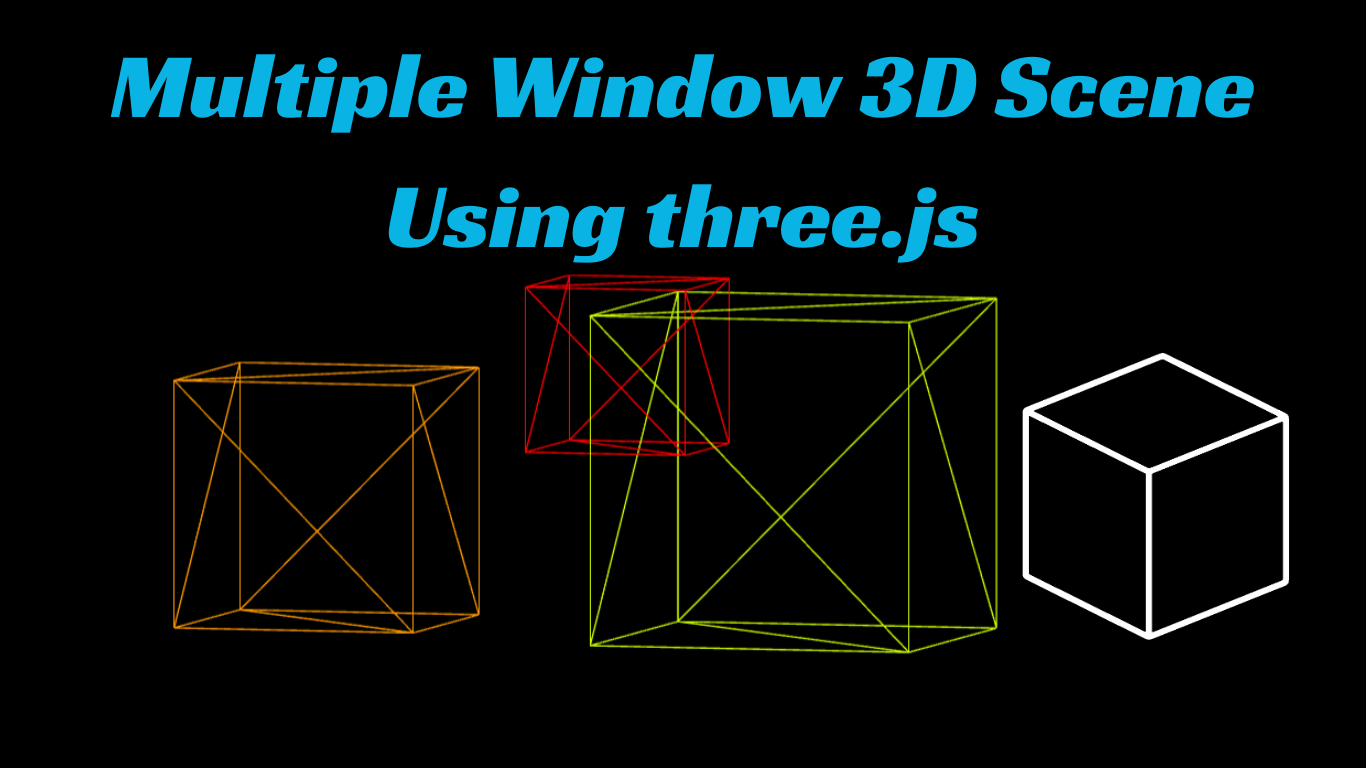
We will be creating a multiple window 3D scene using three.js. A multiple window 3D scene is a unique interactive web project that uses JavaScript concepts to create a 3D real-time browser scene that captures the running webpages of the same project and distributes the project’s scene to different tabs so that the project can have different looks. We will be using the JavaScript framework for creating this 3D interactive project.
30+ HTML CSS and Javascript Projects
Multiple Window 3D Scene Using three.js
In this article, we will be creating an advanced web project that uses advanced graphics and window management techniques to manage the project storage across different tabs and browsers.
Let’s have a look at the project demo before getting started to have a better grasp of the project and the tasks we will be performing inside it.
This project will be created in an organized manner, and all of the primary concepts will be explained. To make your multiple window 3d scene with the three.js (Javascript) framework, all you have to do is concentrate on the step.
Let’s understand some important concepts before we get started on our project.
What is Three.js?
Three.js is a javascript library that helps in creating 3D graphics for the webpage. This javascript library is built with WebGL features that help in rendering or running 2D and 3D graphics using web applications. This framework provides responsive 3D graphics with the help of predefined libraries.
What are the advantages of utilizing Three.js?
- Ease of Use: Developers don’t need to be highly skilled programmers to construct 3D graphics web applications using the preset WebGL extensions.
- Cross-Browser Compatibility: The Three.js library supports browser-independent features; users can run the project in any browser of their choice, but the project output will remain the same for every project.
- Open Source Library: By just including the import link within their project, users may utilize this open source library for free in any of their projects.
Now let’s start with our project. We will first create the structure for our 3D window scene.
Adding the Structure (HTML):
We will first add the basic syntax of the HTML tag for a better understanding of the project. We will start with the <doctype HTML> tag to tell the browser that the file being rendered is in HTML.
Then, starting with the structure of the multiple window 3d scene, we use the title tag for adding the title of the webpage, and using the <script> tag with src, we will be adding and importing the three.js library. Using the style tag for adding the styling inside our project, using the internal CSS, we will set the margin of the whole document to zero from the browser’s default margin.
Then, inside the body tag, we will be adding the javascript link for adding the javascript functionality to our multiple 3D window scene.
<!DOCTYPE html>
<html lang="en">
<head>
	<title>3d example using three.js and multiple windows</title>
	<script type="text/javascript" src="three.r124.min.js"></script>
	<style type="text/css">

		*
		{
			margin: 0;
			padding: 0;
		}

	</style>
</head>
<body>

	<script type="module" src="main.js"></script>
</body>
</html>
Window Manager (Code):
We will be creating a separate javascript file, and then we will link it with the main javascript to add the window management functionality for our 3D scene. This file is created to manage the window and sync other windows for a complete multiple window 3D scene.
We will create a class called Window Manager, and inside our class we will create an array called #windows, which keeps the information about windows. The count array is used to keep track of the total number of windows, and the id is used to check the current window.
Now we will create a constructor that will help in managing the local storage by adding and removing the event listener. If the window is added or removed, it will be managed by the constructor.
We will then use the init method to fetch the current window from the local storage and manage the scene between different windows for managing 3D scenes around different tabs.
class WindowManager
{
	#windows;
	#count;
	#id;
	#winData;
	#winShapeChangeCallback;
	#winChangeCallback;

	constructor ()
	{
		let that = this;

		// event listener for when localStorage is changed from another window
		addEventListener("storage", (event) =>
		{
			if (event.key == "windows")
			{
				let newWindows = JSON.parse(event.newValue);
				let winChange = that.#didWindowsChange(that.#windows, newWindows);

				that.#windows = newWindows;

				if (winChange)
				{
					if (that.#winChangeCallback) that.#winChangeCallback();
				}
			}
		});

		// event listener for when current window is about to ble closed
		window.addEventListener('beforeunload', function (e)
		{
			let index = that.getWindowIndexFromId(that.#id);

			//remove this window from the list and update local storage
			that.#windows.splice(index, 1);
			that.updateWindowsLocalStorage();
		});
	}

	// check if theres any changes to the window list
	#didWindowsChange (pWins, nWins)
	{
		if (pWins.length != nWins.length)
		{
			return true;
		}
		else
		{
			let c = false;

			for (let i = 0; i < pWins.length; i++)
			{
				if (pWins[i].id != nWins[i].id) c = true;
			}

			return c;
		}
	}

	// initiate current window (add metadata for custom data to store with each window instance)
	init (metaData)
	{
		this.#windows = JSON.parse(localStorage.getItem("windows")) || [];
		this.#count= localStorage.getItem("count") || 0;
		this.#count++;

		this.#id = this.#count;
		let shape = this.getWinShape();
		this.#winData = {id: this.#id, shape: shape, metaData: metaData};
		this.#windows.push(this.#winData);

		localStorage.setItem("count", this.#count);
		this.updateWindowsLocalStorage();
	}

	getWinShape ()
	{
		let shape = {x: window.screenLeft, y: window.screenTop, w: window.innerWidth, h: window.innerHeight};
		return shape;
	}

	getWindowIndexFromId (id)
	{
		let index = -1;

		for (let i = 0; i < this.#windows.length; i++)
		{
			if (this.#windows[i].id == id) index = i;
		}

		return index;
	}

	updateWindowsLocalStorage ()
	{
		localStorage.setItem("windows", JSON.stringify(this.#windows));
	}

	update ()
	{
		//console.log(step);
		let winShape = this.getWinShape();

		//console.log(winShape.x, winShape.y);

		if (winShape.x != this.#winData.shape.x ||
			winShape.y != this.#winData.shape.y ||
			winShape.w != this.#winData.shape.w ||
			winShape.h != this.#winData.shape.h)
		{

			this.#winData.shape = winShape;

			let index = this.getWindowIndexFromId(this.#id);
			this.#windows[index].shape = winShape;

			//console.log(windows);
			if (this.#winShapeChangeCallback) this.#winShapeChangeCallback();
			this.updateWindowsLocalStorage();
		}
	}

	setWinShapeChangeCallback (callback)
	{
		this.#winShapeChangeCallback = callback;
	}

	setWinChangeCallback (callback)
	{
		this.#winChangeCallback = callback;
	}

	getWindows ()
	{
		return this.#windows;
	}

	getThisWindowData ()
	{
		return this.#winData;
	}

	getThisWindowID ()
	{
		return this.#id;
	}
}

export default WindowManager;
Adding the Javascript:
We will create the multiple window 3D scene using the three.js file. Using the import function, we will import the window manager, which we will be responsible for managing the windows and their positions. Then, using the constant keyword, we will create a variable called t, whose value is set to 3.
Create Portfolio Website Using HTML and CSS
We will be creating different functions, starting with creating a 3D scene and using the window update function that will manage the window, whether added, removed, or resized. It helps in creating the project that helps in managing the 3D scene around the different windows.
import WindowManager from './WindowManager.js'
const t = THREE;
let camera, scene, renderer, world;
let near, far;
let pixR = window.devicePixelRatio ? window.devicePixelRatio : 1;
let cubes = [];
let sceneOffsetTarget = {x: 0, y: 0};
let sceneOffset = {x: 0, y: 0};

let today = new Date();
today.setHours(0);
today.setMinutes(0);
today.setSeconds(0);
today.setMilliseconds(0);
today = today.getTime();

let internalTime = getTime();
let windowManager;
let initialized = false;

// get time in seconds since beginning of the day (so that all windows use the same time)
function getTime ()
{
	return (new Date().getTime() - today) / 1000.0;
}


if (new URLSearchParams(window.location.search).get("clear"))
{
	localStorage.clear();
}
else
{
	// this code is essential to circumvent that some browsers preload the content of some pages before you actually hit the url
	document.addEventListener("visibilitychange", () =>
	{
		if (document.visibilityState != 'hidden' && !initialized)
		{
			init();
		}
	});

	window.onload = () => {
		if (document.visibilityState != 'hidden')
		{
			init();
		}
	};

	function init ()
	{
		initialized = true;

		// add a short timeout because window.offsetX reports wrong values before a short period
		setTimeout(() => {
			setupScene();
			setupWindowManager();
			resize();
			updateWindowShape(false);
			render();
			window.addEventListener('resize', resize);
		}, 500)
	}

	function setupScene ()
	{
		camera = new t.OrthographicCamera(0, 0, window.innerWidth, window.innerHeight, -10000, 10000);

		camera.position.z = 2.5;
		near = camera.position.z - .5;
		far = camera.position.z + 0.5;

		scene = new t.Scene();
		scene.background = new t.Color(0.0);
		scene.add( camera );

		renderer = new t.WebGLRenderer({antialias: true, depthBuffer: true});
		renderer.setPixelRatio(pixR);

	  	world = new t.Object3D();
		scene.add(world);

		renderer.domElement.setAttribute("id", "scene");
		document.body.appendChild( renderer.domElement );
	}

	function setupWindowManager ()
	{
		windowManager = new WindowManager();
		windowManager.setWinShapeChangeCallback(updateWindowShape);
		windowManager.setWinChangeCallback(windowsUpdated);

		// here you can add your custom metadata to each windows instance
		let metaData = {foo: "bar"};

		// this will init the windowmanager and add this window to the centralised pool of windows
		windowManager.init(metaData);

		// call update windows initially (it will later be called by the win change callback)
		windowsUpdated();
	}

	function windowsUpdated ()
	{
		updateNumberOfCubes();
	}

	function updateNumberOfCubes ()
	{
		let wins = windowManager.getWindows();

		// remove all cubes
		cubes.forEach((c) => {
			world.remove(c);
		})

		cubes = [];

		// add new cubes based on the current window setup
		for (let i = 0; i < wins.length; i++)
		{
			let win = wins[i];

			let c = new t.Color();
			c.setHSL(i * .1, 1.0, .5);

			let s = 100 + i * 50;
			let cube = new t.Mesh(new t.BoxGeometry(s, s, s), new t.MeshBasicMaterial({color: c , wireframe: true}));
			cube.position.x = win.shape.x + (win.shape.w * .5);
			cube.position.y = win.shape.y + (win.shape.h * .5);

			world.add(cube);
			cubes.push(cube);
		}
	}

	function updateWindowShape (easing = true)
	{
		// storing the actual offset in a proxy that we update against in the render function
		sceneOffsetTarget = {x: -window.screenX, y: -window.screenY};
		if (!easing) sceneOffset = sceneOffsetTarget;
	}


	function render ()
	{
		let t = getTime();

		windowManager.update();


		// calculate the new position based on the delta between current offset and new offset times a falloff value (to create the nice smoothing effect)
		let falloff = .05;
		sceneOffset.x = sceneOffset.x + ((sceneOffsetTarget.x - sceneOffset.x) * falloff);
		sceneOffset.y = sceneOffset.y + ((sceneOffsetTarget.y - sceneOffset.y) * falloff);

		// set the world position to the offset
		world.position.x = sceneOffset.x;
		world.position.y = sceneOffset.y;

		let wins = windowManager.getWindows();


		// loop through all our cubes and update their positions based on current window positions
		for (let i = 0; i < cubes.length; i++)
		{
			let cube = cubes[i];
			let win = wins[i];
			let _t = t;// + i * .2;

			let posTarget = {x: win.shape.x + (win.shape.w * .5), y: win.shape.y + (win.shape.h * .5)}

			cube.position.x = cube.position.x + (posTarget.x - cube.position.x) * falloff;
			cube.position.y = cube.position.y + (posTarget.y - cube.position.y) * falloff;
			cube.rotation.x = _t * .5;
			cube.rotation.y = _t * .3;
		};

		renderer.render(scene, camera);
		requestAnimationFrame(render);
	}


	// resize the renderer to fit the window size
	function resize ()
	{
		let width = window.innerWidth;
		let height = window.innerHeight

		camera = new t.OrthographicCamera(0, width, 0, height, -10000, 10000);
		camera.updateProjectionMatrix();
		renderer.setSize( width, height );
	}
}
Conclusion
Here we have learned how to create a Multiple Window 3D Scene using three.js where we will manage a 3D scene using the local storage around multiple windows to give a complete 3d look to the project. Next time, I am going to write an article on how Car Racing game using HTML and CSS. Please give us your valuable feedback on how you like thisMultiple Window 3D Scene Using three.js
If you like the project, don’t forget to follow our website, foolishdeveloper.com


