
In this article, you will learn how to create Copy to Clipboard using HTML CSS, and JavaScript. JavaScript Copy to Clipboard is a simple project that helps to copy something. This type of structure is often used to copy a lot of content in a box or in a text area.
You can build it with the help of simple HTML CSS JavaScript. If you want to copy manually, you have to copy all those texts. But this project will help you to easily copy all the content with a single click.
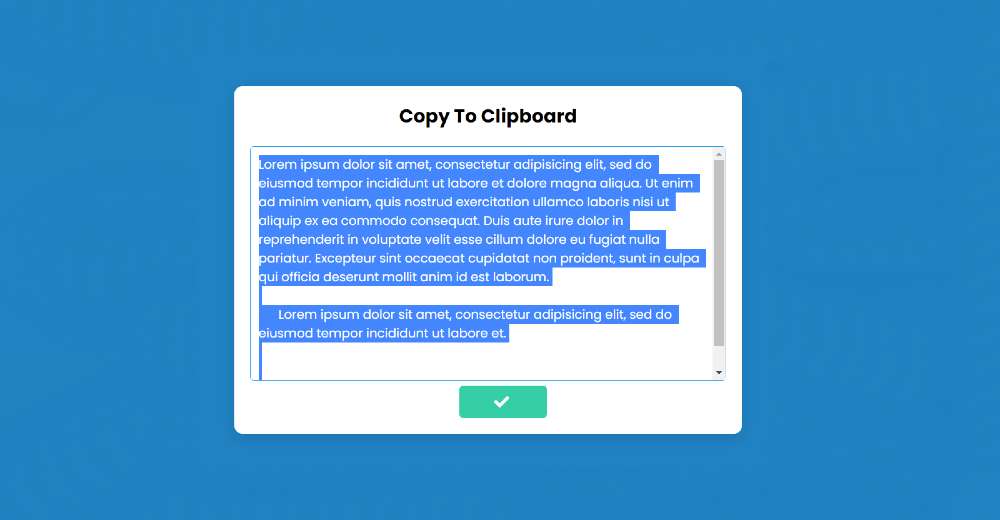
JavaScript Copy to Clipboard
I have shared step by step tutorial for your convenience. First I made it more structured with the help of HTML CSS and then I implemented it using a small amount of JavaScript. First I created a box at the top of the web page and added a title to that box.
Then I created a box with the help of Textarea. In that box I have added a lot of text then there is a button. Clicking on that button will copy all the text. I have added some amount of hover in the structure so that after clicking on the button, border color, icon, etc. will change.
See the Pen
Untitled by Code Media (@codemediaweb)
on CodePen.
Hopefully, the live demo above has helped you to know how it works. Above you will find the required source code.
How to Copy to Clipboard in JavaScript
Now I have shown the complete tutorial step by step on how to make this JavaScript Copy to Clipboard. If you are a beginner, be sure to follow the tutorial below.
First, you create the HTML and CSS files. Here I have used the font awesome CDN link which will make the icon work. You must include that link in your HTML file. Below I have shown the code step by step. If you have difficulty connecting those codes together, you can use the download button below the article.
Step 1: Basic structure of the project
I have basically designed this copy to clipboard HTML using the following HTML and CSS codes.
I have designed the webpage with the help of CSS below. Here I have used blue as the background color of the web page.
I use these codes in a box that will basically serve as the basic structure of this project. Its width is 750px and the background color is white.

Step 2: Add the title to the box
The following code has helped to add a title. This title will only help to enhance the beauty. I used the h2 tag to create the title. I have also used font-size: 1.5em to increase the text size a bit.

Step 3: Create a text box using Textarea
Now I have added some amount of text using Textarea. All the information contained in this Textarea will be copied when you click on the copy button. The minimum height of this box is 300 px and the width is 100%.

Step 4: Create a copy button
I have created a button using some amount of code below. This button will help you to copy the text. I have added text and an icon to the button.
I mentioned earlier that you need to use the font awesome CDN link to make this icon work. I used the button width 112px and height 42px.

Step 5: Activate JavaScript Copy to Clipboard
Above we have created the basic design of this project (javascript Textarea copy to clipboard) using HTML and CSS. Now it’s time to implement it using JavaScript, which means that when you click on the copy button, the contents of the text area will be copied.
The following 2 lines define the id of the copy button and the constant of the Textarea using JavaScript.
I have given all the JavaScript codes together below but for your convenience, these codes are explained below.
JavaScript Explanation
First I took the help of the following code to select the text. For this, I have taken the help of click, select, so whenever you click on the button, the text will be selected.
The following JavaScript line will help you to copy those selected texts. For this, I have taken the help of execCommand which will help to copy some selected things.
With the help of JavaScript, I have made some changes to the button below.
➤ Using the first line I changed the icon inside the button. Instead of the icon that is normally seen, other icons can be found.
➤ I changed the background color using the second line code.
➤ I changed the color of the icon using the third line code.

Copy to Clipboard JS (Code)
Above I have shared this Copy to input tutorial. However, many beginners may have difficulty connecting all the codes together. For this, I have combined all the codes together.
You create an HTML file then use the codes below. You do not need to add any code separately for this.
See the Pen
Untitled by Code Media (@codemediaweb)
on CodePen.
Hopefully, you have been able to create a JavaScript Copy to Clipboard design using the above codes. If you have any problem then you can download the source code file below.
I hope you have learned from this tutorial how I created this simple JavaScript Copy to Clipboard. If you have any difficulty in making this design, you can definitely let me know by commenting.