
In this article, you will learn how to build JavaScript Range Slider with minimum and maximum value. We use sliders for various purposes. Basically to create a range or area of value, quantity, etc. of something.
We use such designs (javascript range slider min-max) on different types of e-commerce websites. This price range project you can easily create with the help of HTML and CSS. Here I have used the input function of HTML.
JavaScript Range Slider
We get many types of input from HTML including e-mail, password, file, text, etc. In the same way, I got a slider called Range (<input type=”range”>). Where we can add a minimum and maximum values.
Below I have given a live demo that will help you to know how it works (multi-range slider javascript).
See the Pen
Untitled by Code Media (@codemediaweb)
on CodePen.
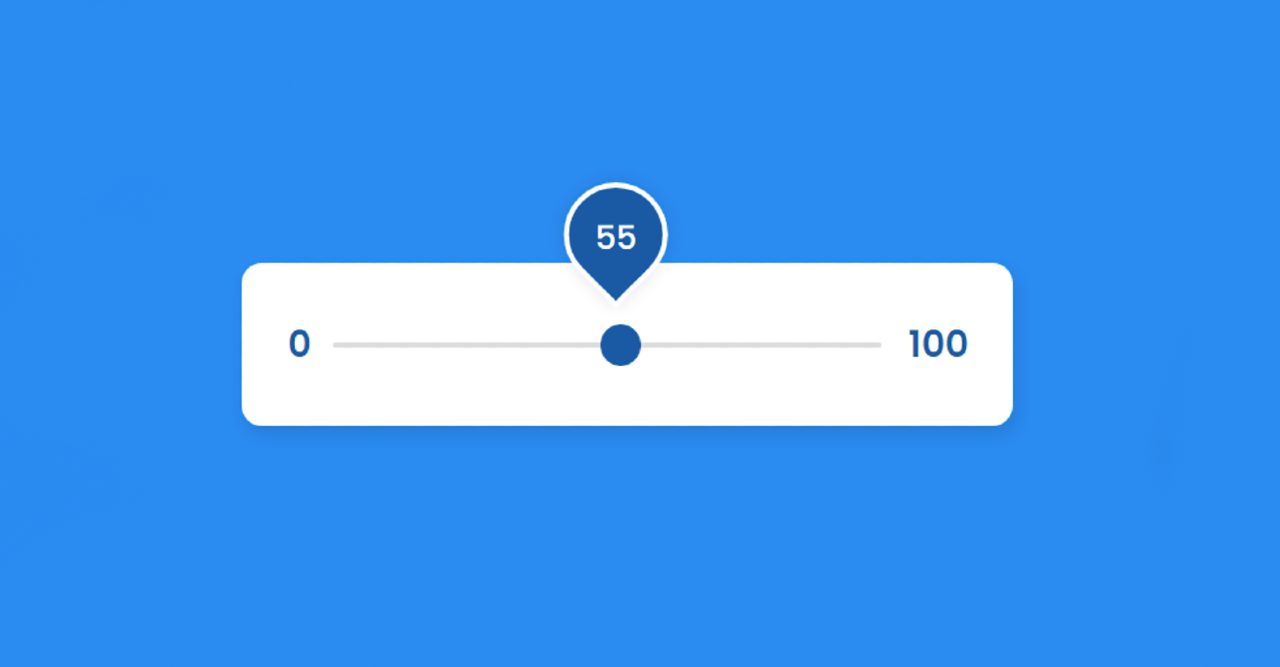
First I made a box. I have created a slider with the help of input in that box. I have used a minimum value of 5 and a maximum value of 100 in this range. We have created a display where you can see the selected value.
This value is associated with the button in the range with the help of Tooltip. Changing the position of the slider button will also change the Tooltip.
How To Create Range Slider using JavaScript
Below I have given a complete step-by-step tutorial to create JavaScript Range Slider with min and max. For this, you need to have a basic idea about HTML and CSS.
First, you create an HTML and CSS file. Then follow the step-by-step procedures below. You will find the download button below the article.
Step 1: Create the basic structure of the slider
I have created a box on the web page using the following HTML and CSS codes. Its width is 380px and height is 80px. Its background color is white and the box-shadow has helped to make it beautiful and attractive.

Step 2: Create Range Slider with Input
Now I have created a slide using the range input of HTML. Here I have used a minimum value of 5 and a maximum value of 100. You can increase or decrease the amount you want.
I have designed the button in this slide using the following CSS. Button width, height 20px, and border-radius to make it round.

Step 3: Create a display to see the value of the range
Made a display to see the value of the range. Where you can see the value of the range to Sylhet. Its height, width is 45px, and the top: -40px have been used to keep it above anything.

Step 4: Activate Range Slider with JavaScript
Now I have implemented it using some amount of JavaScript. Although we have built a range on it, its value is not visible in the display. We need to use some amount of JavaScript to display this value.
First I set a constant one for the display and input space. The value of the display will also change when the position of the slider changes.
What happens when you change the value of the slider:
➤1st line: I have collected the first input slider value and stored it in a constant called ‘value’.
➤2nd line: I have arranged to display that value on the webpage with the help of textContent.
➤3rd line: Now I have instructed the display to change relative to the input value. Here we have used% which will work relative to 100%.
Line 3’s code will change relative to your max-value. Here I have used max-value 100 so I have used only ‘%’. If you use max-value 200 then you need to make some changes which I have given below.
slideValue.style.left = 0.5 * (value) + “%”;
➤4th line: This line instructs Tooltip or Display to show. That means Tooltip will appear when you change the value of the slider.
This line indicates that the Tooltip will be hidden when you do not change the value of the slider.

Hopefully, you have learned how to create this JavaScript Range Slider with min and max. You can use the download button below for the source code.