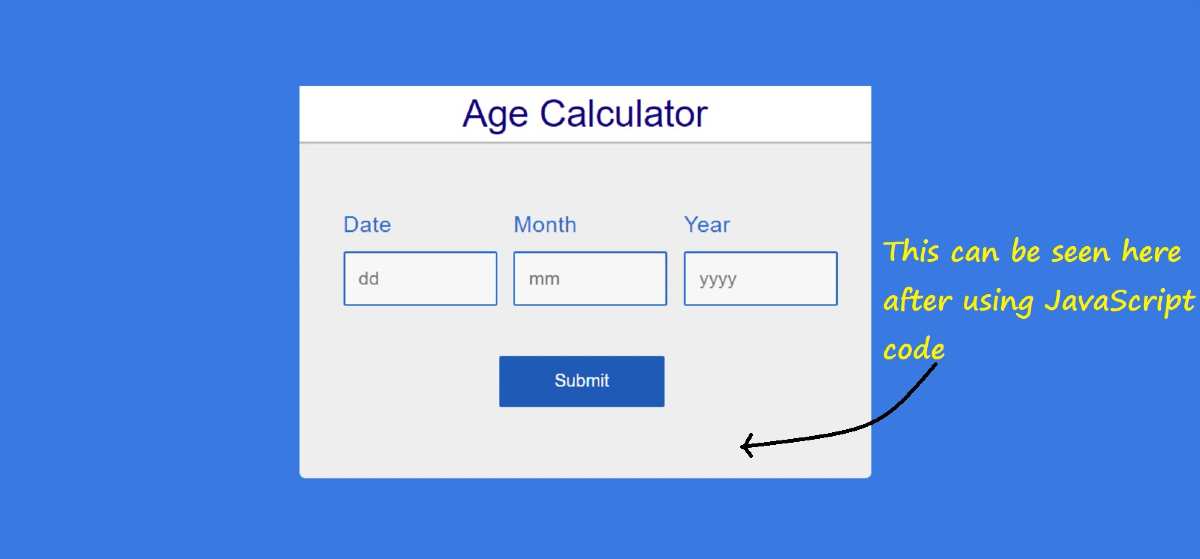
JavaScript Age Calculator is a remarkable JavaScript application that will help to calculate a user’s age. Earlier I have shown many types of JavaScript projects like JavaScript Clock, Random Password Generator, Calculator, etc.
This is the first time I am going to make such an age calculator. This type of design is used in many cases. Basically, there are different types of registration forms where the user needs to be 18 years of age or whatever.
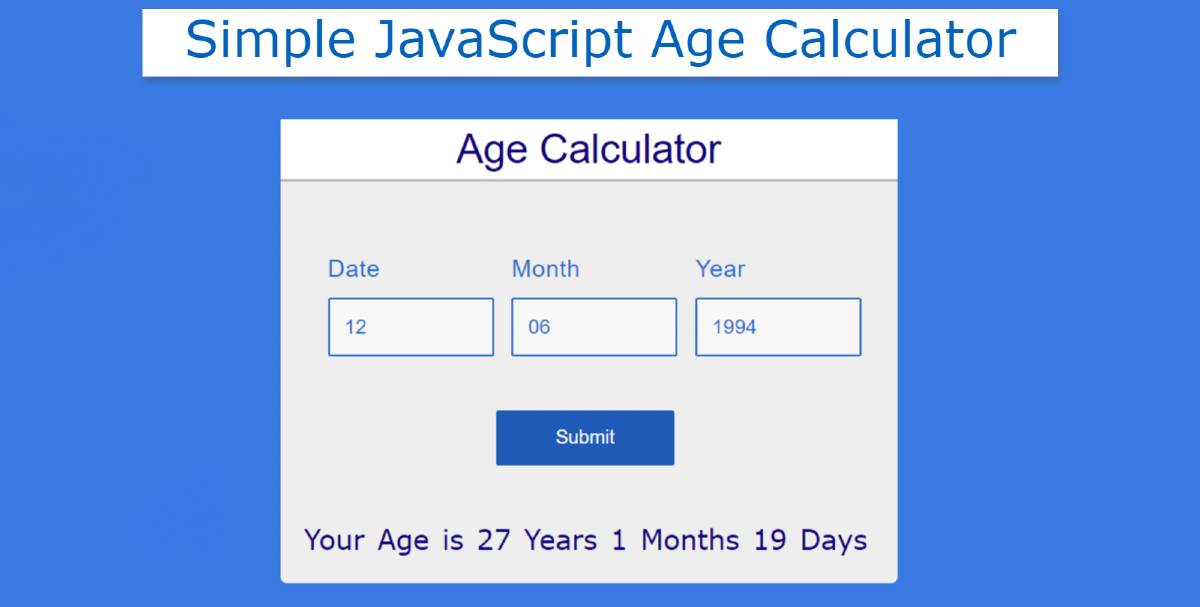
In that case, the system will calculate the age of the user as soon as the user inputs his date of birth. In this javascript Age Calculator, I have given three places to input age. Where the user can input the day, month, and year of his date of birth.
Javascript Age Calculator
The system will then automatically convert the distance of its date of birth from the current time to year months and days. Here I have designed this system using HTML and CSS code and implemented it using JavaScript.
First I collected the current date from your device using JavaScript code (new Date). Then we subtract that with your input time and convert the subtraction to years, months and days.
As you can see above, I painted the background # 2782e3 of the web page and made a rectangular box in it. I used a title or heading on top of that box. Then I made three boxes to input using HTML’s input (<input>) function.
The first, second, and third boxes are designed to input days, months, and years, respectively. Then there is a submit button below which the user can see his current age by clicking on it. I have arranged to show the result at the bottom of the box.
Here’s how to transform your current age into years, months and days. If you want to know how it works and you want to use it live then use the demo section below. Here you will find the required source code which you can use for your own purposes.
However, I would urge you to follow the tutorial below if you are a beginner and want to know how I made it (Age Calculator using javascript).
See the Pen
Age calculator by Foolish Developer (@fghty)
on CodePen.
Hopefully, the demo above has helped you to know and enjoy its live demo.
Calculate Age from Date of Birth using Javascript
Now is the time to get to know it steps by step. I have shared the possible results after each step so that it is more convenient for you to understand.
At the bottom of the article, I have given a download button with the help of which you can download the source code.
Step 1: Design the webpage and create a box
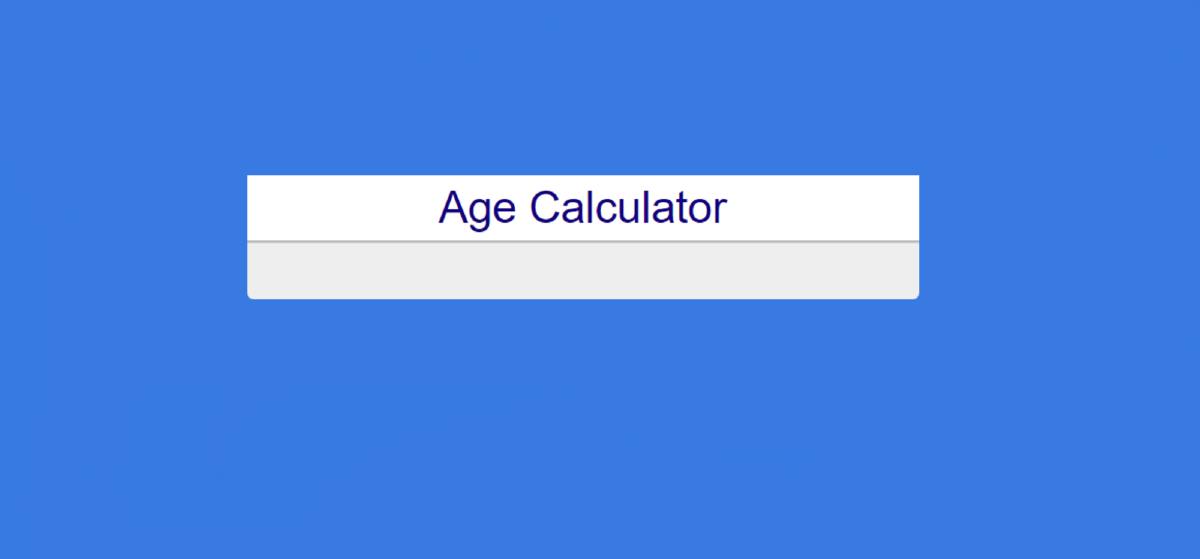
I made a small box between the web pages using the following HTML and CSS codes. As I said earlier, a rectangular box has been created on the web page. I have added all the information to it.
So first of all I designed this webpage using the following HTML code and CSS code and made a box. Here we have used the background color of the web page # 2782e3 and the background color of the box #eee. I used border-radius: 5px to make the box a bit round. This box has no height limit, ie height: auto.
Step 2: Add the title to the box
I used a title here as you saw in the demo above. I have used the following HTML and CSS code to create and design this title. Font-size: 26px of this title and text-align: center is used to place it in the middle. I have used White as its background and using box-shadow makes it look a bit different from the whole box.
Step 3: Create a place to input the date of birth
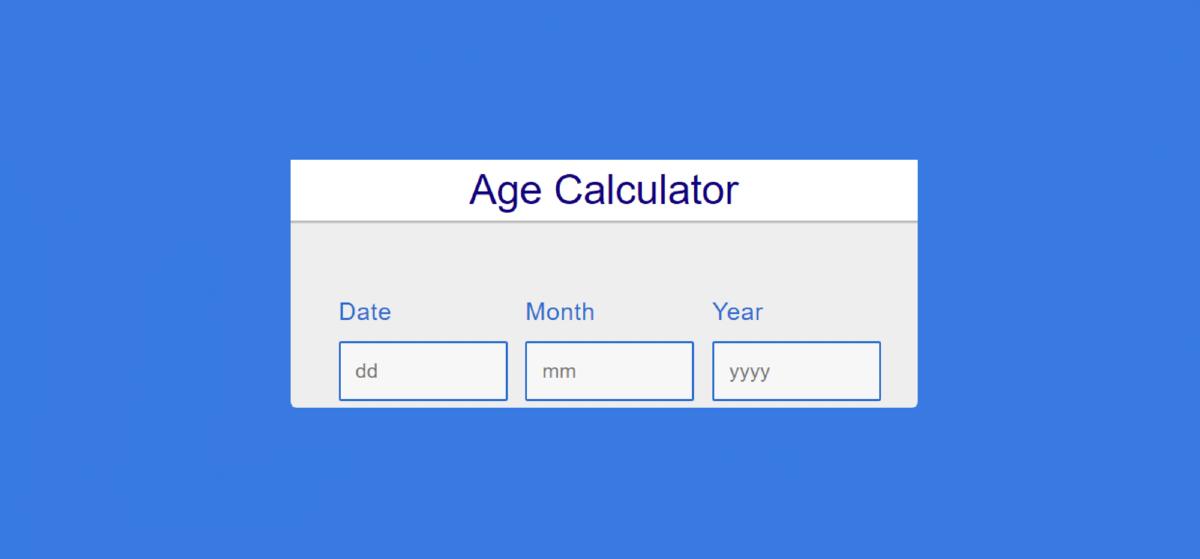
Now I have made a place to input using the following codes. There are basically three input spaces here to input day, month and year respectively. Specifies minimum length and maximum length between each input function. With the help of which the user will understand how many characters have to be input there. I used the following CSS code to design those boxes.
Each input space width: 130px and margin-left: 20px are used to keep the boxes slightly apart. In addition, a title has been used with each box. Whose font-size: 20px and color: # 1073d0 have been used.
A blue border is used around the input spaces and the background is white. Here I have used the focus method of CSS which means that when you click on that input box, its border and background color will change.
Step 4: Create a button to submit
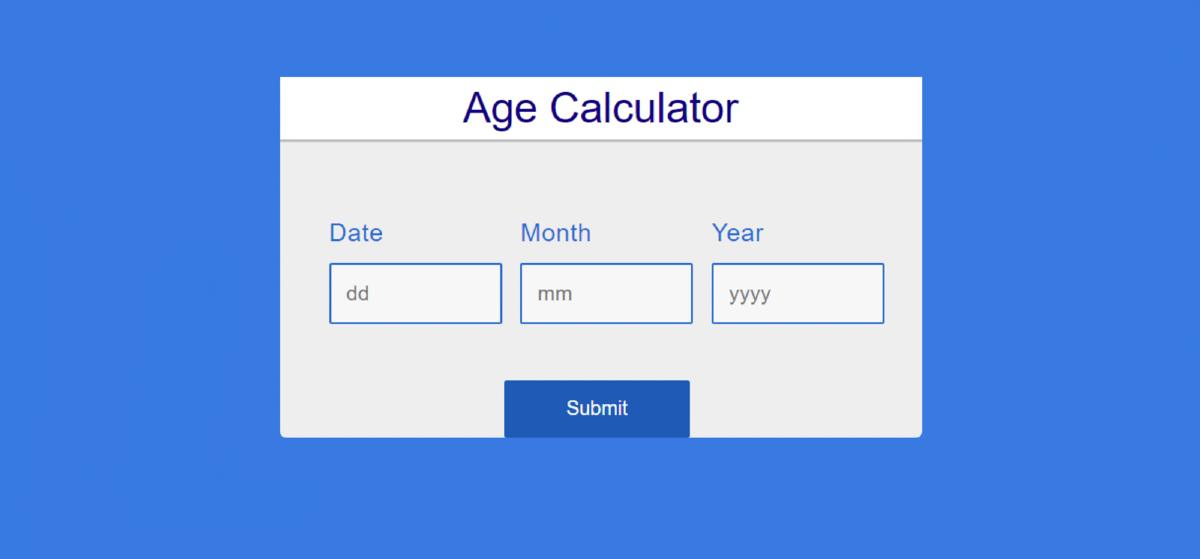
Below all there is a submit button on which all the calculations will be valid if clicked. Margin-left: 35% is used to hold this button in the middle. Its width: 150px and background-color: # 0761b6 have been used. No specific height has been specified but padding: 14px 16px has been used for the size.
Step 5: Create a place to see the age of the user
Now I have made a small display below all where the user can see his calculated age. Normally this option is not currently seen. It will only be visible when it is executed by JavaScript.
Step 6: Activate the calculator with JavaScript code
So far we have only designed it, now we will implement it using JavaScript code. Everyone’s first date, month, and year I have set a constant of these IDs. The constants of date, month, year are d1, m 1, y 1 respectively.
I received the time date from the device using the new Date () function. new Date is a JavaScript function that helps you retrieve current dates from your device. d2, m2, y2 determine these three variables which basically indicate the current time.
Now I have saved the age of the user in three variables d, m, y. For this, I have subtracted the user’s date of birth from the current time and saved it between d, m, y.
Above we have done all kinds of calculations, now we will only show it in the display.
For this, I have used JavaScript’s innerHTML method and used some of the text in it. I have arranged the age of the user beautifully using those texts.
Now if you click on the submit button, your current age can be nicely arranged by subtracting it from your date of birth.
Hope you find out from this article how I made this age calculator with JavaScript code. If you want to understand more beautifully, you can watch the video tutorial above.
In the meantime, I have created many more types of projects using JavaScript that you will definitely like. So you can follow those tutorials. If you do not understand this design, please let me know in the comments.

