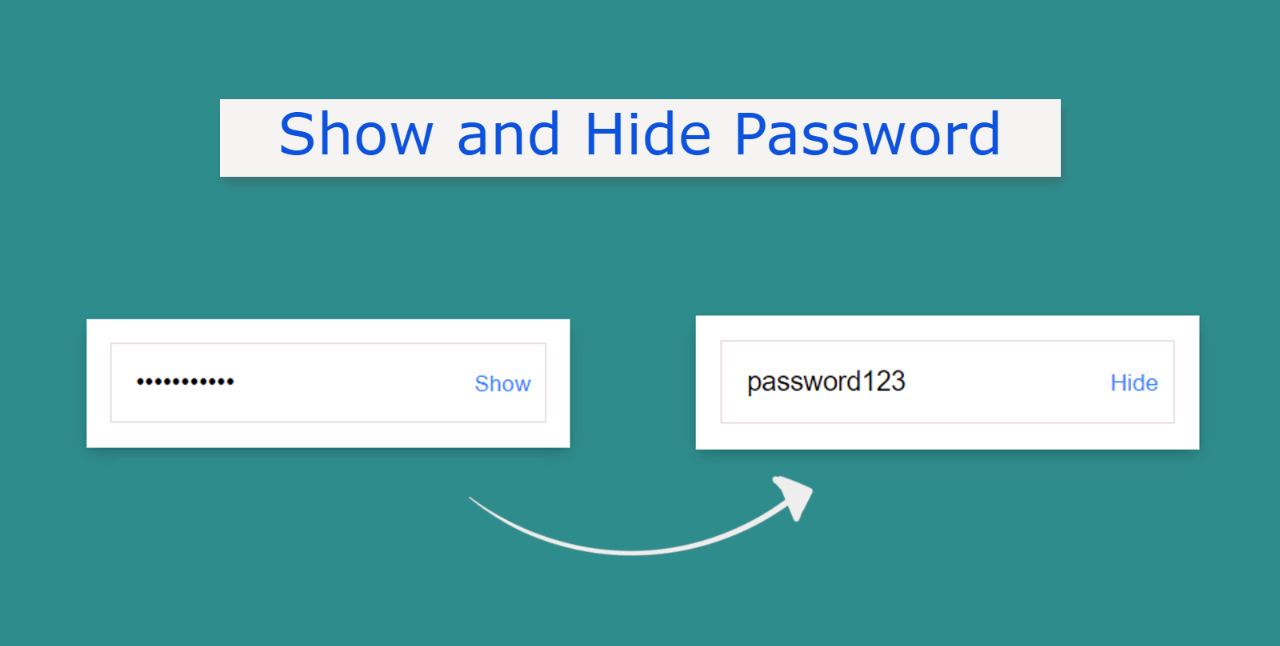
Show and Hide Password A JavaScript project helps to see and hide passwords in the input field. This article will help you to know how to show and hide passwords using jQuery. When we input a password into an input box, it appears as a bullet. As a result, those passwords can be easily protected from hackers.
The “Show and Hide Password” option is very important in case the user wants to see the password. This will allow the user to easily see the password in the input field.
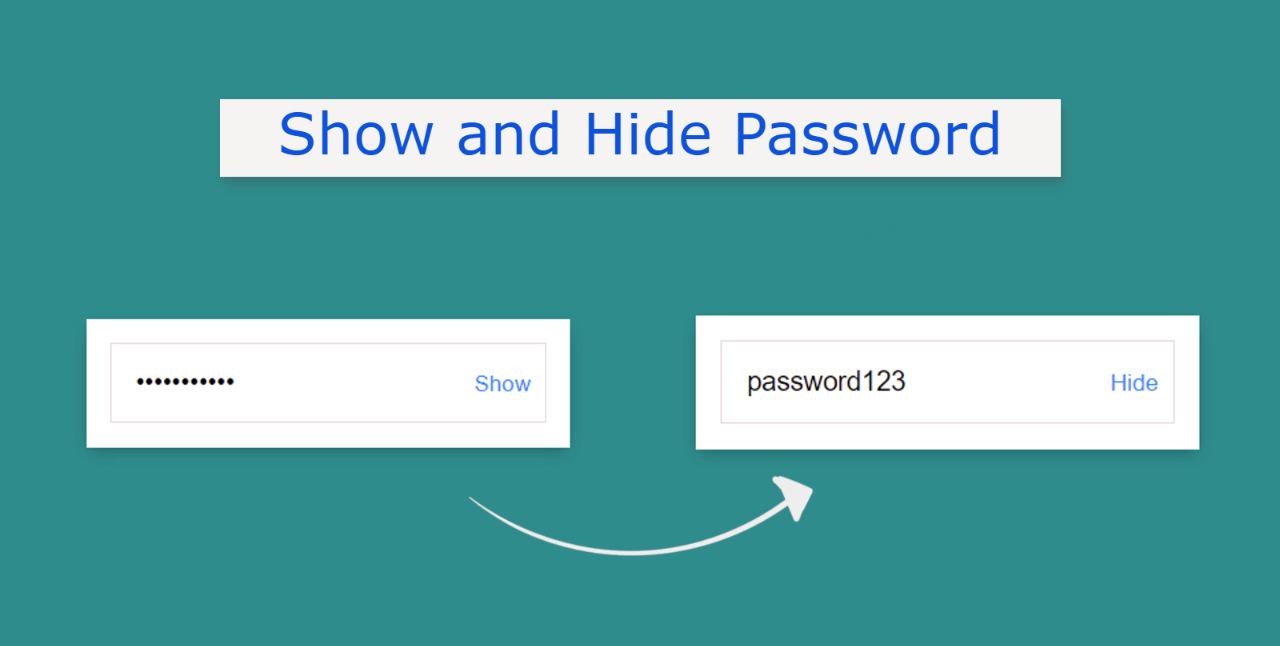
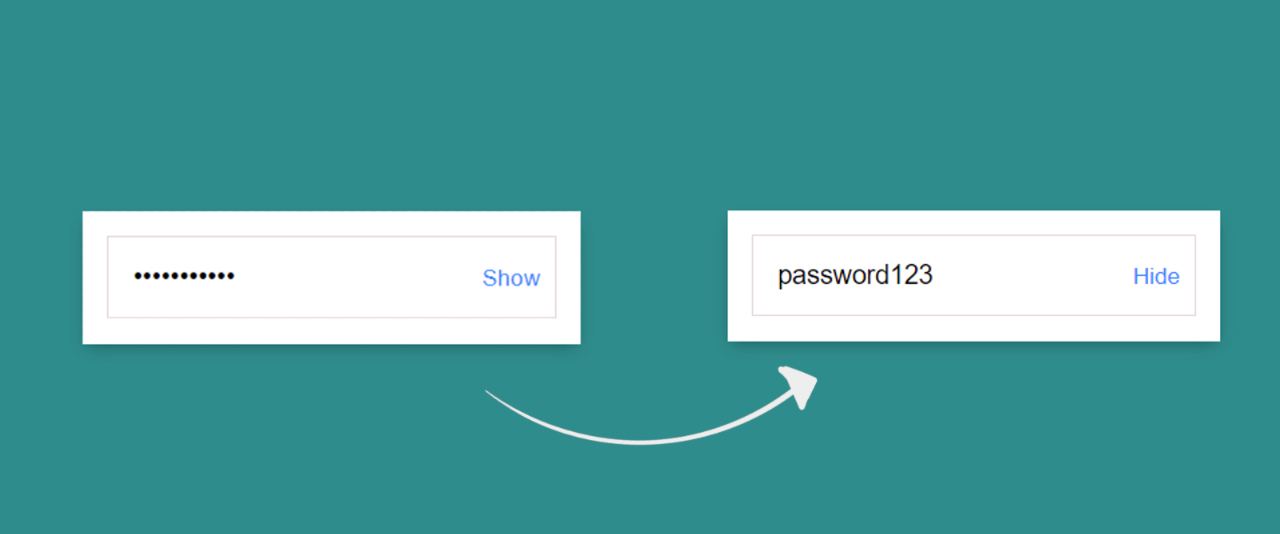
When we use type = “password” in an input field, the characters input in that input box will appear as bullets. When type = “text” of input is used then the passwords will be converted to text and we will see.
There is a small button in the input box that can be clicked to see the password. In general, input type = “password”. Type = “text” of the input will be converted when that button is clicked.
How to Show and Hide Password Using jQuery
This article will help you to know how to create password Show and Hide using JQuery. Very little JQuery has been used here. JQuery is an external JavaScript library. I took the help of HTML CSS JavaScript to create this project.
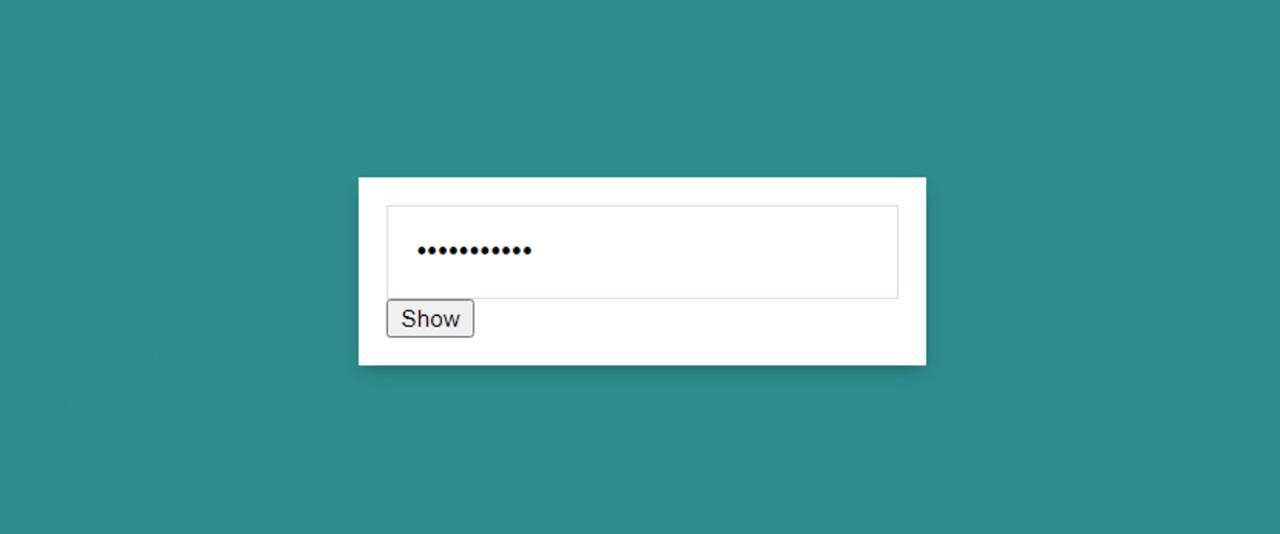
First, we created and designed the input field using HTML and CSS. Then he implemented it with the help of Jquery. First, we created a box on the webpage on which we created an area for input. There is a small button in the input box that will help to show and hide the password.
See the Pen
Untitled by Foolish Developer (@foolishdevweb)
on CodePen.
Hope the above demo has helped you to know how to create this JavaScript Show and Hide Password project. As I said before, I took the help of Jquery to make this project. So you must include the JQuery CDN link in your HTML file.
Step 1: Basic structure of Show and Hide Password
The basic design of this password input box is created using the following HTML and CSS codes. Here I first made a box on the webpage using the background color green.
I used white as the background color of the box and width: 320px. Along with this, a shadow has been used around the box which enhances the beauty.
Step 2: Create a place to input the password
Now I have created a place to input and a button. That button will help convert input passwords into text in the input box. The size of the input box depends on the padding and font-size: 17px is used.
Now the button has been designed. Clicking on the button will show the password height and show. I have used the transparent background of the button so that the button can only see the text.
Step 3: Activate Show Hide Password with Jquery
Now is the time to activate this project (Show and Hide Password Using jQuery) with the help of Jquery. Very few and easy jQuery has been used here.
First set the constant of the button in the password input box. Because we know that no class, ID function can be used directly in JQuery or JavaScript. For this, we need to determine a global constant.
📌 The condition here is that when you click on that button now the password will be converted to text and the test password will be converted.
📌 First using if, this condition states that if the characters in the input box are passwords then they will be converted to text and if in text form it will be seen in bullet form.
📌 As I mentioned earlier, it depends on the type = “” whether to view or hide the password.
Normally we use type = “password” in the input box so the password can be seen in the form of bullets. If you use type = “text” you will see the passwords in text form.
📌 Here I have given that condition. When the characters are in text form it will be converted to password and when there is a test time password it will be converted to type text. All these calculations are connected by the click function.
The following conditions will apply whenever you click on the button and the text will be converted into a password and the password into text.
Hopefully from this tutorial you have learned how to create Show and Hide Password using JQuery. I have already created a hidden show password input box using JavaScript. If you have any problems with this tutorial, please let me know in the comments.
If you have any benefits, be sure to share them with your friends. The button below will help you to download the source code to create this JavaScript Show and Hide Password.
