Here, You will learn how to create a Stopwatch using JavaScript. JavaScript Stopwatch is a great project that will help beginners to learn more about JavaScript.
Earlier I shared with you how to make a simple stopwatch. We use a stopwatch for various purposes. Which helps us to run the countdown for a certain period of time. But there is a difference between a countdown timer and a stopwatch.
The countdown timer cannot be turned off when you wish. However, you can turn this stopwatch on and off whenever you want.
JavaScript Stopwatch
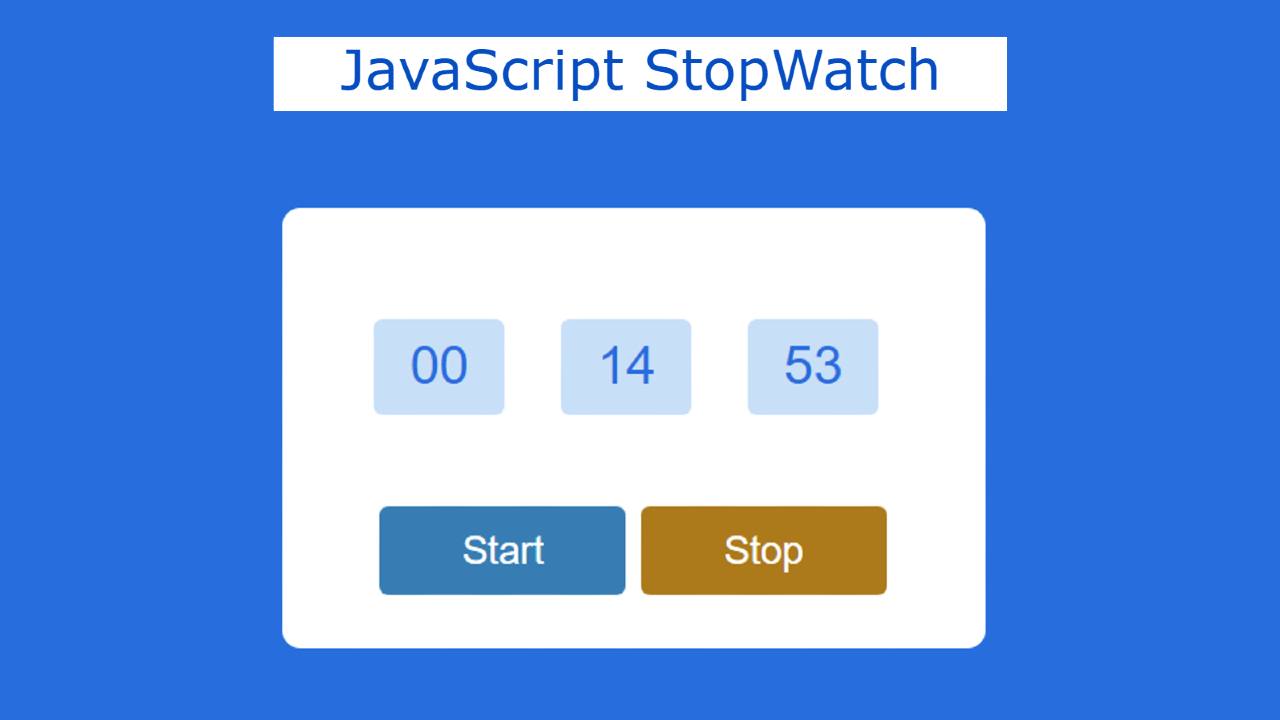
Here’s the basic structure I made a box and made three small displays in it. Counted time can be seen in this display. There are also two buttons that will help turn the stopwatch on and off.
See the Pen
Untitled by Code Media (@codemediaweb)
on CodePen.
Hopefully, the demo above has helped you to get a live preview of the javascript time stopwatch. You will find the source code required for making this simple javascript stopwatch at the bottom of the article. However, there are many beginners who do not understand the code. I have shared step-by-step tutorials for them.
However, there is a problem with this design, you can not restart here. Because I made it so easy. You can see this design if you want to add a restart button.
How to Create a Stopwatch in JavaScript
Below I have shared a step-by-step tutorial on how to create this JavaScript Stopwatch. For this, you need to have a basic idea about HTML CSS, and JavaScript. First of all, HTML CSS has helped to create its basic structure.
Step 1: Basic structure of stopwatch
I have created a box using the following HTML and CSS code. I will add all the information to this box. The width of this box: 300px and height: 90px have been used.
Here the background color I used is white and it helped margin: 100px auto to place it in the middle of the webpage.
Step 2: 3 countdown viewing boxes
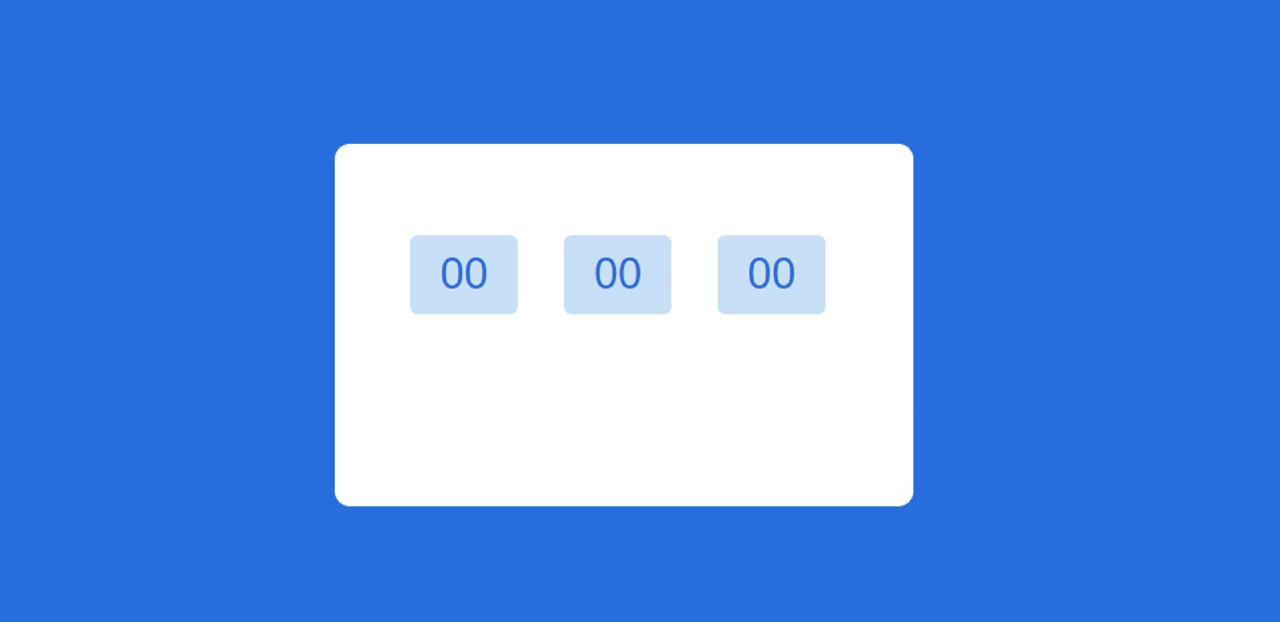
Now it’s time to make three small displays. Now only “00” can be seen in this display. However, after using JavaScript, it will be fully functional. First with the help of margin-left I put the display in a correct position. Box width: 55px and background: # c7e0f8.
Step 3: Two buttons to control the JavaScript stopwatch
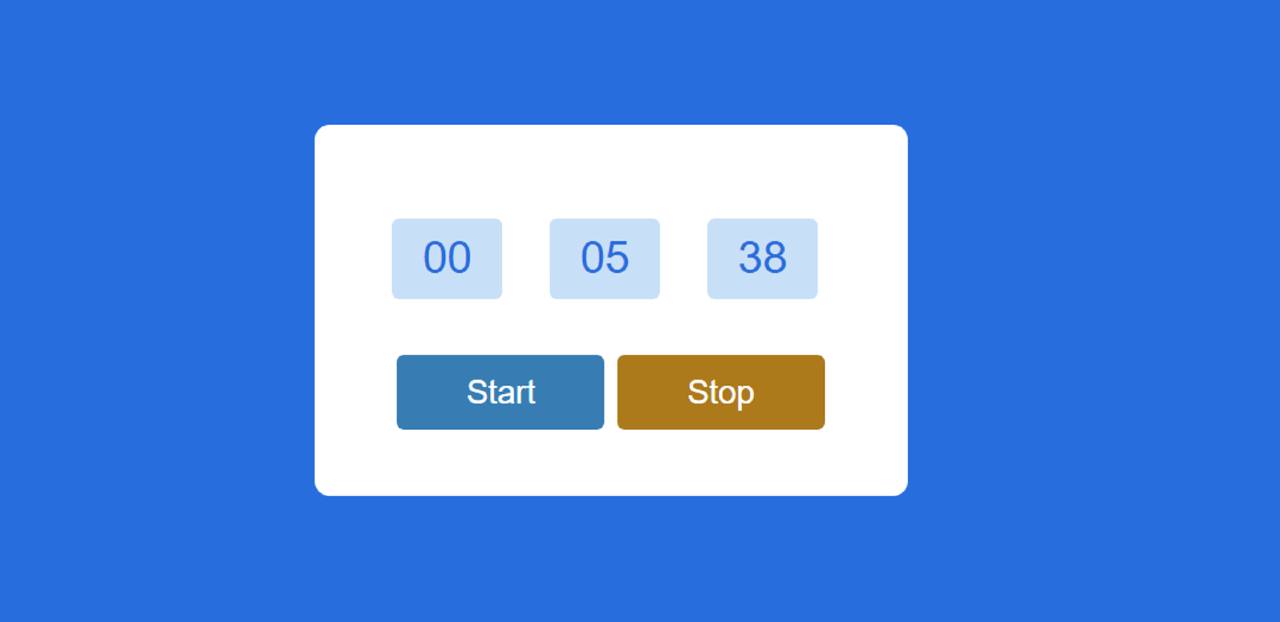
Now I have created two buttons to control this JavaScript Stopwatch. The first button will start the stopwatch and the second will turn off the countdown.
To make these two buttons, I took the help of HTML’s button function. The buttons are width: 140px, height: 50px and background-color: # 2e80b3.
Then I added hover color on these buttons. When you move the mouse or click on the buttons, the background color will be black and the text color will be converted to white.
Now I put those two buttons in a certain position. First I lowered the buttons slightly using margin-top: 25px. Then the ‘last-child’ helped to change the background color of the second button.
Step 4: JavaScript code of Stopwatch
Now to add JavaScript in this simple stopwatch project. JavaScript will make it fully active.
Now I have set a constant of the ID functions in these three boxes in milliseconds, seconds and minutes. Because we can’t directly use any class or ID function in JavaScript. For this we need to determine a global constant.
Now I set the value of the constant called timer to zero (0). As a result, the time of that stopwatch will be 0 in normal conditions. Then I instructed timerInterval is a constant.
Now all the calculations of this countdown timer have to be made. Here I have added all the information in “timerInterval”.
➤ First, the value of ‘timer’ has been set to ‘1/60’, that is, its value will continue to increase by 1/60 every time*.
➤ Then I have determined how the time of milliseconds, seconds, and minutes will increase. I have used Math.floor for this. The Math. floor () function returns the largest integer less than or equal to a given number.
➤ First I added the calculation of milliseconds. Then I set the second calculation. Here 60 times is done with the calculation of milliseconds. Because one second equals 60 milliseconds.
➤ Now it has been decided how the minute time will increase. As I have indicated here, the value of the timer will be divided by 60 and that value will increase each time*.
Now with the help of ‘innerHTML‘ I have arranged to show those times in the display. InnerHTML is a property of the HTML DOM.
*Here ‘each time’ is meant 1000/60 milliseconds. Because I added all the following calculations to “setInterval” and set the time to 1000/60 milliseconds. The setInterval () method in JavaScript is used to repeat a specified function at every given time-interval.
There will be some changes before showing in the time display here. I have indicated here that if the value of time is less than 10, then a 0 will be added before that time. After adding 0, that number can be seen in the display.
Now it’s time to activate the stop button. Clicking this button will turn off the timer. “ClearInterval” helped. This value can be passed in clearInterval () to stop the timer.
Hopefully from this tutorial, you have learned how to make a Simple Stopwatch with the help of JavaScript. If there is any problem, you can definitely comment. The source code required to create this JavaScript Stopwatch is in the button below.


