When you visit a website, the page that shows initially is the login page. This page has a login form that consumers need to fill up with their unique username and password to access their website’s personal page. Every user’s privacy is protected in this way. Making a login page is mostly done to secure user data and prevent unauthorized access. For keeping privacy, it is one of the greatest methods where users can input personal data to the website.
The login form has mainly three-to-four types of inputs: username, email, or either mobile with password. The user needs to add their unique ID inside the login form input, and then using the login button, they can enter it inside the website.
Responsive Gym Website Using Html,Css and Javascript
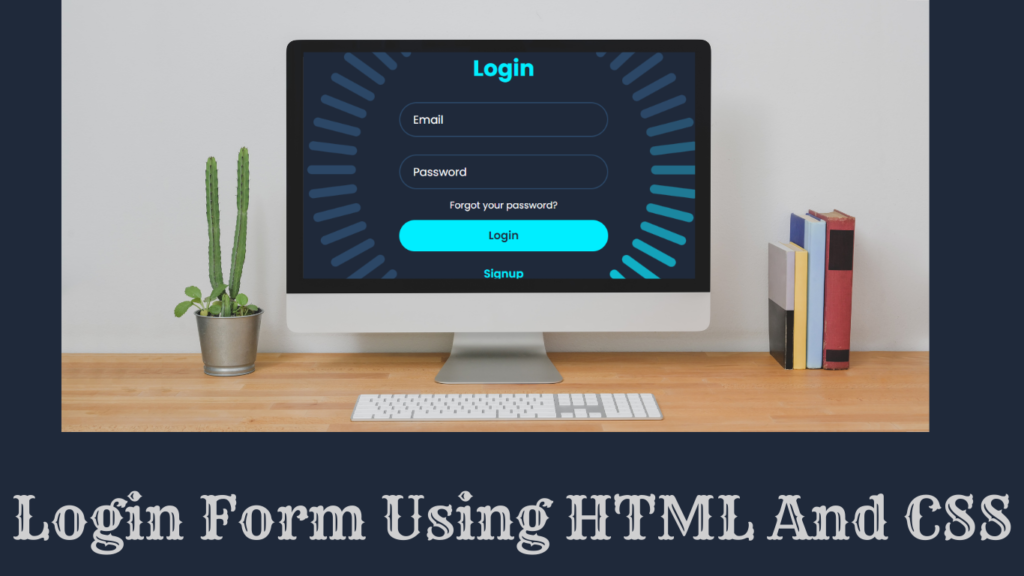
In this article, we will create a login form using basic HTML and CSS for creating the structure and styling the login form. We will create a login input form where we will create the inputs, such as email and password . Also the forgot password button and login button.
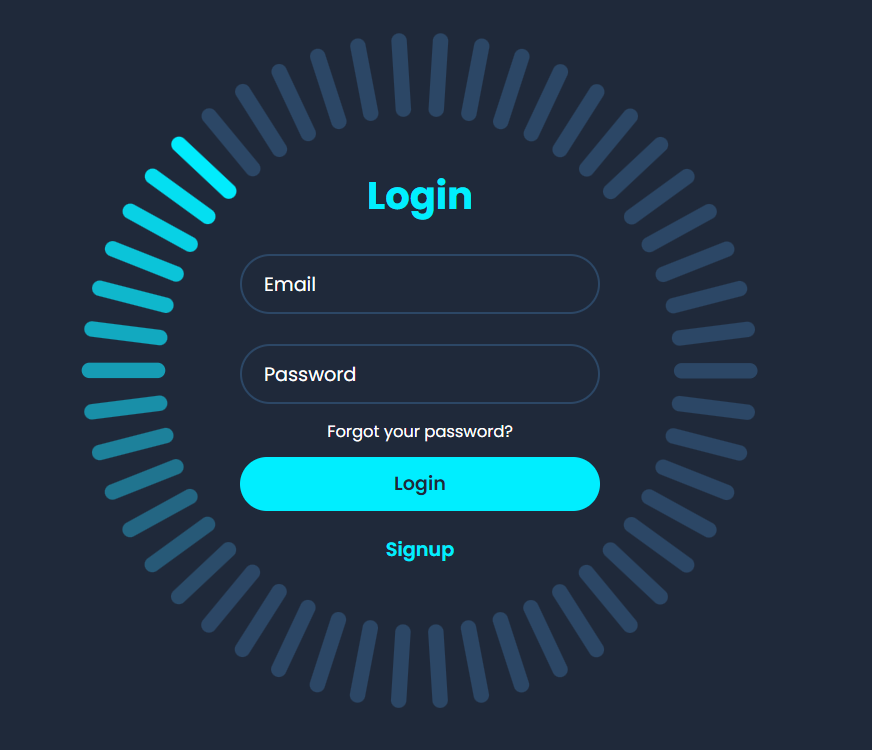
Live Output:
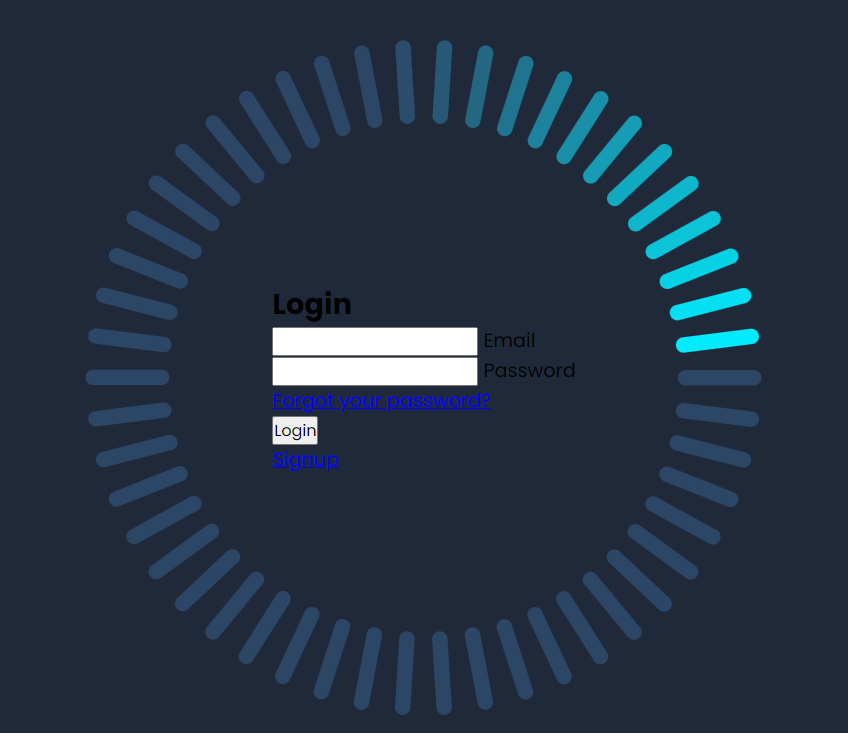
Adding the Structure (HTML):
In creating the structure for our login form, we will be using the block-level element called the <div>tag with the class container. We will create the container for our login page, and using the <h2>tag selector, we will add the heading login form inside our webpage.
The<form>helps in creating the structure of the form, and using the child div tag, we will create a child section where we will add the input type as “email,” and using the tag, we will add the label as email to the input box. Similarly, we will create an input field for the password, and using the anchor tag, we will add the link for the “forgot t password.
We will be adding some cool animation inside our login page; for that, we will create a different section where, using the inline tag span, we will create a small section using which we will add the animation.
<body>
    <div class="container">
        <div class="login-box">
            <h2>Login</h2>
            <form action="#">
                <div class="input-box">
                    <input type="email" required>
                    <label>Email</label>
                </div>
                <div class="input-box">
                    <input type="password" required>
                    <label>Password</label>
                </div>
                <div class="forgot-pass">
                    <a href="#">Forgot your password?</a>
                </div>
                <button type="submit" class="btn">Login</button>
                <div class="signup-link">
                    <a href="#">Signup</a>
                </div>
            </form>
        </div>
        <span style="--i:0;"></span>
        <span style="--i:1;"></span>
        <span style="--i:2;"></span>
        <span style="--i:3;"></span>
        <span style="--i:4;"></span>
        <span style="--i:5;"></span>
        <span style="--i:6;"></span>
        <span style="--i:7;"></span>
        <span style="--i:8;"></span>
        <span style="--i:9;"></span>
        <span style="--i:10;"></span>
        <span style="--i:11;"></span>
        <span style="--i:12;"></span>
        <span style="--i:13;"></span>
        <span style="--i:14;"></span>
        <span style="--i:15;"></span>
        <span style="--i:16;"></span>
        <span style="--i:17;"></span>
        <span style="--i:18;"></span>
        <span style="--i:19;"></span>
        <span style="--i:20;"></span>
        <span style="--i:21;"></span>
        <span style="--i:22;"></span>
        <span style="--i:23;"></span>
        <span style="--i:24;"></span>
        <span style="--i:25;"></span>
        <span style="--i:26;"></span>
        <span style="--i:27;"></span>
        <span style="--i:28;"></span>
        <span style="--i:29;"></span>
        <span style="--i:30;"></span>
        <span style="--i:31;"></span>
        <span style="--i:32;"></span>
        <span style="--i:33;"></span>
        <span style="--i:34;"></span>
        <span style="--i:35;"></span>
        <span style="--i:36;"></span>
        <span style="--i:37;"></span>
        <span style="--i:38;"></span>
        <span style="--i:39;"></span>
        <span style="--i:40;"></span>
        <span style="--i:41;"></span>
        <span style="--i:42;"></span>
        <span style="--i:43;"></span>
        <span style="--i:44;"></span>
        <span style="--i:45;"></span>
        <span style="--i:46;"></span>
        <span style="--i:47;"></span>
        <span style="--i:48;"></span>
        <span style="--i:49;"></span>
    </div>
</body>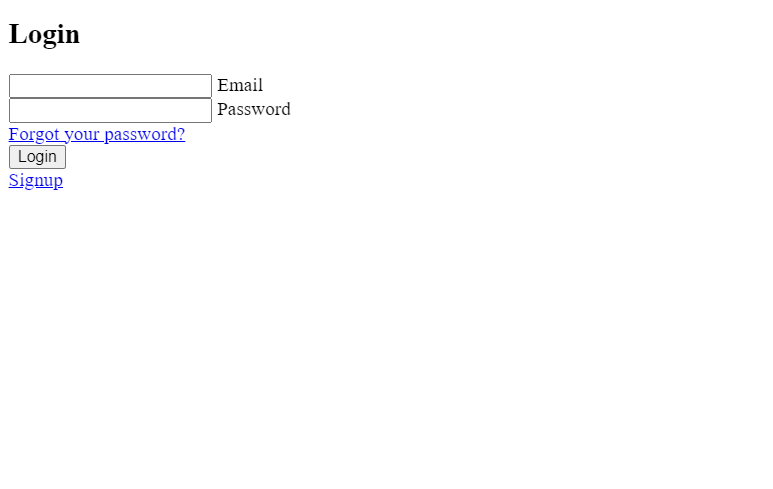
Styling Login Page (CSS):
We will be importing some new Google fonts inside our webpage. Using Google’s import link, we will add the “Poppins” font family, which we will be using in the login page text, and then, using the universal tag selector, we will set the padding and margin of all the tags to zero from the browser’s default values.
The body tag selector helps in adding styling to the body. We will be adding the styling to the RBW webpage. Using the display property, we will set the display to “flex,” and using the justify content property, we will justify the content to the center. Using the align items property, we will align the items to the center, and the background of the page is set to “black.”.
@import url('https://fonts.googleapis.com/css2?family=Poppins:wght@300;400;500;600;700;800;900&display=swap');
* {
    margin: 0;
    padding: 0;
    box-sizing: border-box;
    font-family: 'Poppins', sans-serif;
}
body {
    display: flex;
    justify-content: center;
    align-items: center;
    min-height: 100vh;
    background: #1f293a;
    /* background-image: url(./bg.jpg); */
}
Adding Animation:
Now we will be adding the circle animation around the login form. the width of the circle bar as 32 px and height as 6 px, and using the background property, we will set the background as blue with a border radius of 8 px to give it the look of a capsule.
Now, using the keyframe, we will add the rotate animation and change the background color to different keyframes.
.container {
    position: relative;
    width: 256px;
    height: 256px;
    display: flex;
    justify-content: center;
    align-items: center;
}
.container span {
    position: absolute;
    left: 0;
    width: 32px;
    height: 6px;
    background: #2c4766;
    border-radius: 8px;
    transform-origin: 128px;
    transform: scale(2.2) rotate(calc(var(--i) * (360deg / 50)));
    animation: animateBlink 3s linear infinite;
    animation-delay: calc(var(--i) * (3s / 50));
}
@keyframes animateBlink {
    0% {
        background: #0ef;
    }
    25% {
        background: #2c4766;
    }
}
Styling form Element:
Using the login-box class selector, we set the login container position to absolute, and the width of the container is 400 pixels.
In the child tag selector form, we will set the form width to 1005, and using the padding property, we will add padding of 0 and 50 pixels.
The heading of the login page is aligned to the center with a glowing blue color font, and the size of the heading is 2 rem.
Now we will be adding the styling to the input form, where we will set the position of the input box container as relative, and using the margin property, we will add a margin of 25 pixels from the top and bottom and 0 pixels from left and right. We will set the background of the box to be transparent.
Then we added a border radius around each input box, and also using the border radius property, we set the border radius to 8 pixels to give the curve edge. The button of the login box is set to a blue background, and using the text align property, we will align the text to the center.
.login-box {
    position: absolute;
    width: 400px;
}
.login-box form {
    width: 100%;
    padding: 0 50px;
}
h2 {
    font-size: 2em;
    color: #0ef;
    text-align: center;
}
.input-box {
    position: relative;
    margin: 25px 0;
}
.input-box input {
    width: 100%;
    height: 50px;
    background: transparent;
    border: 2px solid #2c4766;
    outline: none;
    border-radius: 40px;
    font-size: 1em;
    color: #fff;
    padding: 0 20px;
    transition: .5s ease;
}
.input-box input:focus,
.input-box input:valid {
    border-color: #0ef;
}
.input-box label {
    position: absolute;
    top: 50%;
    left: 20px;
    transform: translateY(-50%);
    font-size: 1em;
    color: #fff;
    pointer-events: none;
    transition: .5s ease;
}
.input-box input:focus~label,
.input-box input:valid~label {
    top: 1px;
    font-size: .8em;
    background: #1f293a;
    padding: 0 6px;
    color: #0ef;
}
.forgot-pass {
    margin: -15px 0 10px;
    text-align: center;
}
.forgot-pass a {
    font-size: .85em;
    color: #fff;
    text-decoration: none;
}
.forgot-pass a:hover {
    text-decoration: underline;
}
.btn {
    width: 100%;
    height: 45px;
    background: #0ef;
    border: none;
    outline: none;
    border-radius: 40px;
    cursor: pointer;
    font-size: 1em;
    color: #1f293a;
    font-weight: 600;
}
.signup-link {
    margin: 20px 0 10px;
    text-align: center;
}
.signup-link a {
    font-size: 1em;
    color: #0ef;
    text-decoration: none;
    font-weight: 600;
}
.signup-link a:hover {
    text-decoration: underline;
}
final Video Output:
Conclusion:
Hopefully, the above tutorial has helped you to know how to Login a Page in HTML with CSS Code.
Here we have learned how to use the Login Page in HTML with CSS Code. Next time, I am going to write an article on how to play a car racing game using HTML and CSS. Please give us your valuable feedback on how you like this Login Page in HTML with CSS Code.
If you like the project, don’t forget to follow our website, foolishdeveloper.com.
Code: Ajay
Author: Arun