In this article, you will learn how to create a feedback form using HTML. If you know basic HTML and JavaScript, you can easily create a simple feedback form using HTML. You can follow our other site, CodewithRandom, to create more types of forms, such as signup, login, feedback, and survey forms, using HTML.
A feedback form is a type of survey form that helps collect multiple responses from users for particular services and products. It is a beginner-friendly project that helps in gaining experience with HTML form elements for collecting user data and providing the best services to the user based on their demands and choices.
I hope you gain some basic knowledge about forms and how different types of forms are used for different purposes. In a step-by-step format, we will look at the process of creating a feedback form.
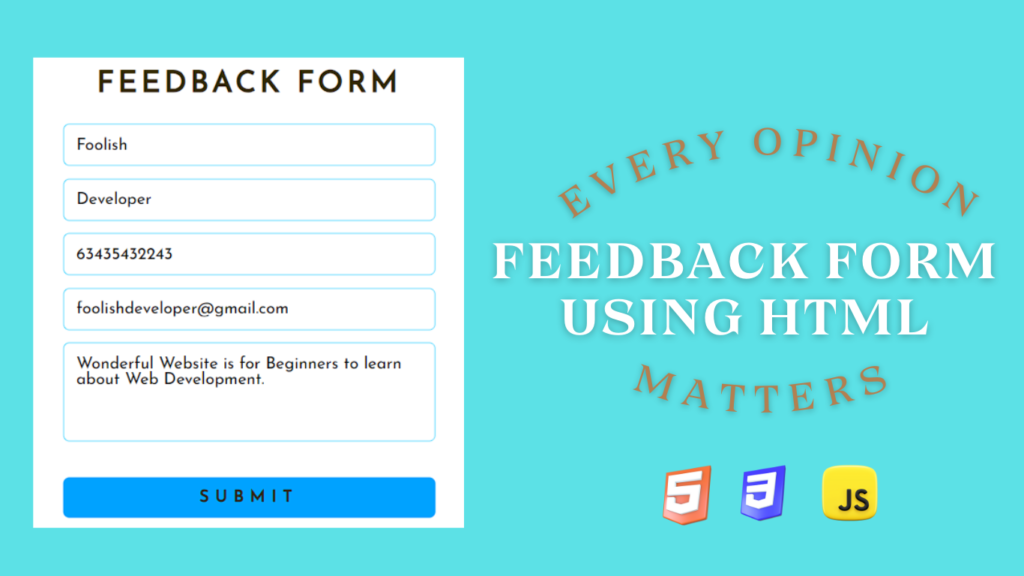
Feedback Form Using HTML
There are many such Forms examples on the internet. But here I have shared the complete tutorial and tried to explain to you step-by-step how to create a Feedback form using HTML.
This feedback form using HTML was created in a very simple manner. Forms are used for collecting a large amount of data from multiple users based on their preferences and needs. We use a feedback form for collecting information and then performing analysis to provide the best result to the user.
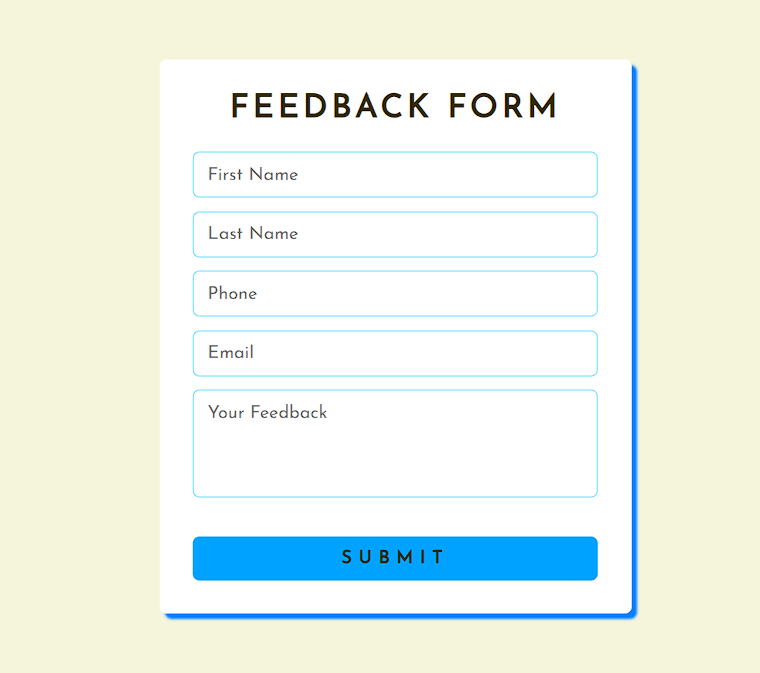
If you want more in-depth understanding of the project, You can look at the live preview of the project, which will help you better understand and clarify the concepts about forms.
This live demo of the project will help you with better project understanding, adding customization to your project, and creating a user-interactive feedback form.
How to Create Feedback Form (Step-By-Step)
First of all, we will create three different files for HTML, CSS, and JavaScript for easy code management techniques so that we can manage code in a proper manner for future use and changes can be made easily.
Then we will link all the files with each other by adding the link inside the header section of the HTML file for the CSS file and adding the javascript link inside the body tag of the HTML.
<!DOCTYPE html>
<html lang="en">
<head>
<meta charset="UTF-8">
<meta name="viewport" content="width=device-width, initial-scale=1.0">
<link rel="stylesheet" href="style.css">
<title>Feedback Form</title>
</head>
<body>
<script src="script.js"></script>
</body>
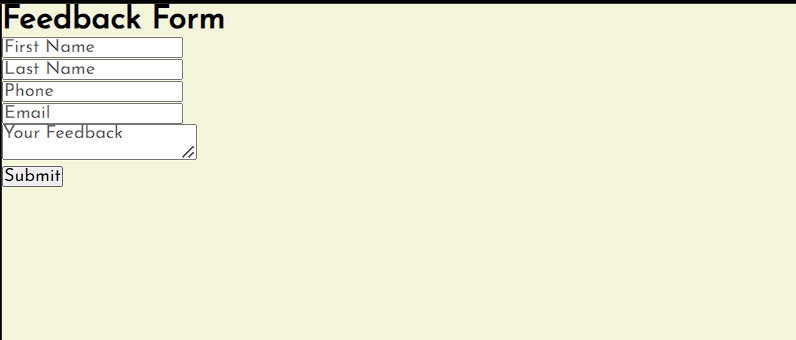
</html>Step 1: Basic Structure of Feedback Form
Using a block-level tag, which will cover the whole part of the website as a single block, which will appear like a box, and inside the box, we will use the form tag of the HTML for creating a form element.
Then, using a <h2> heading tag, we added a heading to our Feedback Form project. We will create five form inputs for taking inputs from the user. We will create a name input inside the form for collecting the name information of the user, and then input the mobile number and email ID for future sharing of helpful resources with the user, as well as a text area where the user can write down their experiences and any feedback they want to share with the product owners.
Then, using a block-level element called a button, create a submit button for sharing feedback with the website owner.
<div class="wrapper">
  <h2>Feedback Form</h2>
  <div id="error_message"></div>
  <form id="myform" onsubmit="return validate();">
    <div class="input_field">
        <input type="text" placeholder="First Name" id="fname">
    </div>
    <div class="input_field">
        <input type="text" placeholder="Last Name" id="lname">
    </div>
    <div class="input_field">
        <input type="text" placeholder="Phone" id="phone">
    </div>
    <div class="input_field">
        <input type="text" placeholder="Email" id="email">
    </div>
    <div class="input_field">
        <textarea placeholder="Your Feedback" id="yourfeedback"></textarea>
    </div>
    <div class="btn">
        <input type="submit">
    </div>
  </form>
</div>
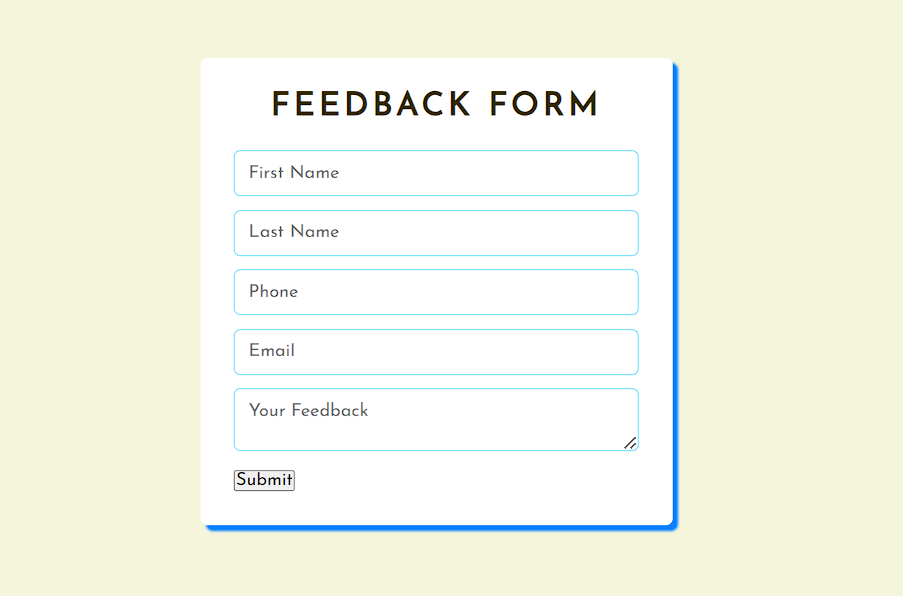
Step2: Adding Styling to our Feedback Form
1. Basic Styling:
We first import some new font faces using the Google import link and then using the universal tag selector, we (*). We will set the margin and padding to zero from the browser’s default margin and padding, and using the font-family property, we will set the new font face, Josefin Sans, which we have imported using the Google import link.
Now, using the body tag selector, we will set the background color of the webpage to “beige.”.
@import url('https://fonts.googleapis.com/css?family=Josefin+Sans');

*{
  margin: 0;
  padding: 0;
  box-sizing: border-box;
  outline: none;
  font-family: 'Josefin Sans', sans-serif;
}

body{
  background: beige;
}
2. Styling Container & Element
Now, using the class selector (.wrapper h2), we will add styling to the child element heading of the feedback form. Using the text-align property, we will align the text to the center, and using the margin-bottom property, we will add a bottom margin of 20 pixels to our feedback form.
Also, using the text-transform property, we will convert all the text in all the uppercase letters, and using letter spacing, we will add a letter spacing of 3 pixels inside our feedback form.
Using the child class selector (.input_field), we will add a bottom margin of 10px to the input, and using the border property, we will add a border of 1px solid with a blue border, and the width is set to 100%.
.wrapper h2{
  text-align: center;
  margin-bottom: 20px;
  text-transform: uppercase;
  letter-spacing: 3px;
  color: #332902;
}

.wrapper .input_field{
  margin-bottom: 10px;
}

.wrapper .input_field input[type="text"],
.wrapper textarea{
  border: 1px solid #66dbff;
  border-radius: 5px;
  width: 100%;
  padding: 10px;
}
3. Styling Textarea and Submit button
Using the child tag selector in the parent class, we will use the property resize and set it to none so the textarea size can be set to fixed, and using the height property, we will set the height of the text area to 80px.
Now, using the class selector for the button, we will set the border of the button to zero, and using the top margin property, we will set the top margin to 15 pixels, with padding of 10 pixels added to the submit button.
.wrapper textarea{
  resize: none;
  height: 80px;
}

.wrapper .btn input[type="submit"]{
  border: 0px;
  margin-top: 15px;
  padding: 10px;
  text-align: center;
  width: 100%;
  background: #00a2ff;
  color: #332902;
  text-transform: uppercase;
  letter-spacing: 5px;
  font-weight: bold;
  border-radius: 5px;
  cursor: pointer;
}

#error_message{
  margin-bottom: 20px;
  background: #fe8b8e;
  padding: 0px;
  text-align: center;
  font-size: 14px;
  transition: all 0.5s ease;
}
Step3: Adding Functionality to our Feedback Form
We will first create a user-defined function called function validate, which will help in validating user input to see whether the data provided inside the feedback form is valid as per the format given inside the function or not.
We will create some variables, such as first name, last name, phone, email, your feedback, and error_message and then use the document. In the getElementById method, we will select the HTML elements.
function validate()
{
  var firstname = document.getElementById("fname").value;
  var lastname = document.getElementById("lname").value;
  var phone = document.getElementById("phone").value;
  var email = document.getElementById("email").value;
  var yourfeedback = document.getElementById("yourfeedback").value;
  var error_message = document.getElementById("error_message");
Now, using the variable text and if else property, we will set some if-else condition for validating user data. Using the if condition, we will check if the first name contains at least three characters, and if the length is less than three characters, an error message will come: “Please enter a valid name.”.
Similarly, we will set the if condition for the last name, and using the isNaN property, we will check that the phone number strictly equals 10 as per Indian numbers, and if the number length exceeds the fixed length, an error message will pop up. For the address input box, we will set the length to 140 characters, and then we will check if all the details filled out follow the set condition. As the user clicks on the submit button, a pop-up will appear indicating that data has been submitted successfully.
var text;
  if(fname.length < 3)
  {
    text = "Please Enter a valid First Name";
    error_message.innerHTML = text;
    return false;
  }
  if(lname.length < 3)
  {
    text = "Please Enter a Valid Last Name";
    error_message.innerHTML = text;
    return false;
  }
  if(isNaN(phone) || phone.length != 10)
  {
    text = "Please Enter valid Phone Number";
    error_message.innerHTML = text;
    return false;
  }
  if(email.indexOf("@") == -1 || email.length < 6)
  {
    text = "Please Enter valid Email";
    error_message.innerHTML = text;
    return false;
  }
  if(address.length <= 140)
  {
    text = "Please Enter More Than 140 Characters";
    error_message.innerHTML = text;
    return false;
  }
  alert("Form Submitted Successfully!");
  return true;
}
Hopefully, the above tutorial has helped you to know how this Feedback form using HTML works.
Here we have learned how to use the feedback form using HTML. Next time, I am going to write an article on how I love your code animation using HTML and CSS. Please give us your valuable feedback on how you like this feedback form using HTML Project.
If you like the project, don’t forget to follow our website, foolishdeveloper.com.