Custom Right Click Context Menu using JavaScript

Right-Click Context Menu I almost use in different operating systems. If you want to create a Custom Right Click Menu using JavaScript then this tutorial is for you.
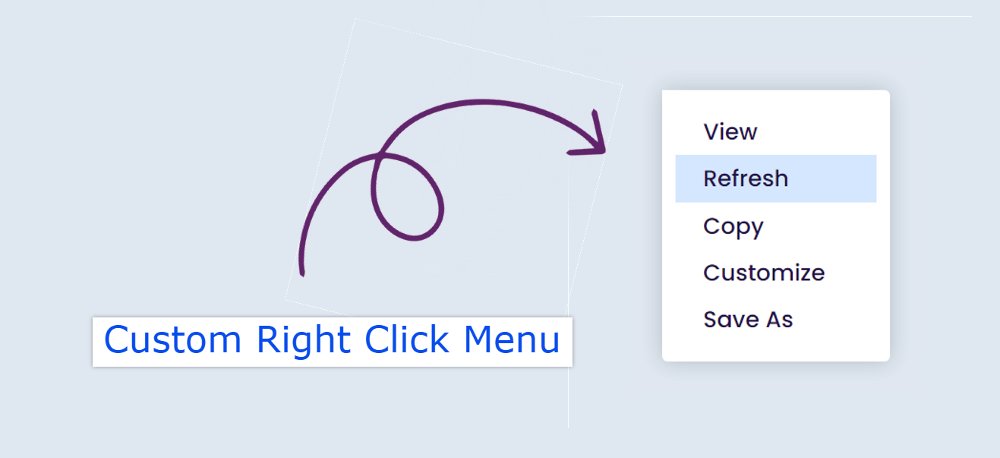
In the case of this type of design, you can see this JavaScript Right-Click Context Menu by right-clicking the mouse. We see this type of design in any operating system or application.
In this tutorial, you will find complete information on how to create a custom context menu. In this case, you will see a box when you right-click the mouse. Where there are 5 menu items. If you want, you can add any image, text, video instead of a menu item.
Custom Right Click Context Menu
Many people use Jquery or React to make this kind of design. But if you want, you can create this custom Right-Click Context Menu JavaScript using Simple JavaScript.
However, the js used here are comparatively much harder. Below you will find a demo that will help you figure out how to make it work.
See the Pen
Untitled by Foolish Developer (@foolishdevweb)
on CodePen.
As you can see above, I have added a background color to the top of a web page. You will not see anything on the page because this menu will be visible after right-clicking.
A small box will appear when you right-click your mouse. Box shadows have been used to enhance the white color and beauty in the background of the box. Each menu item has a hover color attached to it.
How to Create a Custom Right-Click Menu
If you want to create this Custom Right Click Context Menu then I have given all the code below. The explanation is not required for HTML and CSS.
However, in the case of JavaScript, I have given the explanation of each line. But you need to have a basic idea about HTML, CSS, and javascript.
Step 1: Html code of context menu
The required information for this Right Click Context Menu has been added using your own HTML code. Copy these codes and add them to your HTML file.
Step 2: Design the Right Click Menu
Now is the time to design it using a small amount of CSS code. First set a background color for the webpage. Then I designed the box, the background of the box is white color and with it, the box shadow has been used.