In this tutorial, we will walk through the process of building a temperature converter in React. Temperature conversion is a common task in many applications, especially those dealing with weather or scientific data.
In this article, we will build a temperature converter using React, a popular JavaScript library for building user interfaces.
Before we start to create React temperature converter, let’s review the two most commonly used temperature units: Celsius and Fahrenheit. Celsius (°C) is a unit of temperature on the metric system, whereas Fahrenheit (°F) is a unit of temperature on the imperial system. The conversion formula between these two units is:
°C = (°F – 32) * 5/9
°F = °C * 9/5 + 32
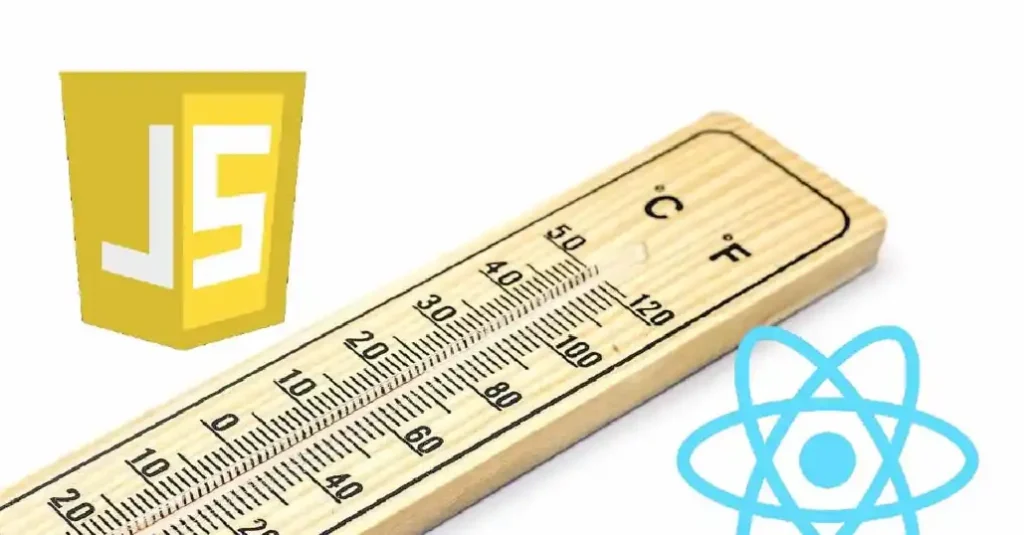
Temperature Converter with React JS
We’ll be using the useState hook to define state variables for our Celsius and Fahrenheit inputs, and we’ll be adding event handlers to convert the temperature between these two units.
Before we get started, make sure you have the latest version of Node.js and npm installed on your computer. You’ll also need a code editor like Visual Studio Code or Atom.
Creating a New React Project
Before making the React temperature converter, let’s create a new React project using the create-react-app command. Open your terminal and run the following command:
npx create-react-app temperature-converter
This command will create a new directory called temperature-converter and scaffold a new React project inside it. Once the command has finished running, navigate to the new directory using the cd command:
cd temperature-converter
Now that we’re inside our new React project, let’s start the development server using the following command:
npm start
This command will start the development server and open your default browser to http://localhost:3000, where you’ll see the default React app.
Creating the React Temperature Converter Component
Now that we have a new React project up and running, let’s create a new component for our temperature converter. Create a new file called TemperatureConverter.js in the src directory, and add the following code:
					import React, { useState } from 'react';

function TemperatureConverter() {
  const [celsius, setCelsius] = useState('');
  const [fahrenheit, setFahrenheit] = useState('');

  const handleCelsiusChange = (value) => {
    const converted = (value * 9/5) + 32;
    setFahrenheit(converted || '');
  };

  return (
    <div>
      <label>
        Celsius:
        <input
          type="number"
          value={celsius}
          onChange={(e) => setCelsius(e.target.value)}
          onBlur={(e) => handleCelsiusChange(e.target.value)}
        />
      </label>
      <label>
        Fahrenheit:
        <input
          type="number"
          value={fahrenheit}
          onChange={(e) => setFahrenheit(e.target.value)}
          onBlur={(e) => {
            const converted = (e.target.value - 32) * 5/9;
            setCelsius(converted || '');
          }}
        />
      </label>
    </div>
  );
}

export default TemperatureConverter;
In the TemperatureConverter component, we’ve defined the handleCelsiusChange function, which takes the value of the Celsius input as an argument. We’re using this function to convert the Celsius temperature to Fahrenheit and update the fahrenheit state variable. We’re also using the onBlur event to trigger the temperature conversion when the user leaves the input field.
We’ve also added a similar onBlur event to the Fahrenheit input field to convert the temperature to Celsius and update the celsius state variable.
Finally, let’s render the TemperatureConverter component in the App component, which is located in the App.js file.
					import React from 'react';
import TemperatureConverter from './TemperatureConverter';

function App() {
  return (
    <div className="App">
      <TemperatureConverter />
    </div>
  );
}

export default App;
With this last step, we’ve completed our temperature converter in React. The full code for this example can be found in the GitHub repository for this article. In conclusion, building a temperature converter in React is a great way to practice your React skills and understand how state and props work in a real-world scenario.
We’ve used the useState hook to define state variables for our Celsius and Fahrenheit inputs, and we’ve added event handlers to convert the temperature between these two units.
To further improve this React temperature converter, you could add more input fields for other temperature units like Kelvin, or add more error handling for invalid inputs. You could also style the component to make it more visually appealing using CSS.
We hope this tutorial has helped you understand how to build a temperature converter using React. Happy coding!