In this article, I am going to show you how to make a JavaScript calculator very easily. Earlier I designed many more types of calculators using HTML CSS and JavaScript programming code. This design is basically made in the form ofNeumorphism design.
Neumorphism is basically a very popular design currently used to create a variety of UI elements. If you want to learn how to make this design, you must have a basic idea about HTML, CSS, and JavaScript.
This type of design gives a 3d look to our website helps in creating a real and interactive enviornment for our calculator project.
Simple JavaScript Calculator
Here, the structure and buttons of this calculator are basically made using HTML programming code. The CSS code helped to transform it into a Neumorphism design. This calculator is enabled using JavaScript code.
I have shown step by step how I made this calculator. If you want to see the demo of it, I have added the demo of Codepen below. From here you can see the demo and download the required source code.
However, if you are a beginner, I request you to watch the tutorial and learn how to make it step by step.
Create A Calculator Using HTML, CSS, and JavaScript
To create it, first, you need to create an HTML and CSS file. Of course, you can attach the CSS file to the HTML file. Then copy the structure below and add it to the HTML file.
In the structure below I have given complete information on how you can add other codes to the file.
Step 1: Create the basic structure of the calculator
These are the CSS programming code with which the basic structure for making this calculator has been designed. It has been converted to a Neumorphism design using its CSS code.
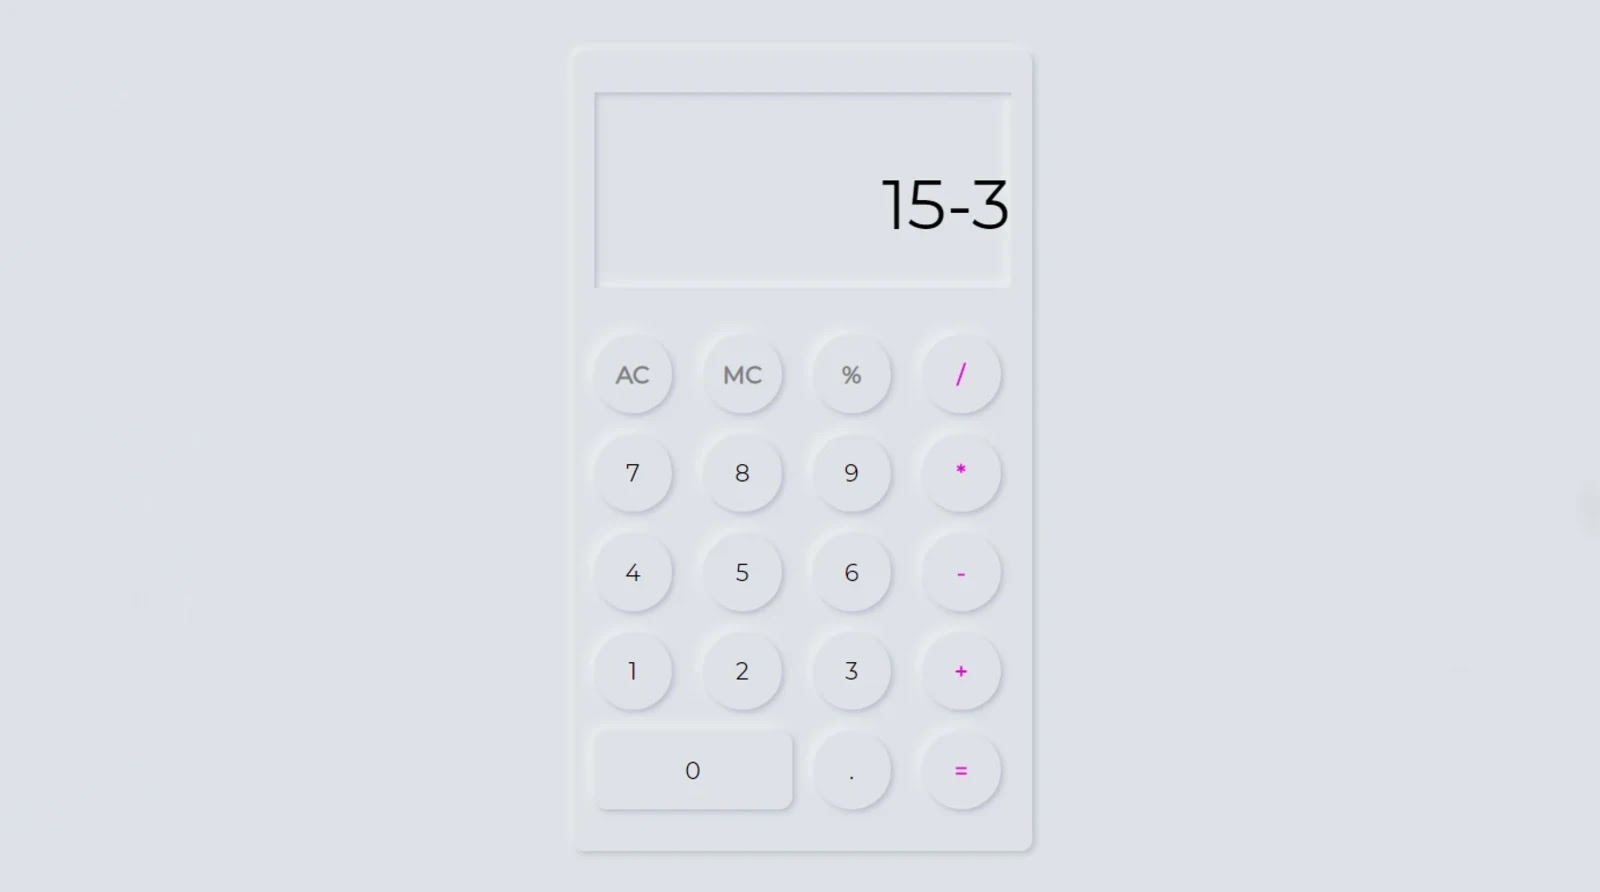
Step 2: Create a result box for viewing calculations
Any calculator has a box for viewing calculations. In the same way, a box is made in this calculator. Here all kinds of calculations can be seen beautifully in that box. The following programming codes have been used to create and design this box.
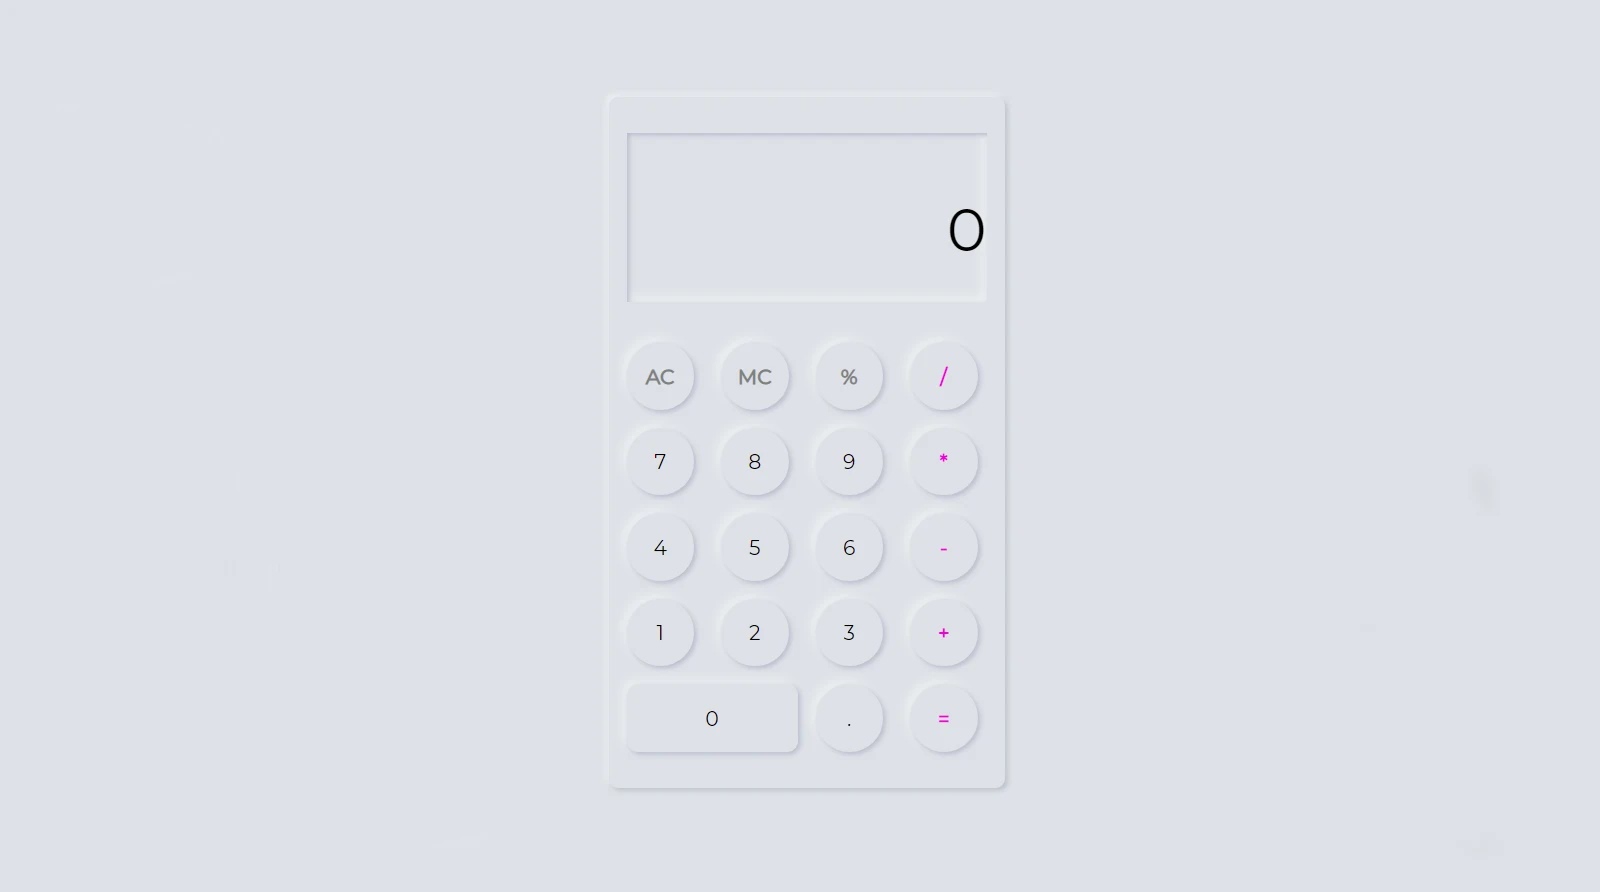
<div class=”result”>
<p id=”result-box”>0</p>
</div>
.container .result {
width: 100%;
height: 150px;
box-shadow: inset 2px 2px 5px #babecc,
inset -5px -5px 10px #ffffff73;
}
.container .result p {
font-size: 40pt;
overflow-y: auto;
text-align: right;
}
Step 3: Create the buttons in the calculator
Many buttons have been used for calculations. The following codes have been used to construct those buttons.
<div class=”buttons”>
<div class=”button action-btn” id=”clear”> AC </div>
The following programming codes are the CSS programming codes used to design the buttons above. Each of the buttons here has been converted to a neomorphic design, meaning the buttons are slightly raised.
The following codes have helped to design the zero button in this calculator. Normally there are 0 rounds but as a result of using the programming code below, it has 0 square shapes. With this, the color of the special keywords i.e. the buttons used for calculation has been changed.
.container .buttons .zero {
grid-column: 1/ 3;
width: 100%;
font-size:18px;
border-radius: 10px;
box-shadow: 2px 2px 5px #babecc,
-5px -5px 10px #ffffff73;
}
.action-btn {
color: grey;
font-weight: bold;
}
.calc-action-btn{
color: #ed11d7;
font-size: 20px;
font-weight: bold;
}
Step 4: Activate the buttons on the calculator
So far we have designed this calculator but it has not been made effective. You must use JavaScript programming code to make it work.
Using the following programming codes, I have activated these calculator push buttons, which means that when you press the buttons, the numbers at the top of the screen will appear.
let btns = document.querySelectorAll(“.num-button”);
let allBtns = document.querySelectorAll(“.button”);
let resultBox = document.querySelector(“#result-box”);
let clearBtn = document.querySelector(‘#clear’);
let total = document.querySelector(“#total”);
let btnSpread = […btns];
let allBtnSpread = […allBtns];
// For Number Inputs
btnSpread.forEach((button, i) => {
button.addEventListener(“click”, () => {
// Inner Values for calculator
if (resultBox.innerHTML == “0”) {
resultBox.innerHTML = “”;
}
let value = btns[i].innerHTML;
resultBox.innerHTML += value;
});
});
Step 5: Add the following JavaScript code to calculate the inputs
I have shown above how to activate the numbers. Now I have shown how to calculate those inputs and show the results.
// Function to evalute Strings
function evaluate(fn) {
return new Function(‘return ‘ + fn)();
}
// To calculate All Input
total.addEventListener(‘click’, ()=> {
let allInputs = resultBox.innerHTML;
resultBox.innerHTML = evaluate(allInputs);
console.log(evaluate(allInputs));
})
// Clear all Inputs
clearBtn.addEventListener(‘click’, ()=> {
resultBox.innerHTML = “0”;
})
Hopefully, you have learned How To Create A Calculator Using HTML, CSS, and JavaScript from the tutorial above.
In the meantime, I have created many more types of designs that you can see if you want. If you want to download the source code, you can download the source code for free using the download button below.