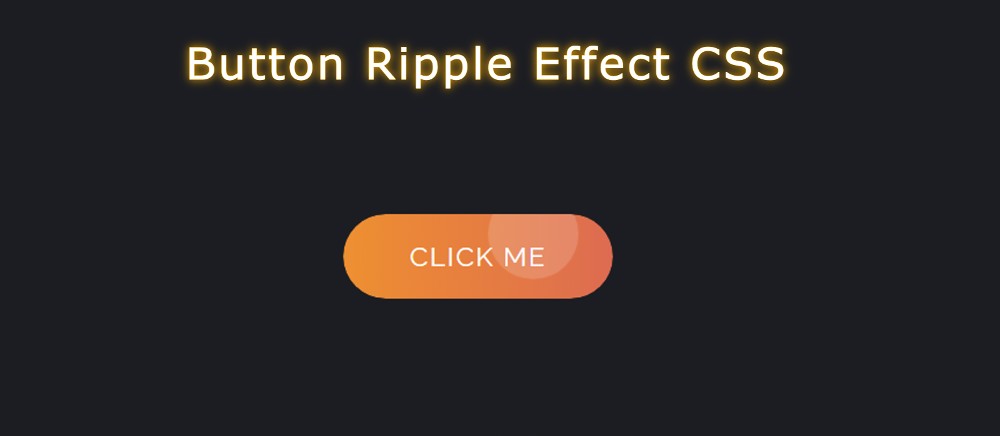
Button Ripple Effect using HTML, CSS & JavaScript
In this article, you will learn how to create Button Ripple Effect using HTML, CSS, and JavaScript. I have shared many more button animations with you before. This is the first time I will create a Ripple Effect in a button.
Button Ripple Effect CSS is basically a kind of onclick effect i.e. when you click on the button this Button Ripple Effect JavaScript can be seen.
If you don’t know what Ripple Effect is, let me tell you, it is a kind of simple effect. When you click on something, a colorful circle will be created in that place. These colorful circles can be matched in size.
Button Ripple Effect CSS
Below I have given a demo that will help you to understand how this circular ripple effect works. Here you will find the required source code and live preview.
See the Pen
Untitled by Foolish Developer (@foolishdevweb)
on CodePen.
Although I have shared tutorials on creating many more types of buttons before, the most notable of which are neon buttons, gradient buttons, glowing buttons, etc.
Html, CSS, and javascript have been used to create this button ripple effect. The button’s structure was first created using HTML. Then it was designed by CSS. After all, the ripple effect has been implemented by JavaScript.
You need JavaScript enabled to view it to create this button ripple animation. JavaScript will basically help you determine the position of your causer and create those colorful circles in the place where you click.
How to Create Button Ripple Effect CSS
If you want to create this Button Ripple Effect you can follow the step-by-step tutorial below. If you know basic HTML, CSS, and javascript then you can create it.
If you only want the source code, you can use the download button or code section at the bottom of the article.
Step 1: The basic structure of the button
First, the basic structure of the button was created using some HTML code.
The webpage is designed with the following CSS. I have used black as the background color of the webpage here.
Now the button has been designed. The size of this button depends on the padding and linear-gradient color is added to the background.

(5).jpg)

