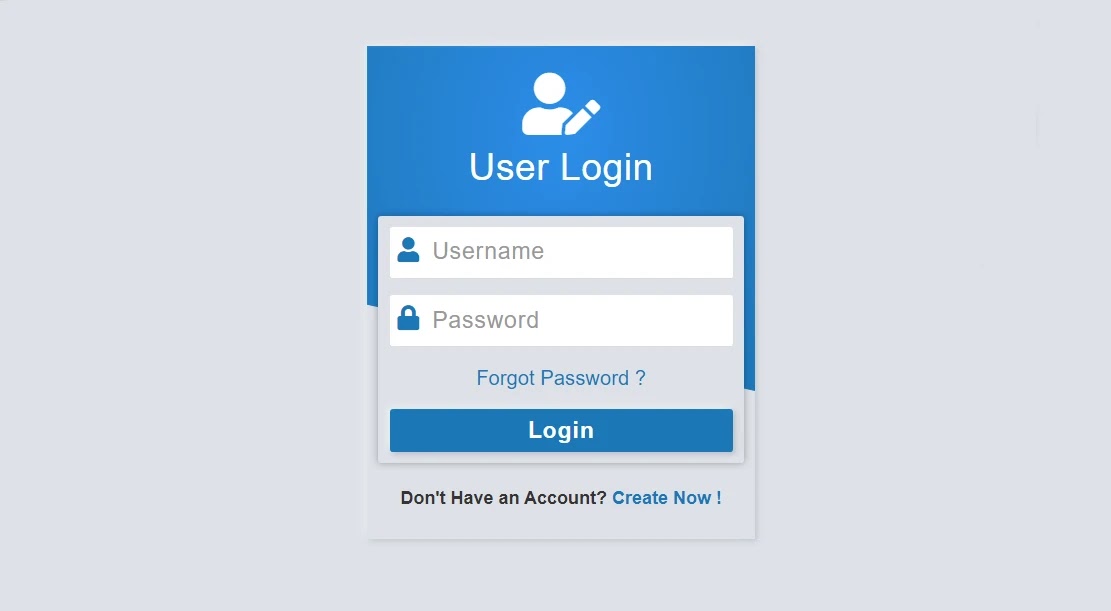
In this article, I am going to show you how to create a simple login form using HTML, CSS, and Bootstrap programming code. Earlier I designed different types of login forms like Neumorphism, Glassmorphism. This login form is very simple and beautifully designed.
Basically in this case I have created this login form using HTML, CSS programming code. I designed it using CSS programming code and made it responsive with bootstrap programming. Everything here is like a normal login form. First of all, there is a place to give a profile image, I have used a title below it. Then there is a place to input the email ID and password to log in. In this case, of course, I used the icon in the email ID and password box. There is a forget password and login button. If you do not have an account, there is an option to create an account. All in all, it is a complete login design that you can easily create with HTML CSS and bootstrap code.
If you have difficulty understanding, you can definitely watch the demo below. Of course, if you want, you can copy all the programming code from the place of the demo and use it for your own work.
See the Pen
login form 4 by shantanu jana (@fghty)
on CodePen.
If you are a beginner and want to know how I created this beautiful and simple login form then you must follow the tutorial below. For this, you must know basic HTML and CSS.
Step 1: Create the basic structure of the login form
Now to create it, first, you have to create an HTML file, then copy the programming structure below and add it to that file. In this case, I did not create a separate CSS file. However, you can create a separate CSS file if you want. In that case, you must attach the CSS file to the Html file.
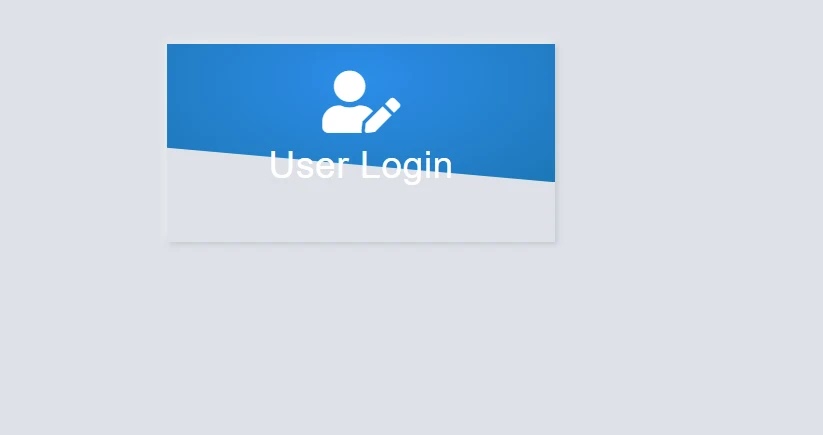
The following CSS codes helped to design the background and create the basic structure of this login form.
<!DOCTYPE html>
<html lang=”en”>
<head>
<link rel=”stylesheet” href=”https://cdnjs.cloudflare.com/ajax/libs/font-awesome/5.15.3/css/all.min.css”>
<link rel=”stylesheet” href=”https://maxcdn.bootstrapcdn.com/bootstrap/3.3.7/css/bootstrap.min.css” integrity=”sha384-BVYiiSIFeK1dGmJRAkycuHAHRg32OmUcww7on3RYdg4Va+PmSTsz/K68vbdEjh4u” crossorigin=”anonymous”>
<meta charset=”UTF-8″>
<meta http-equiv=”X-UA-Compatible” content=”IE=edge”>
<meta name=”viewport” content=”width=device-width, initial-scale=1.0″>
<title>Document</title>
<style>
/*CSS Code*/
</style>
</head>
<body>
<div class=”form-bg”>
<div class=”container”>
<div class=”row”>
<div class=”col-md-offset-4 col-md-4 col-sm-offset-3 col-sm-6″>
<div class=”form-container”>
<!– Login Form –>
</div>
</div>
</div>
</div>
</div>
</body>
</html>
body{
margin-top: 40px;
background: #dde1e7;
}
.form-container{
background: #dde1e7;
box-shadow: -3px -3px 7px #ffffff73,
2px 2px 5px rgba(94, 104, 121, 0.288);
font-family: ‘Titillium Web’, sans-serif;
padding: 25px 10px;
overflow: hidden;
position: relative;
z-index: 1;
}
.form-container:before{
content: ”;
background: radial-gradient(at 50% 25%,#1093ea 0%, #007bb7 100%);
height: 70%;
width: 100%;
position: absolute;
left: 0;
top: 0;
z-index: -1;
clip-path: polygon(0 0, 100% 0%, 100% 100%, 0 75%);
}
Step 2: Add logo and titles
In this case, I have used an icon in the login form as a profile image. In this place, you can use any profile image. I have used a text or title with it. The following HTML and CSS programming codes have helped to create and design these.
<div class=”form-icon”>
<i class=”fa fa-user-edit”></i>
</div>
<h3 class=”title”>User Login</h3>
.form-container .form-icon{
color: #fff;
font-size: 55px;
line-height: 55px;
text-align: center;
margin: 0 0 10px;
}
.form-container .title{
color: #fff;
font-size: 33px;
font-weight: 500;
text-align: center;
text-transform: capitalize;
letter-spacing: 0.5px;
margin: 0 0 25px;
}
Step 3: Create a place to input email and password
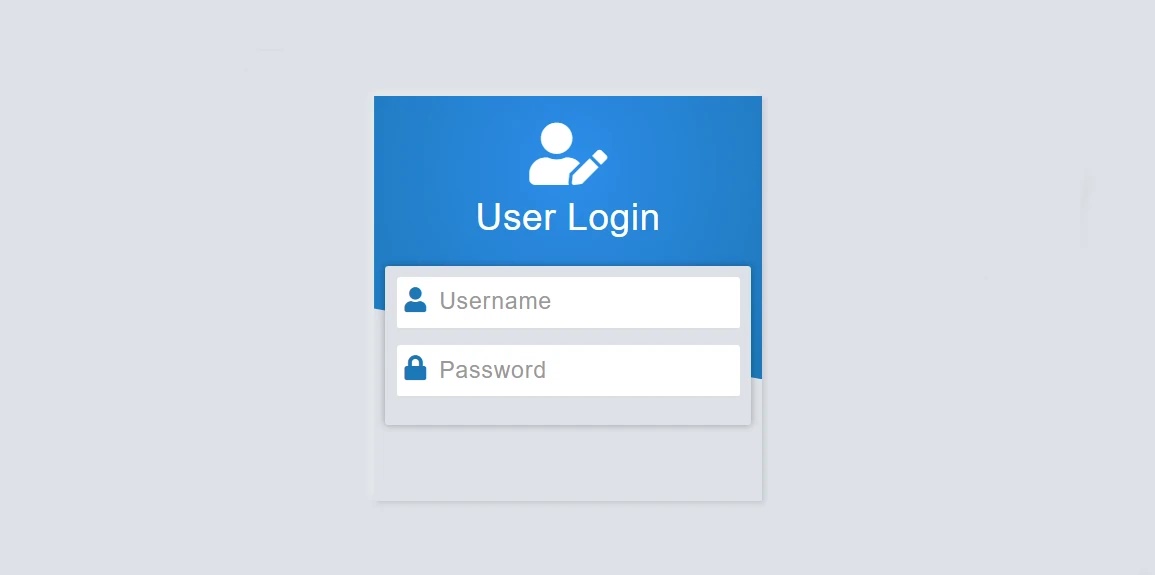
The most notable point of a login form is the place to input the email ID and password. In this case, you will notice that the place to input the email ID and password is a little ahead of the normal login form. This effect was originally created using CSS programming code.
<form class=”form-horizontal”>
<div class=”form-group”>
<span class=”input-icon”><i class=”fa fa-user”></i></span>
<input class=”form-control” type=”email” placeholder=”Username”>
</div>
<div class=”form-group”>
<span class=”input-icon”><i class=”fa fa-lock”></i></span>
<input class=”form-control” type=”password” placeholder=”Password”>
</div>
</form>
.form-container .form-horizontal{
background: #dde1e7;
padding: 10px;
margin: 0 0 20px;
box-shadow: 0 0 7px rgba(0,0,0,0.3);
border-radius: 3px;
}
.form-horizontal .form-group{
background: #ffffff;
margin: 0 0 15px;
border-radius: 3px;
border-bottom: 1px solid #ddd;
}
.form-horizontal .form-group:nth-child(3){ margin-bottom: 40px; }
.form-horizontal .input-icon{
color: #007bb7;
font-size: 22px;
text-align: center;
line-height: 43px;
height: 45px;
width: 25px;
margin: 0 0 0 4px;
vertical-align: top;
display: inline-block;
}
.form-horizontal .form-control{
color: #555;
background-color: transparent;
font-size: 20px;
letter-spacing: 1px;
width: calc(100% – 33px);
height: 45px;
padding: 0 5px;
box-shadow: none;
border: none;
border-radius: 0;
display: inline-block;
transition: all 0.3s;
}
.form-horizontal .form-control:focus{
box-shadow: none;
border: none;
}
<!–Design the placehold in the login form–>
.form-horizontal .form-control::placeholder{
color: #999;
font-size: 20px;
font-weight: 300;
text-transform: capitalize;
}

Step 4: Add the login button in the login form
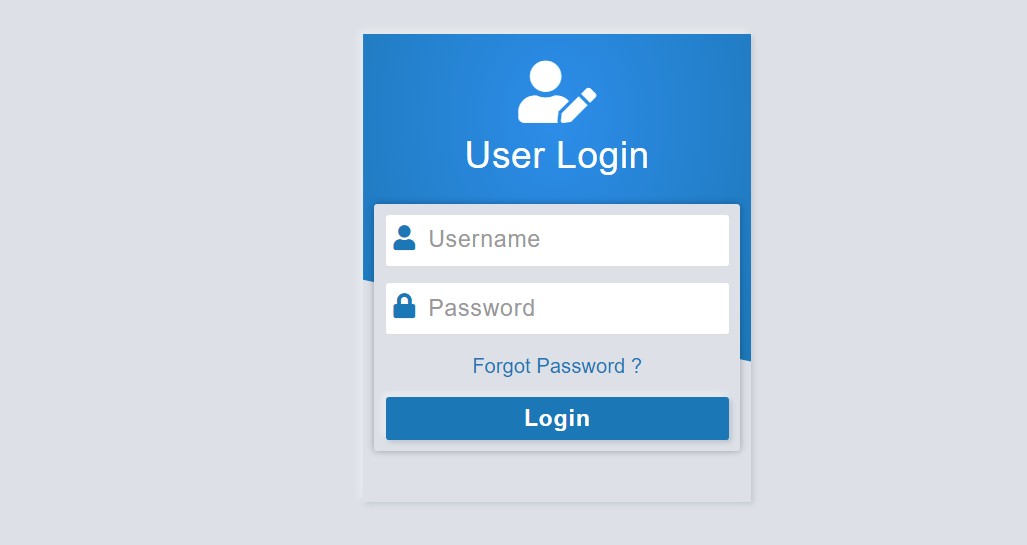
The following HTML and CSS codes have been used to create the forgotten password and login button in this login form.
<span class=”forgot-pass”><a href=”#”>Forgot Password ?</a></span>
<button class=”btn signin”>Login</button>
.form-horizontal .forgot-pass{
font-size: 18px;
font-weight: 500;
text-align: center;
margin: 0 0 15px 0;
display: block;
}
.form-horizontal .forgot-pass a{
color: #007bb7;
transition: all 0.3s ease 0s;
}
.form-horizontal .forgot-pass a:hover{ color: #555; }
.form-horizontal .btn{
color: #fff;
background: #007bb7;
box-shadow: -3px -3px 7px #ffffff73,
2px 2px 5px rgba(94, 104, 121, 0.288);
font-size: 20px;
font-weight: 600;
text-transform: capitalize;
letter-spacing: 1px;
width: 100%;
padding: 5px 15px 5px;
margin: 0;
border: none;
border-radius: 3px;
transition: all 0.3s ease;
}
Step 5: Add the option to create a new account
At the bottom of this login form is an option to create a new account. I have used the following HTML and CSS codes to make it.
<span class=”user-signup”>Don’t Have an Account? <a href=”#”>Create Now !</a></span>
.form-container .user-signup{
color: #333;
font-size: 16px;
font-weight: 600;
text-align: center;
display: block;
}
.form-container .user-signup a{
color: #007bb7;
transition: all 0.3s ease 0s;
}
.form-container .user-signup a:hover{
color: #555;
text-shadow: 0 0 1px rgba(0,0,0,0.5);
}
@media screen and (max-width: 970px) {
body{
margin-left: 130px;
margin-right: 130px;
}
}
@media screen and (max-width: 600px) {
body{
margin-left: 0px;
margin-right: 0px;
}
}
Very simple and beautiful login This login form is made using HTML CSS and Bootstrap programming code. Hopefully, you have learned how to make it from this tutorial. If there is any difficulty, you can definitely comment.
Download Code

